


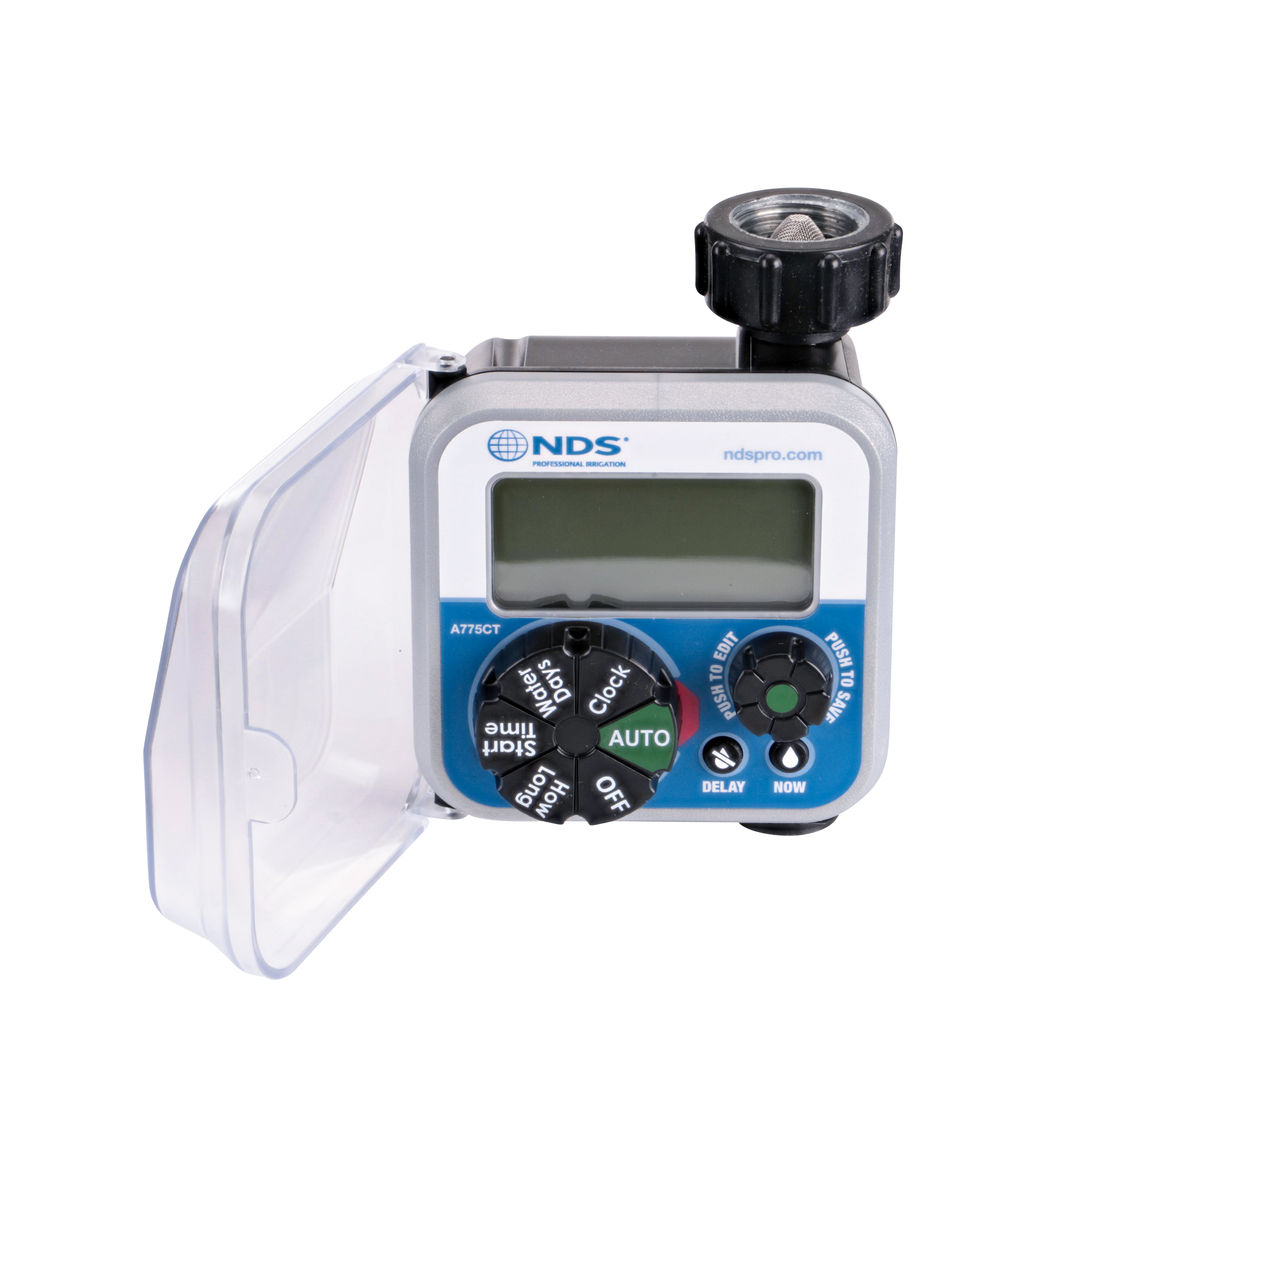


Control Zone Kits


Applications
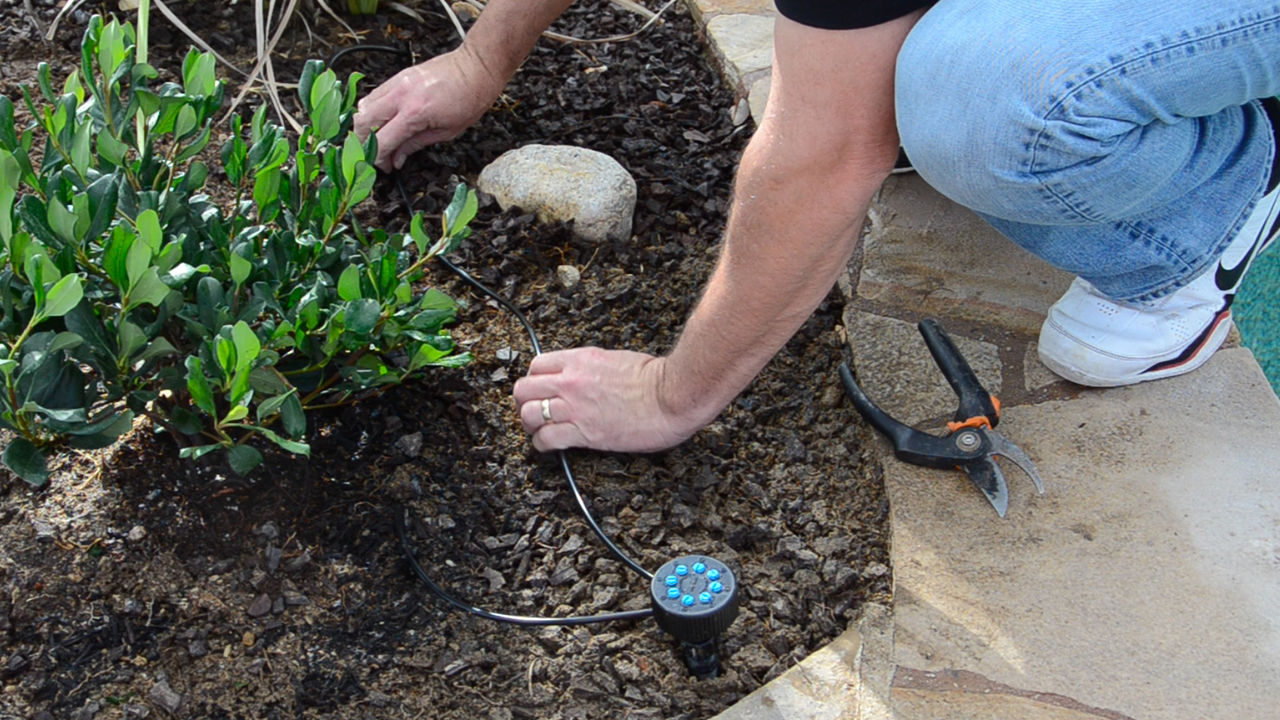
- Quick and easy set up of a low volume drip irrigation zone by using a preassembled kit
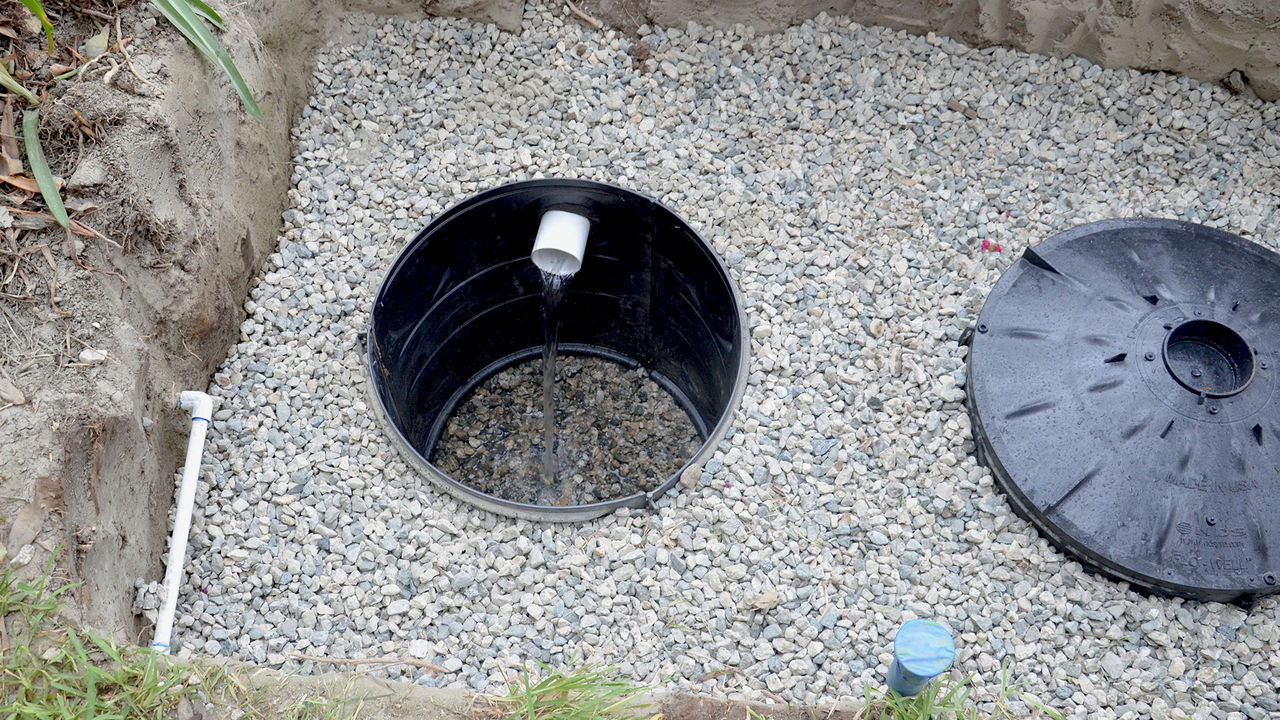
- Use above or below ground, protected by an irrigation valve box (sold separately)
- As part of a complete drip irrigation system, the control zone kit provides components to optimize performance and extend lifespan of drip system
Installation & Maintenance
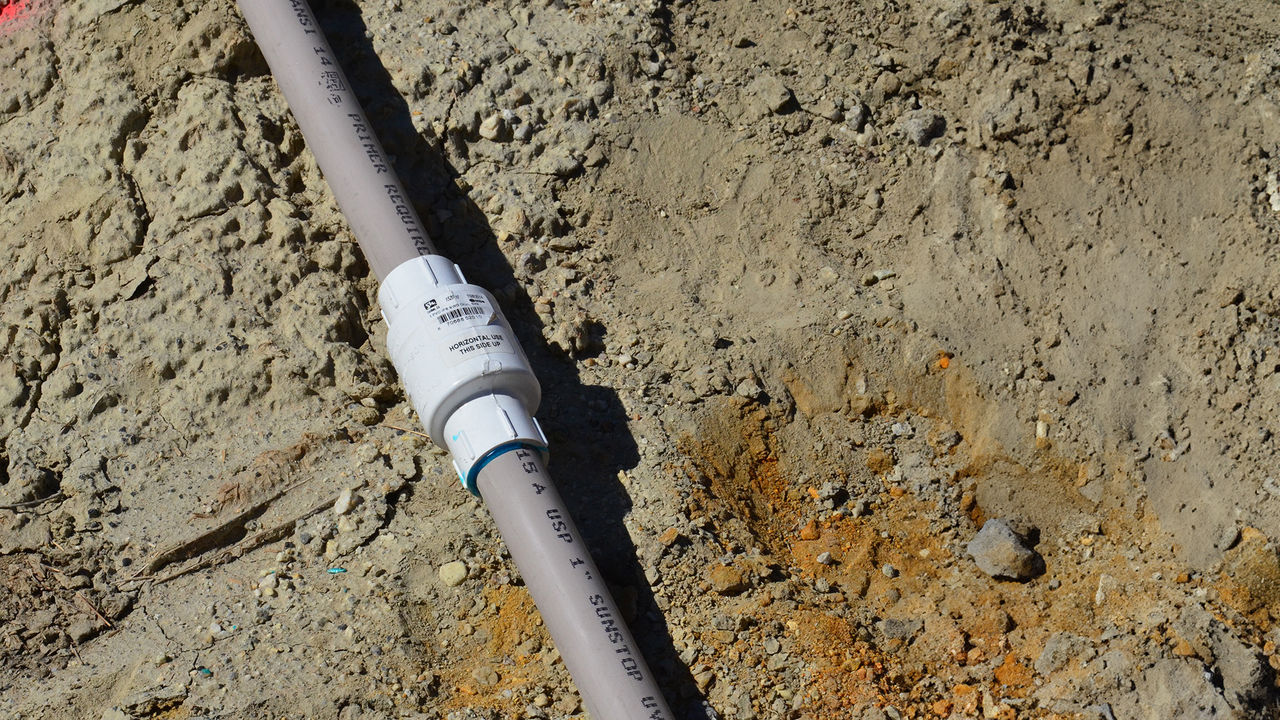
- Connect inlet to 1 in. pipe of water supply line
- Position pressure-regulating filter down and connect to 3/4 in. FPT or tubing adapter
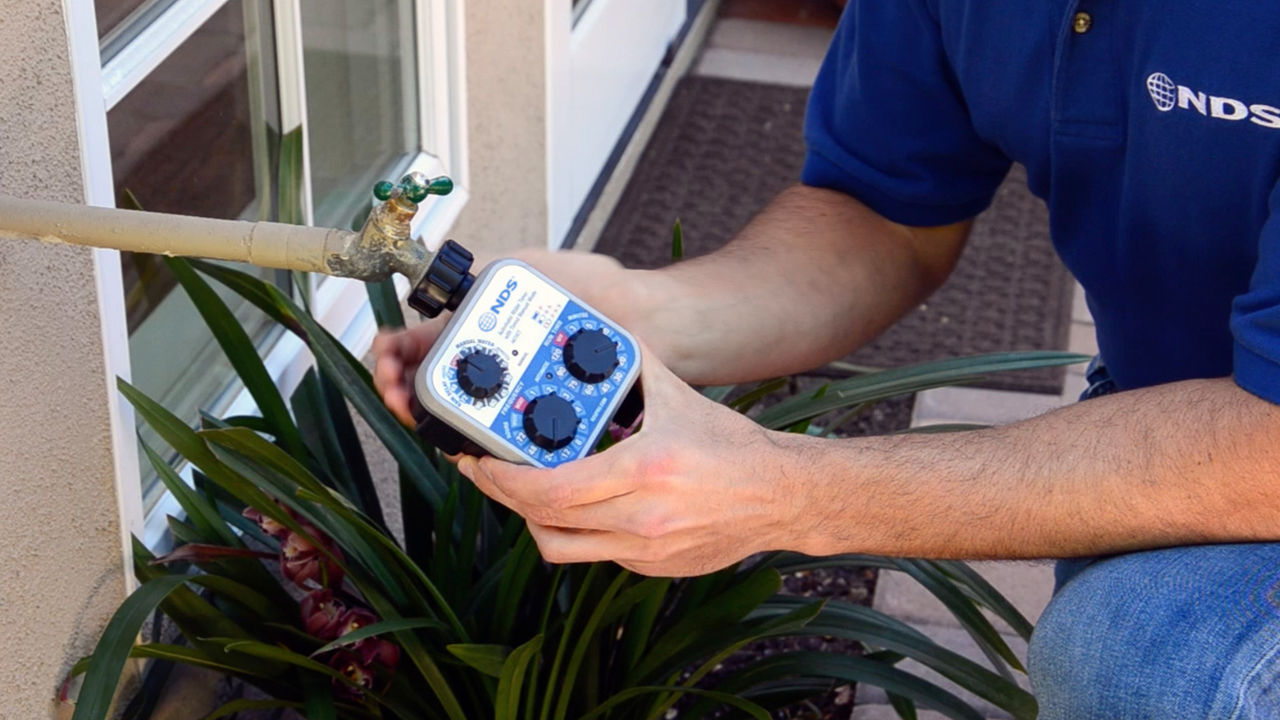
- Connect one solenoid wire to the controller common and the other wire to the controller power
- Periodically check for leaks or damage and replace or repair as needed; filter can be flushed out by removing the flush cap and running water through or screen removed from housing to clean; recommended operating pressure is up to 50 PSI
Materials & Sustainability
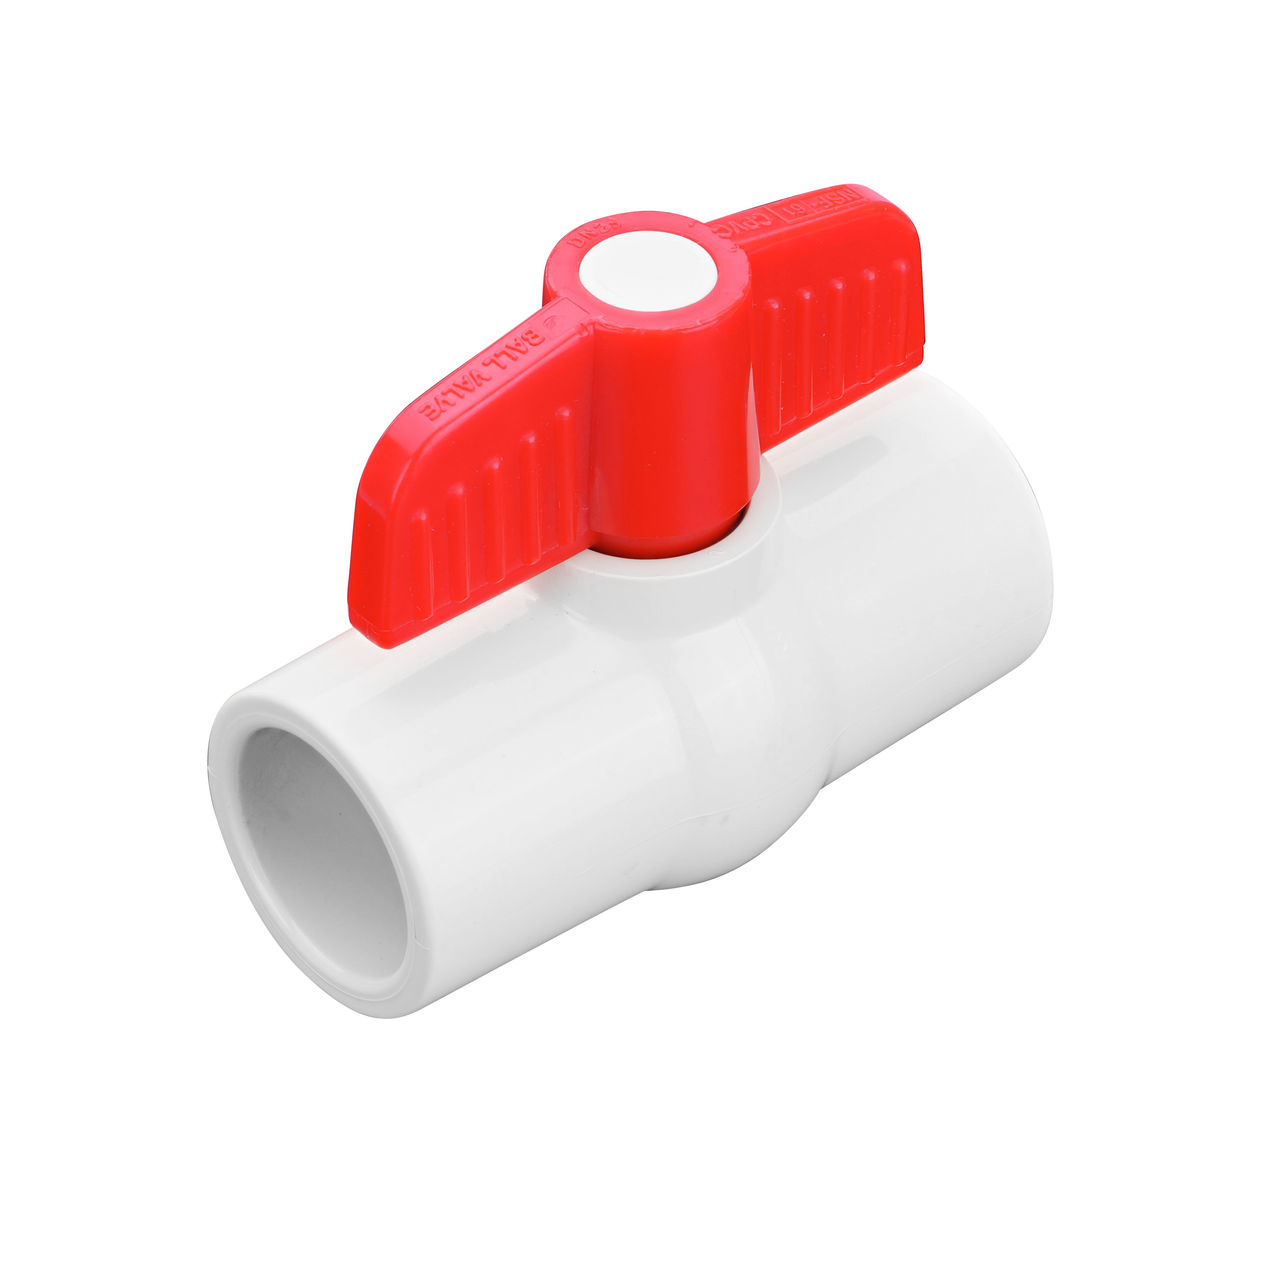
- Valve made of high-strength glass-filled nylon body and cover; stainless steel bolts; brass body inserts
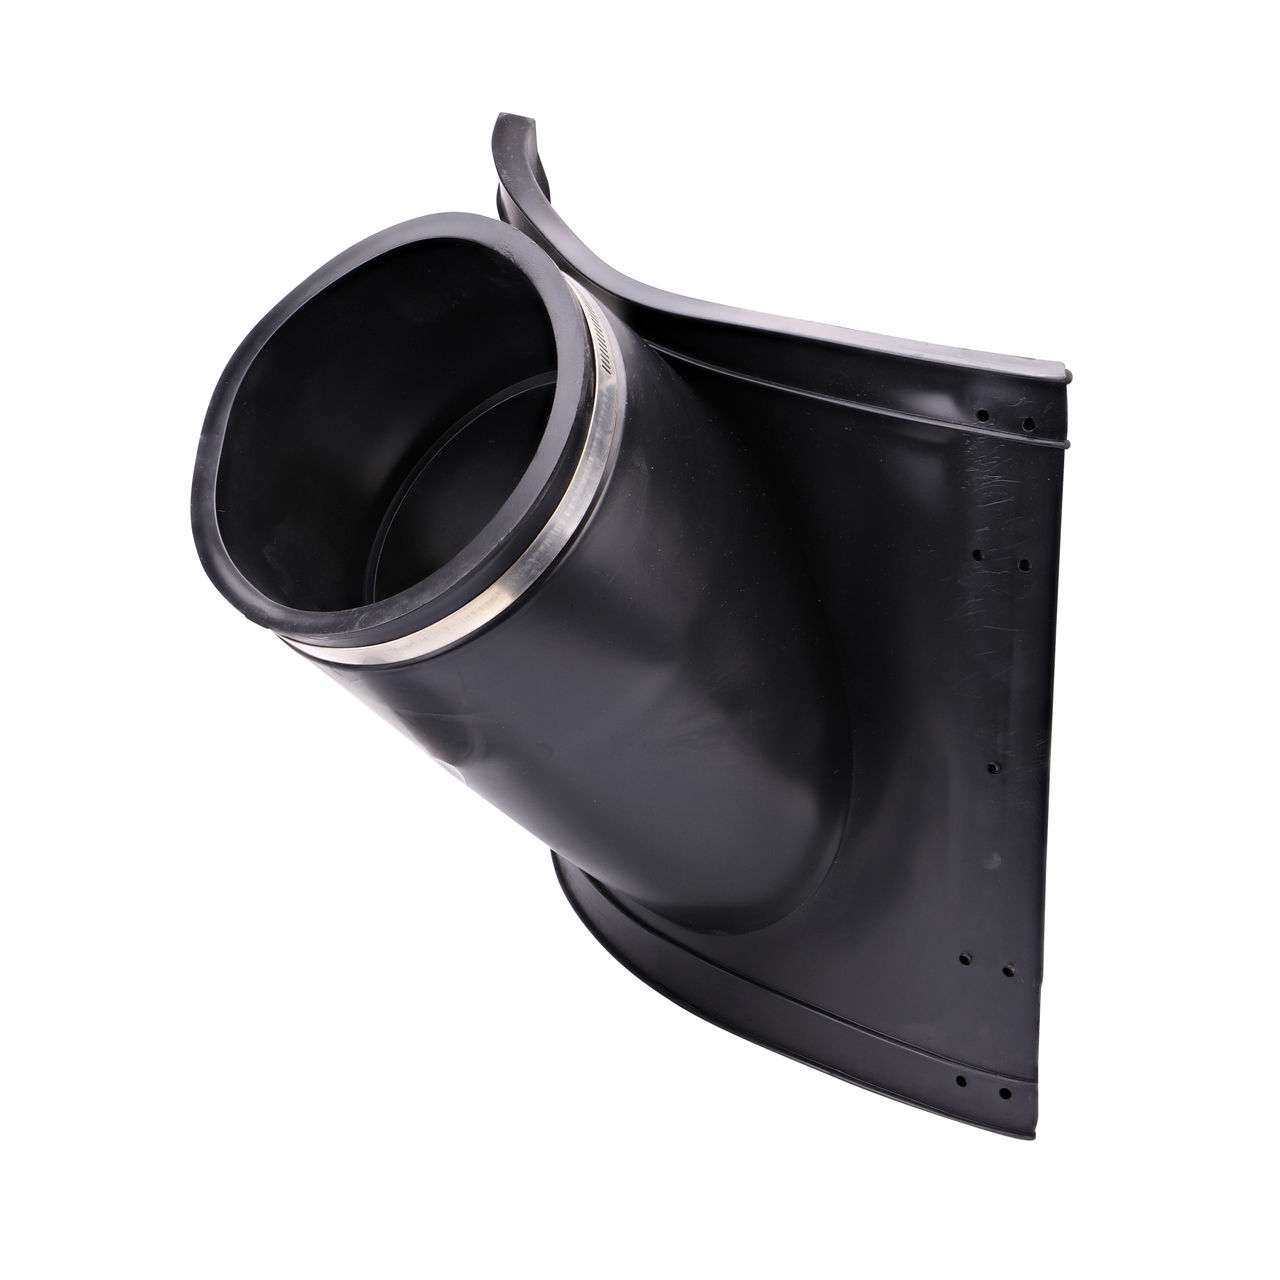
- Pressure-regulating filter is made of high-impact Acrylonitrile Butadiene Styrene (ABS) treated with UV inhibitors to prevent cracking; filter screen made of stainless steel
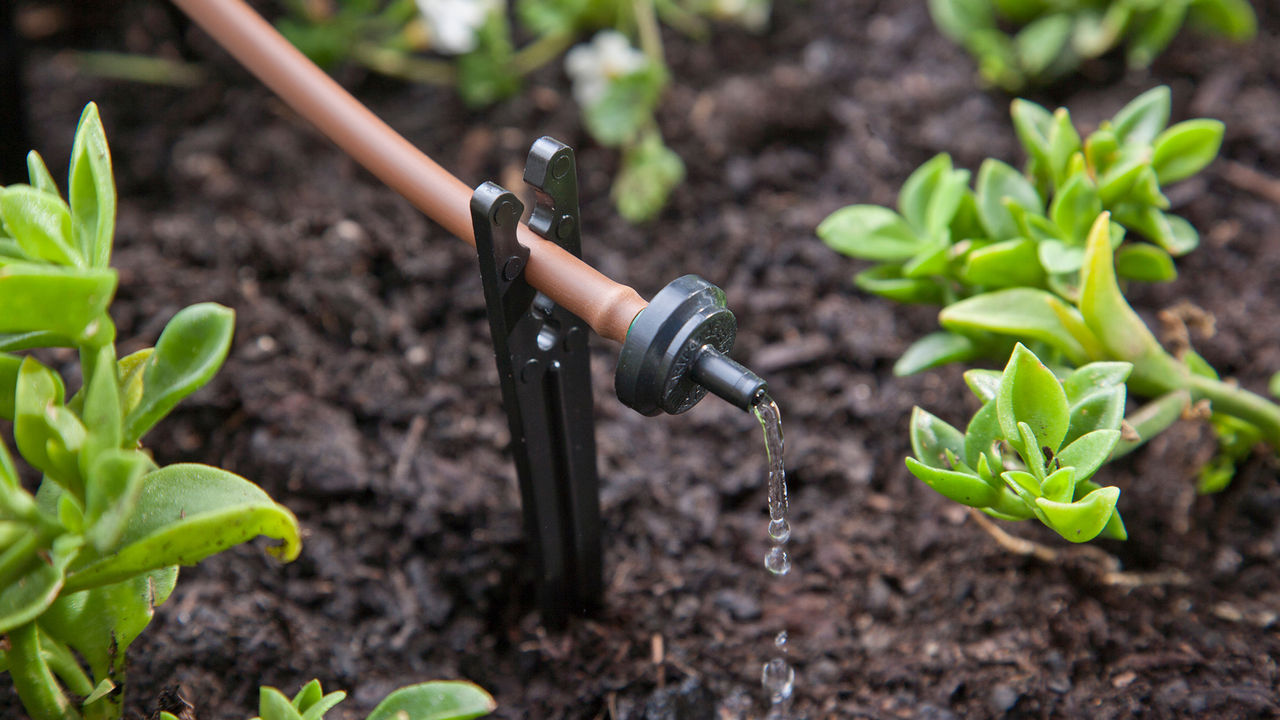
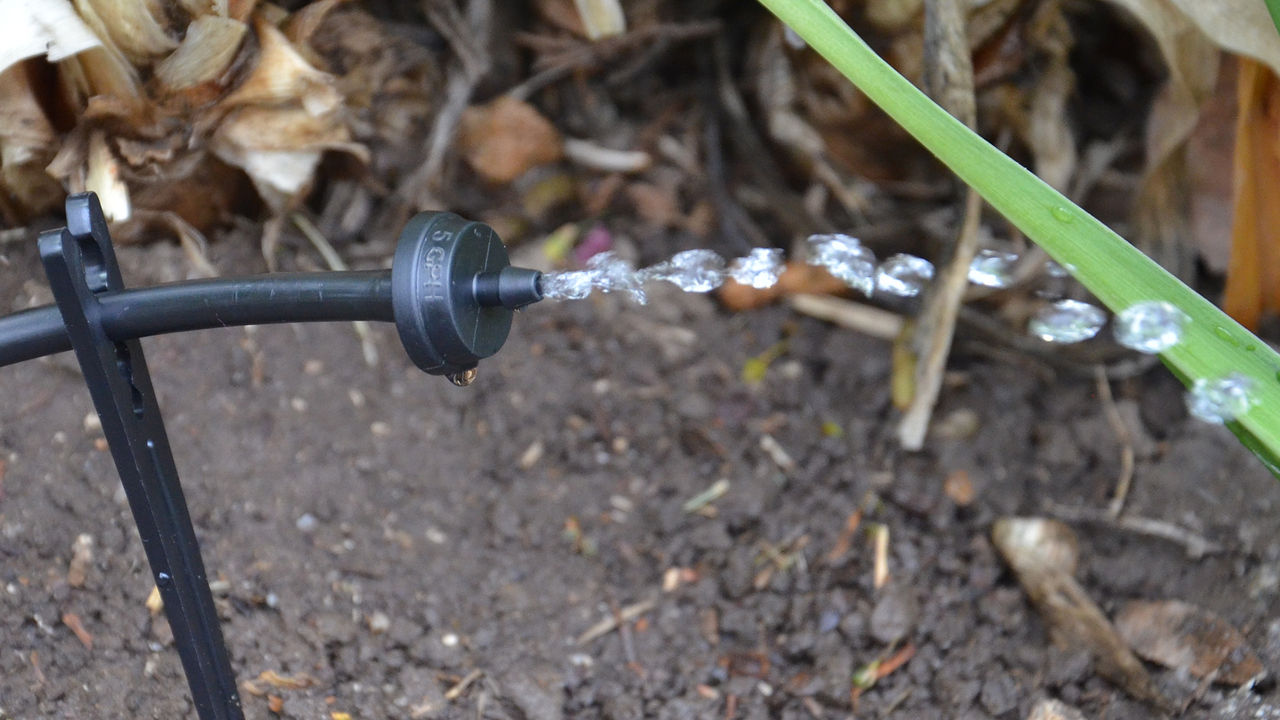
- Drip irrigation can reduce water usage by up to 70% compared to conventional sprinkler irrigation when used properly; for most drip irrigation products, water is applied precisely and at the rate the soil can accept it to prevent runoff and erosion
Product Models
Literature & Resources
Specifications & Technical Details
Frequently Asked Questions
To find out more about replacement parts for your NDS Irrigation Control Zone Kit, please call NDS Customer Service at 800‐726‐1994:
- Solenoid (Part Number: SB‐10 SOL)
- Diaphragm (Part Number: SB‐10 DIA)
- Non Potable Handle (Part Number: SB‐NPH)
First, try lifting the manual on switch underneath the solenoid. If the lever is lifted pointing straight up and no water comes out, then the main water supply might be turned off from a master valve or an isolation valve.
To tell if the solenoid is receiving 24 volts AC electrical power, test it by using an electrical meter. See if you hear the plunger click inside the core tube or feel the solenoid buzz with electricity. If there is no power from a cut wire, the electrical signal wire will need to be repaired/replaced.
First, remove the solenoid with the water on. Be careful, as this will allow the sprinklers on that zone to run. Allow the valve to flush for a minute then replace the solenoid. If that does not resolve the issue, we recommend purchasing a new valve and removing the bonnet, spring and diaphragm from the new valve and placing it onto the existing valve body leaving it in the existing piping. This effectively rebuilds the valve without having to cut or modify the piping.
First, remove the solenoid with the water on. Be careful, as this will allow the sprinklers on that zone to run. Allow the valve to flush for a minute then replace the solenoid. If that does not resolve the issue, we recommend purchasing a new valve and removing the bonnet, spring and diaphragm from the new valve and placing it onto the existing valve body leaving it in the existing piping. This effectively rebuilds the valve without having to cut or modify the piping.
Check the washer inside the cap to ensure that it’s seated properly.
