


How to Install a Catch Basin = Complete Guide for Homeowners

Why Catch Basins Matter
If you've ever dealt with puddles in your yard, water pooling near your foundation, or soggy patches that never seem to dry, a catch basin may be the drainage solution you need. But what is a catch basin, and why is it such an important part of managing stormwater at home?
A catch basin is a simple yet highly effective drainage structure designed to capture excess or standing surface water and direct it safely away from your property. By collecting runoff from downspouts, driveways, or low spots in your lawn, catch basins help prevent pooling, erosion, and costly water damage to your foundation.
Homeowners across the country use catch basins to protect their landscapes, comply with local stormwater regulations, and keep outdoor spaces safe and usable. They work by capturing water at the surface and moving it through a connected pipe system, where it can be directed into a larger drainage network such as a French drain, dry well, or municipal storm system.
In this guide, you'll learn step by step how to install a catch basin, from assessing your yard's needs and choosing the right location to placing the basin and connecting pipes. We'll also cover maintenance tips and troubleshooting so your system keeps performing season after season. Whether you're dealing with persistent yard flooding or want to proactively protect your property investment, this guide will help you tackle this important home improvement project.
Understanding Catch Basins and Their Applications
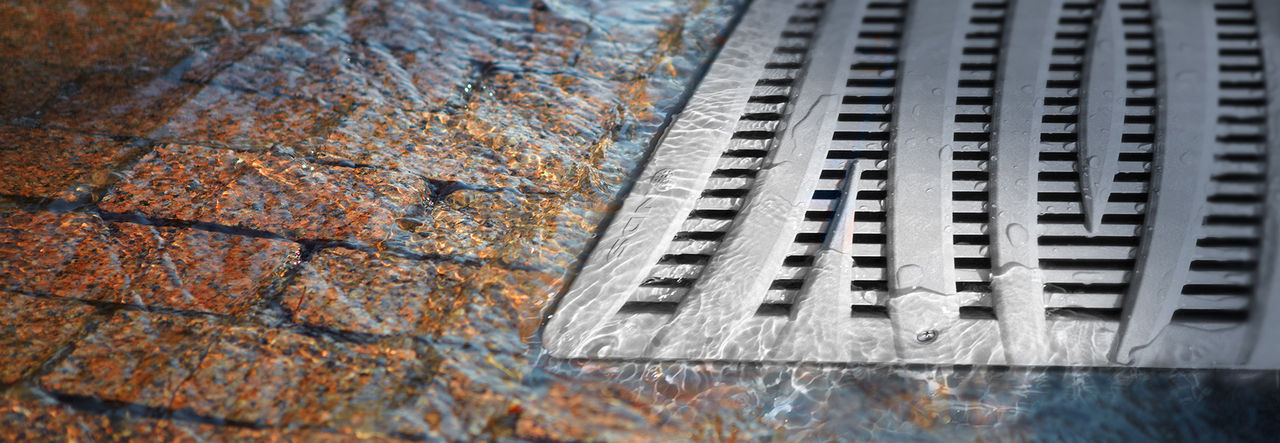
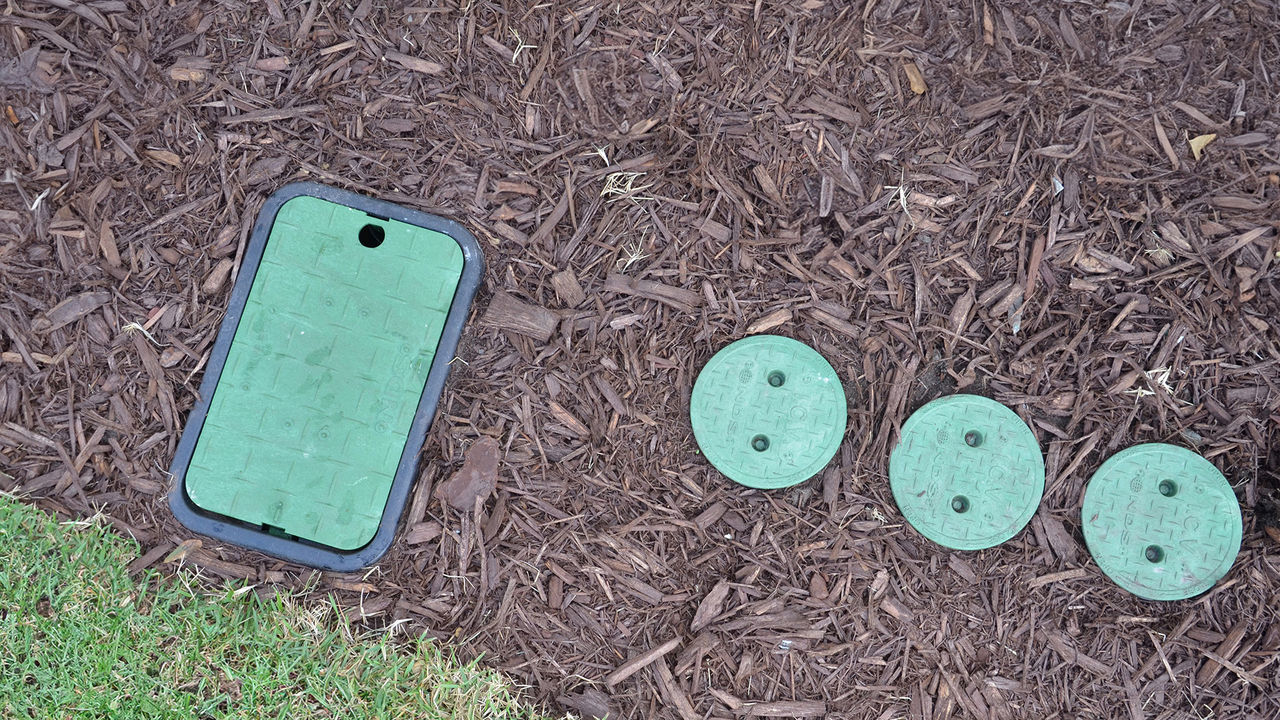
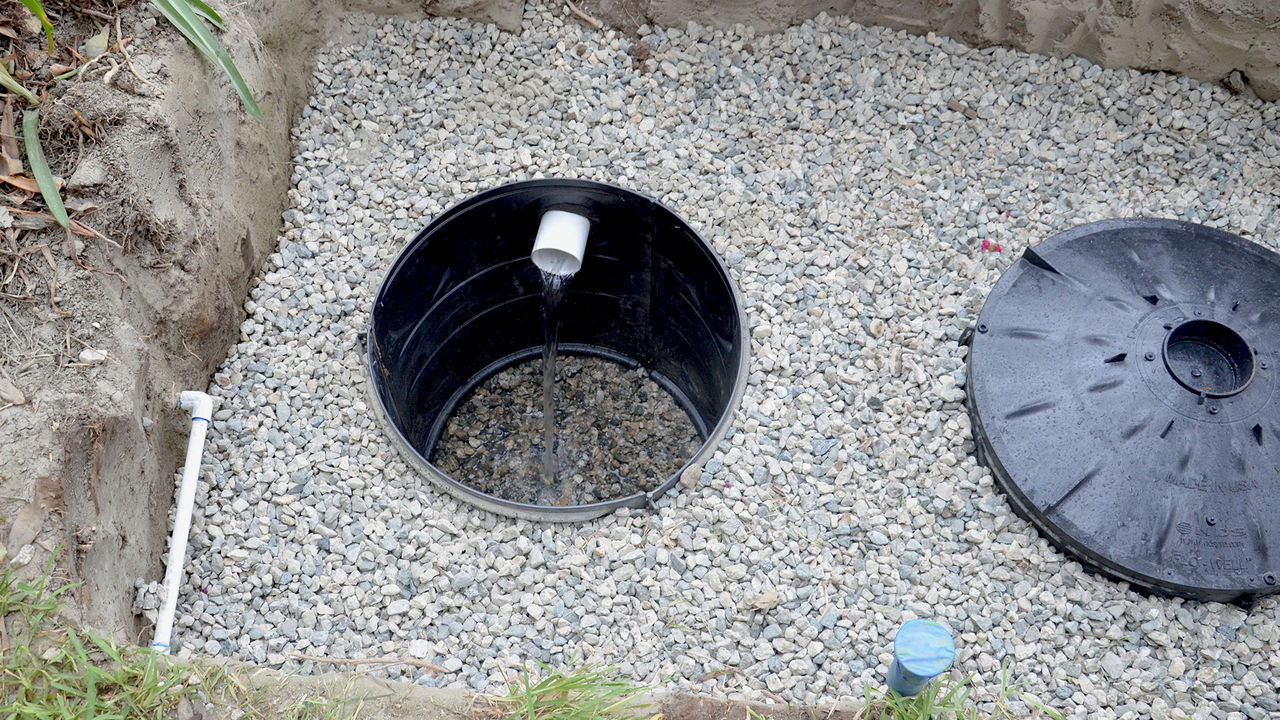
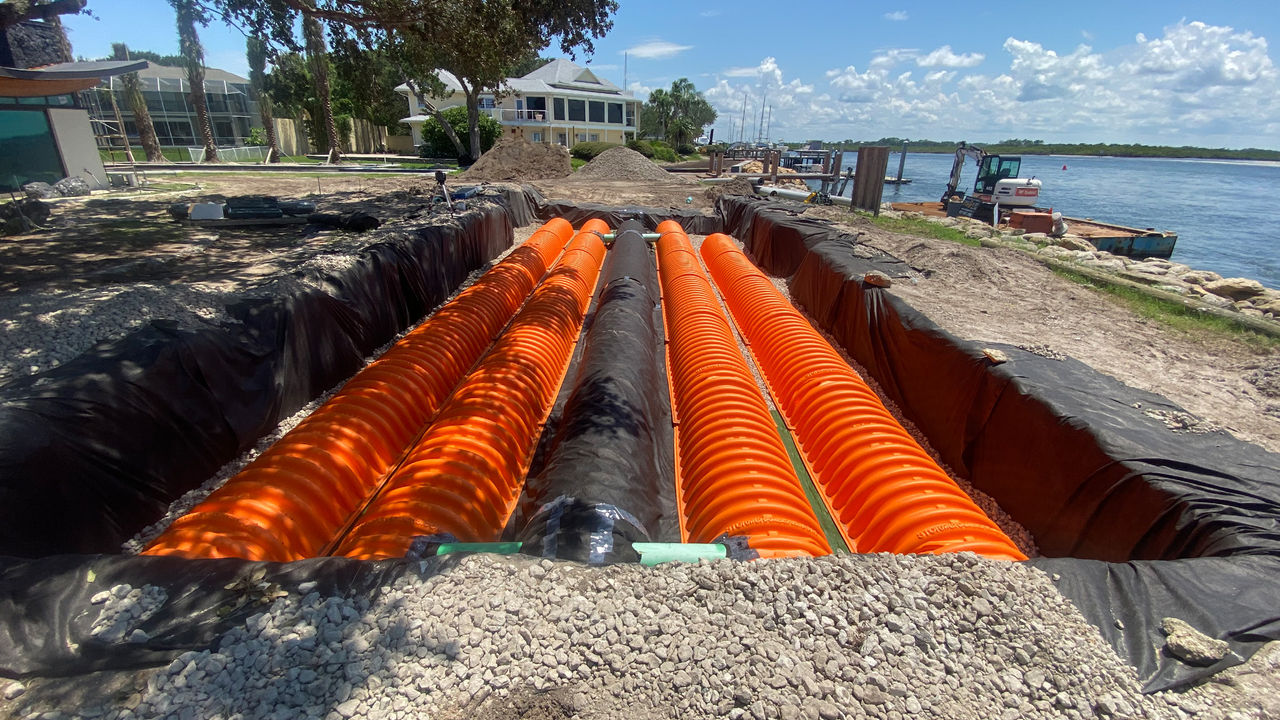
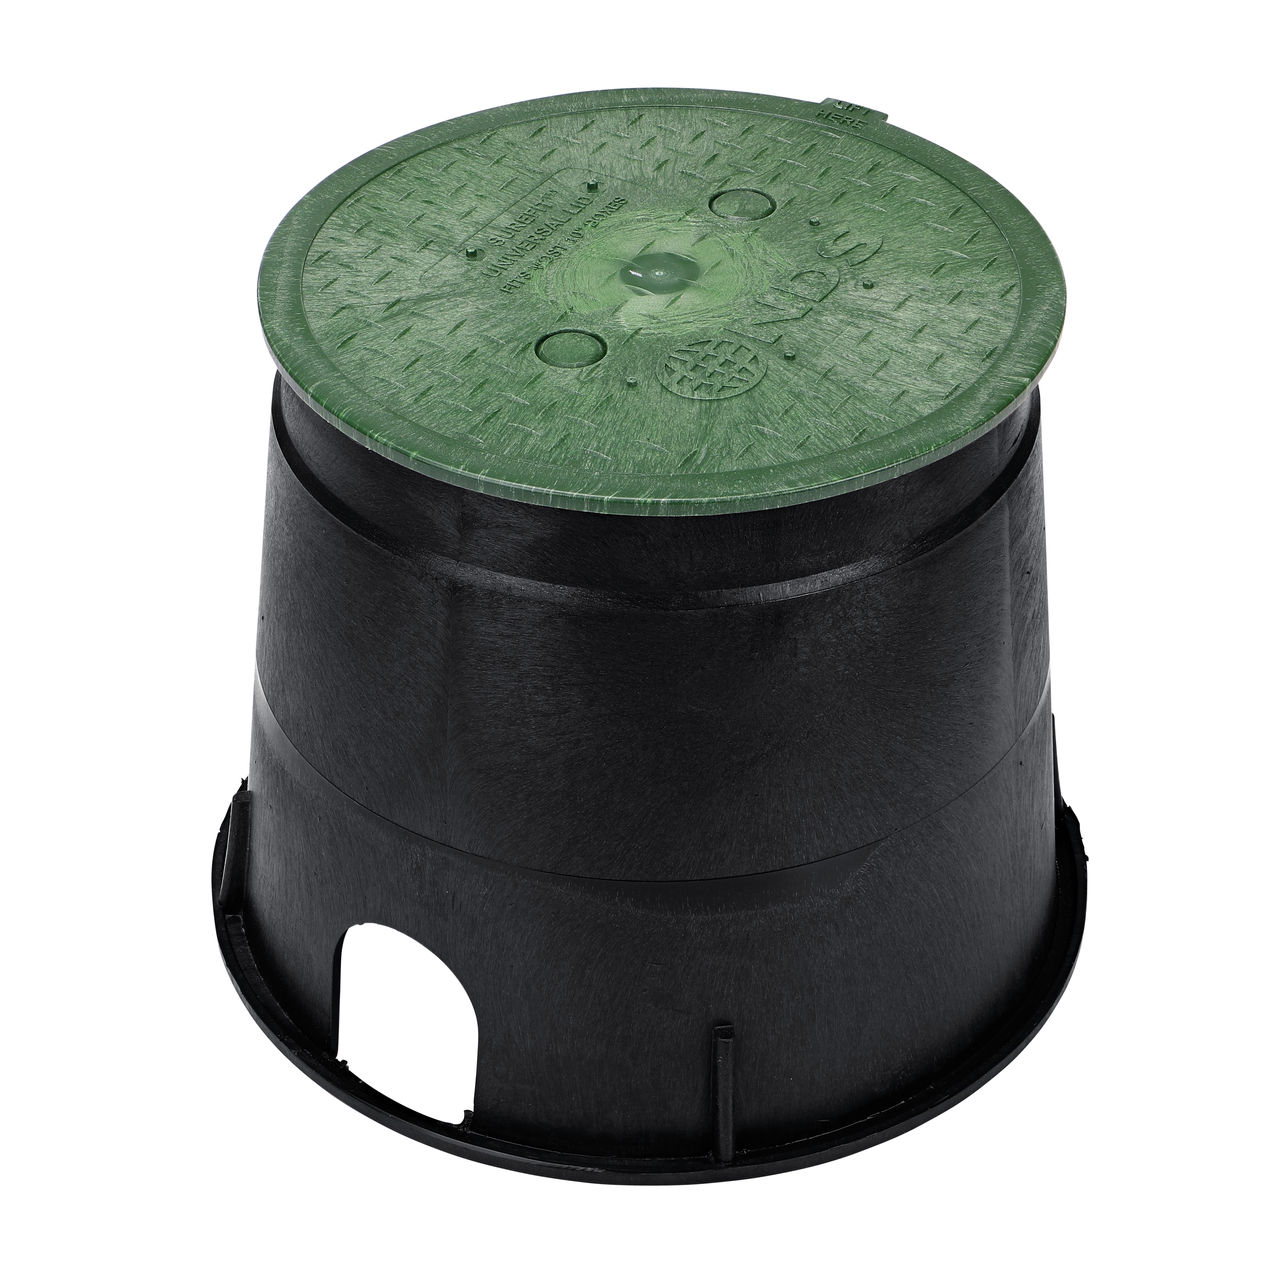
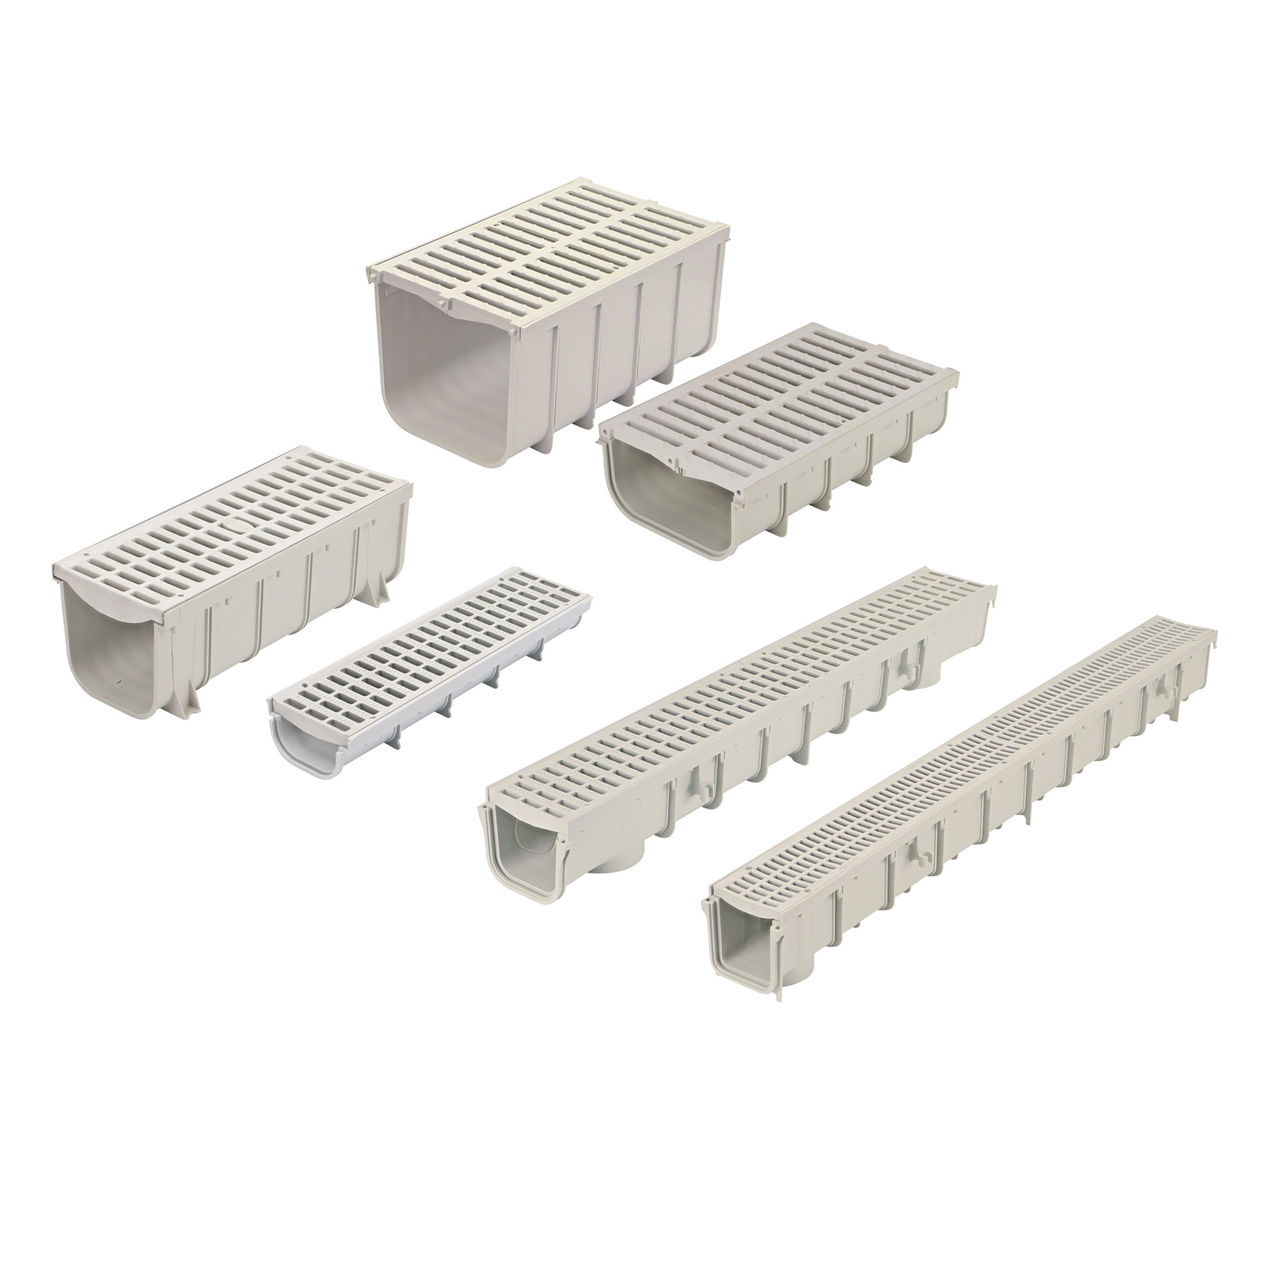
A catch basin is a buried drainage box topped with a grate that sits at ground level where water naturally collects. Common locations include the bottom of slopes, under or near downspouts, along driveways, or in low-lying areas of your yard. As water enters through the grate, it flows into the basin chamber and is carried away through connected pipes to prevent standing water and water damage.
The basic components of a residential catch basin include:
- Basin body: The main collection chamber, typically made from durable HDPE or PVC
- Grate: The top cover that allows water to enter while filtering out large debris
- Inlet and outlet connections: Ports where pipes attach to direct water flow
- Sump area: The bottom section that collects sediment and debris
How Catch Basins Work in Stormwater Management
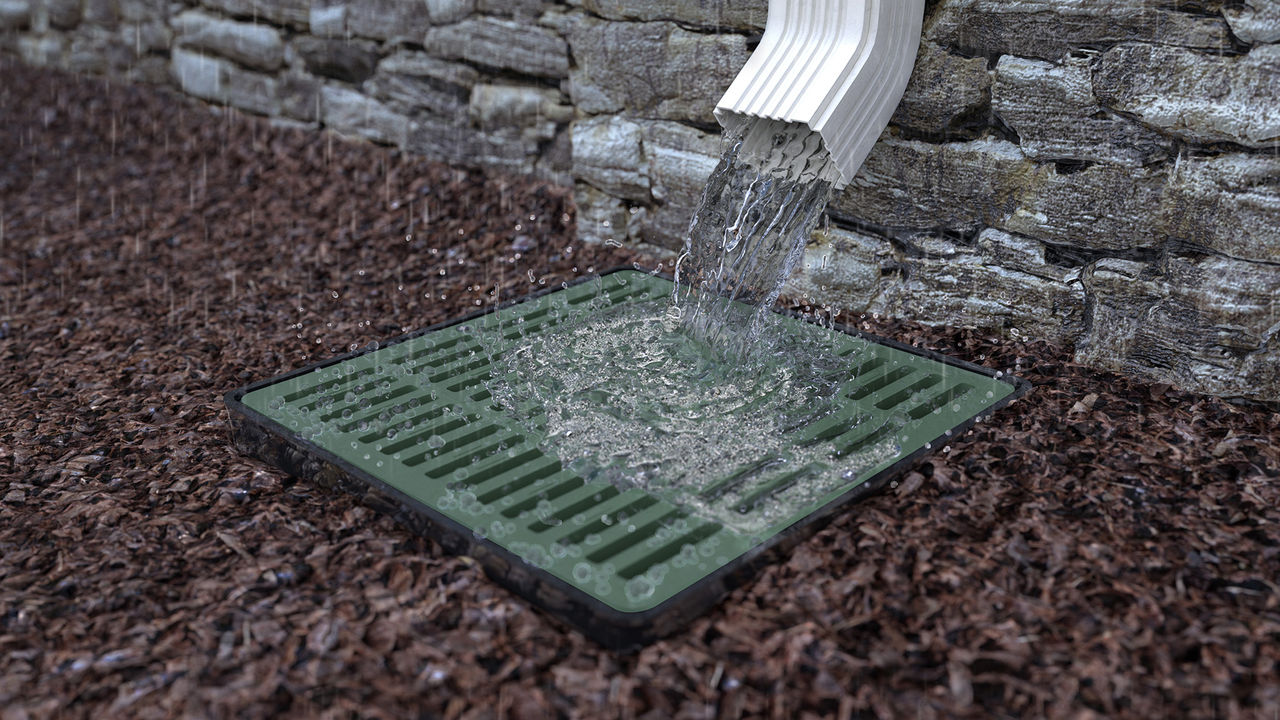
Catch basins act as the first line of defense in a yard's drainage system. When rainwater or irrigation runoff flows across surfaces, it naturally seeks the lowest point. By strategically placing catch basins in these collection areas, you capture the water before it can cause problems.
The system works through gravity-fed drainage, where water enters the basin and flows through connected pipes sloped at a minimum 1% grade (1 inch of drop per 100 feet of pipe). This gentle slope ensures consistent water movement away from your property toward an appropriate discharge point such as a street drain, dry well, or detention pond.
Common Residential Applications
Homeowners typically install catch basins in several key areas:
-
Downspout connections: Capture roof runoff and direct it away from foundations
-
Driveway edges: Prevent water from pooling on paved surfaces or flowing toward structures
-
Low spots in lawns: Address natural depressions where water consistently accumulates
-
Patio and walkway areas: Keep hardscaped areas dry and safe
-
Property boundaries: Manage runoff from neighboring properties or public areas
Key Benefits of Installing Catch Basins
Installing catch basins provides multiple advantages for homeowners concerned about water management:
Prevent Standing Water and Water Damage: By capturing surface water quickly, catch basins prevent pooling that could seep into basements, damage foundations, or create muddy, unusable outdoor spaces.
Reduce Soil Erosion: Uncontrolled water flow can wash away topsoil, mulch, and even established plantings. Catch basins redirect water before it gains enough velocity to cause erosion damage.
Protect Landscape Investments: Proper drainage keeps plants healthier by preventing both waterlogged soil conditions and the loss of nutrients through runoff.
Support Local Regulations: Many municipalities encourage or require residential stormwater management solutions, especially in newer developments or areas prone to flooding.
Increase Property Value: A well-designed drainage system demonstrates proactive property maintenance and can be an attractive feature to potential buyers.
Pre-Installation Preparation: Planning Your Catch Basin Project
Assessing Your Drainage Needs
Before you begin installing catch basins, conduct a thorough assessment of your property's drainage challenges. Start by observing water flow patterns during and after rainfall events. Note where water collects, which direction it flows, and how long it takes to clear problem areas.

Shop Catch Basins.
Key factors to evaluate include:
-
Soil type: Clay soils drain slowly and may require additional drainage capacity, while sandy soils typically drain quickly. Loam soil is a mix of sand, silt, and clay.
-
Property slope: Identify the natural flow patterns and lowest points where water accumulates
-
Climate considerations: Factor in your region's typical rainfall intensity and seasonal patterns
-
Existing drainage infrastructure: Determine if you can connect to current systems or need standalone solutions
-
Problem severity: Assess whether issues are occasional nuisances or persistent problems requiring immediate attention
Essential Tools and Equipment
Gathering the right tools before you start will make your drainage catch basin project more efficient and professional. You'll need:
Excavation Tools:
- Spade shovel for precise digging
- Trenching shovel for pipe runs
- Mattock or pickaxe for tough soil
- Hand tamper for compacting
Measuring and Leveling:
- Tape measure (25-foot minimum)
- 4-foot level
- Line level for checking pipe slope
- Spray paint for marking
Cutting and Assembly:
- Hacksaw or PVC pipe cutter
- Drill with various bits
- Utility knife
- Rubber mallet
Required Materials and Components
The materials list for your drainage catch basin build varies based on your specific situation, but typically includes:
Primary Materials
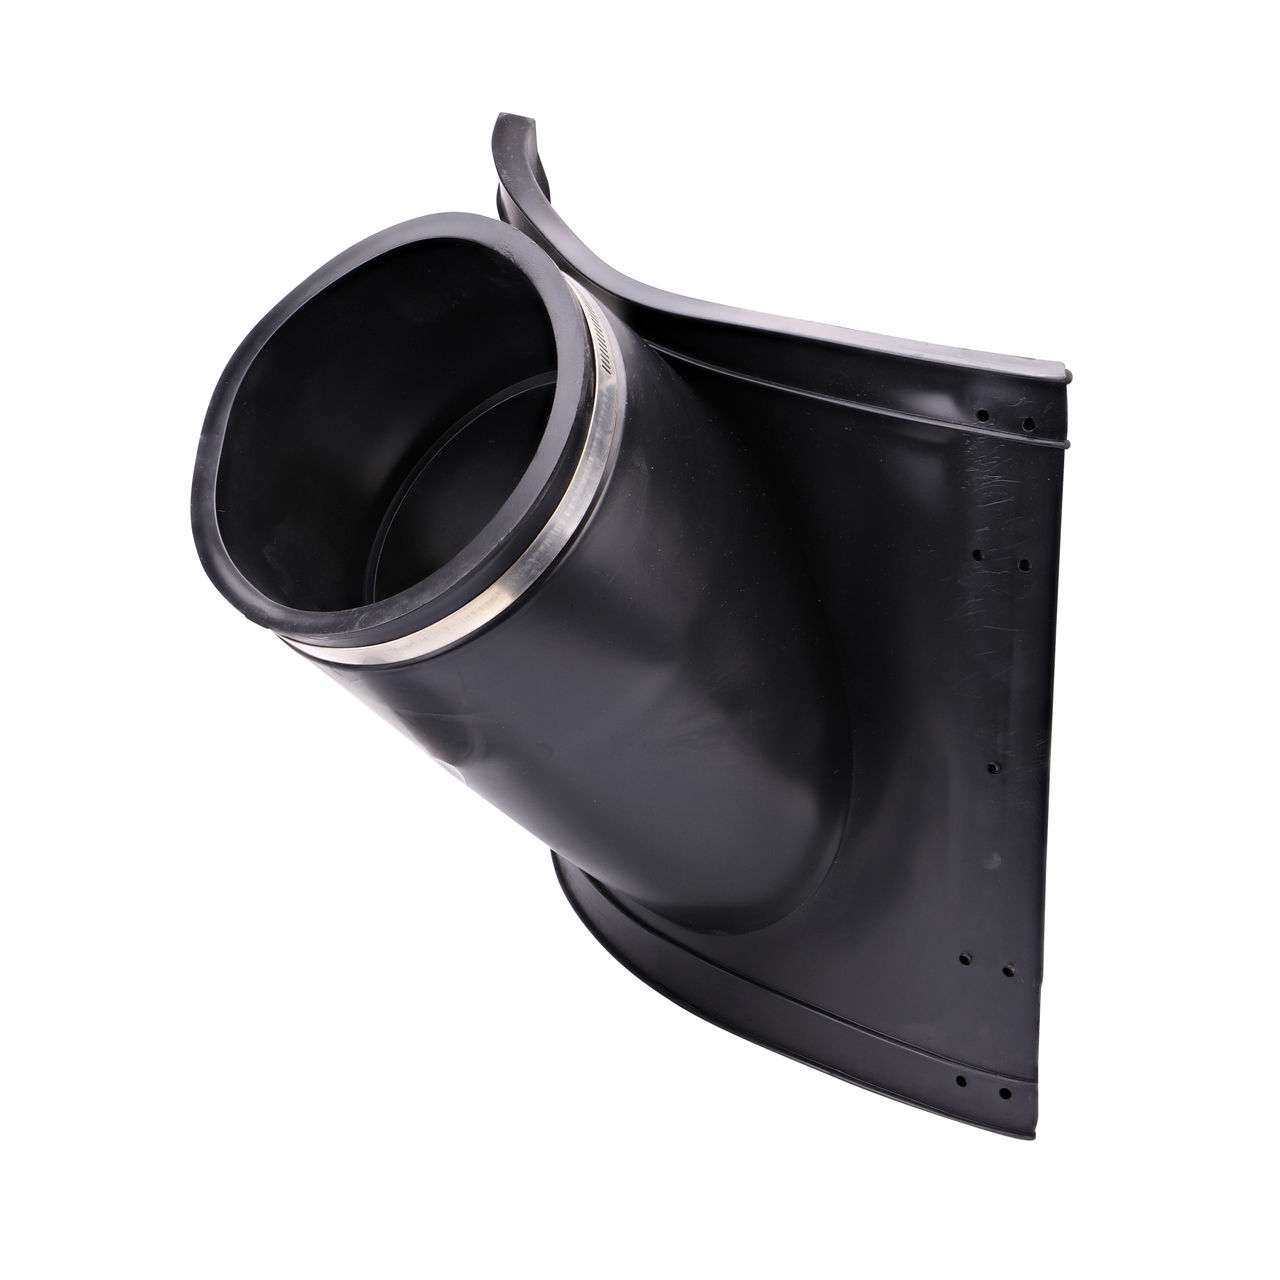
- Catch basin, grate, outlet adapter(s), or Catch basin kit (which includes the grate and outlet adapter) with grate (sized appropriately for your application)
- PVC pipe (4-inch diameter is standard for residential use)
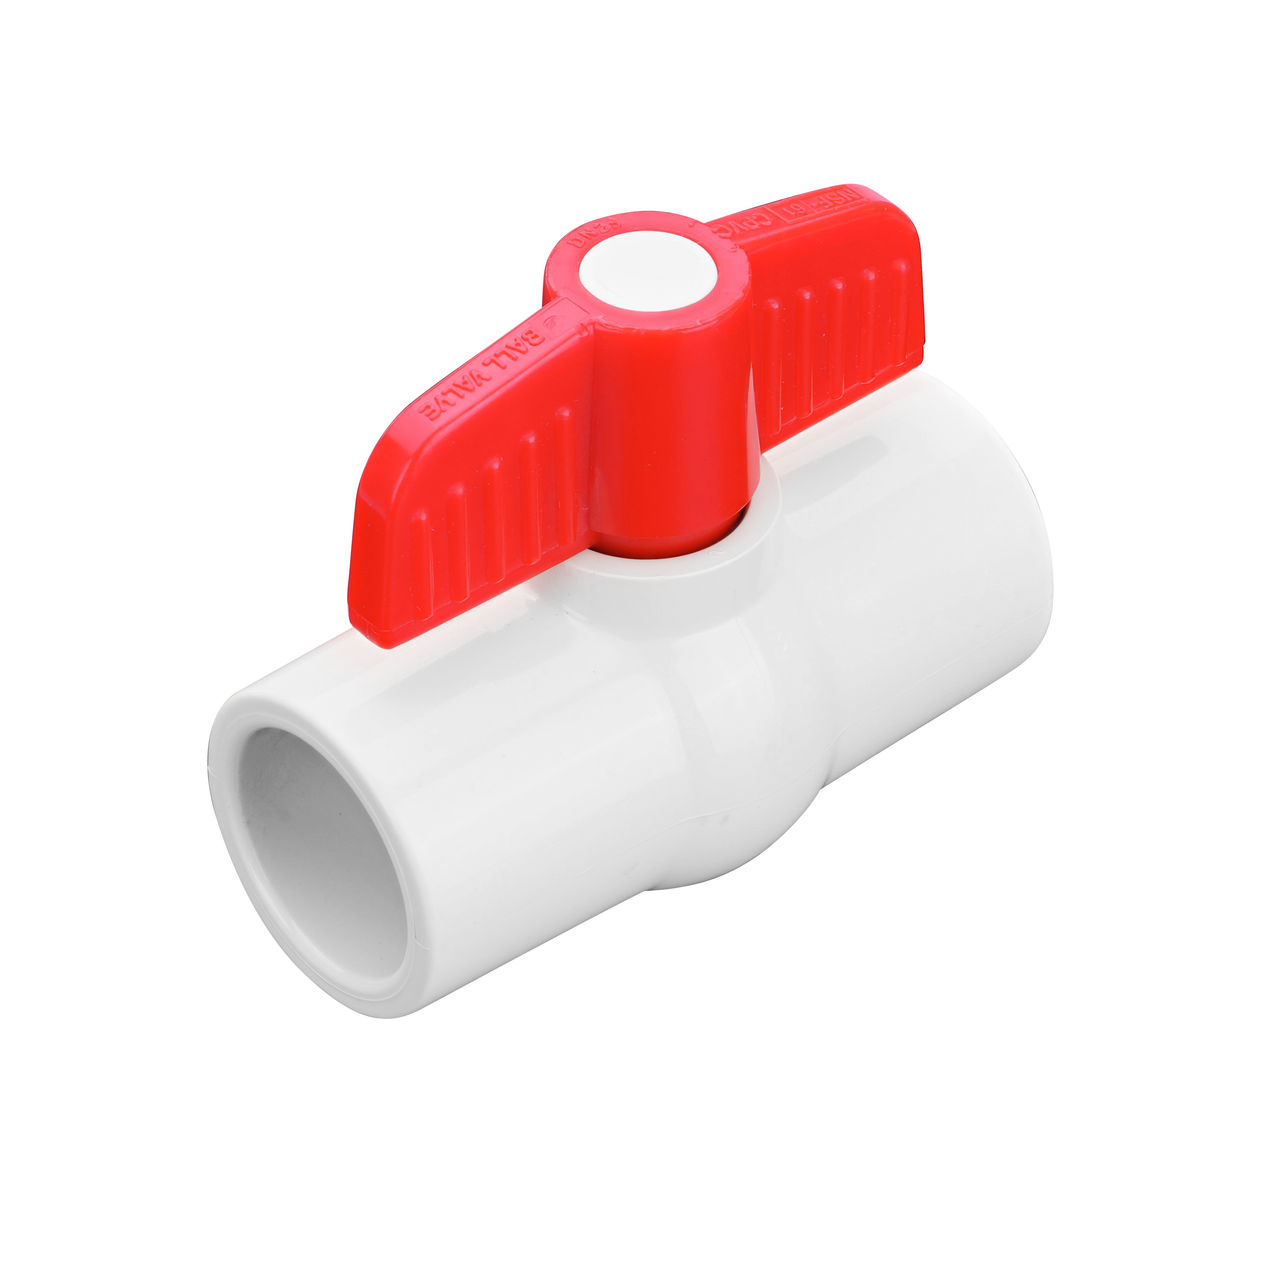
- Pipe fittings (elbows, couplers, reducers as needed)
- PVC primer and cement
- Pipe bedding gravel (3/4-inch crushed stone)
Installation Supplies:
- Landscaping fabric
- Silicone sealant or rubber gaskets
- Backfill material (excavated soil or imported fill)
- Sand for pipe bedding
Safety Equipment:
- Work gloves
- Safety glasses
- Knee pads
- Dust mask
Choosing the Optimal Location
Location selection is critical to the success of your catch basin installation so choose carefully.
Natural Collection Points: Position catch basin where water naturally flows and accumulates, typically at the lowest points in your yard or at the base of slopes.
Near Water Sources: Install close to downspouts, air conditioning condensate lines, or areas where irrigation runoff occurs.
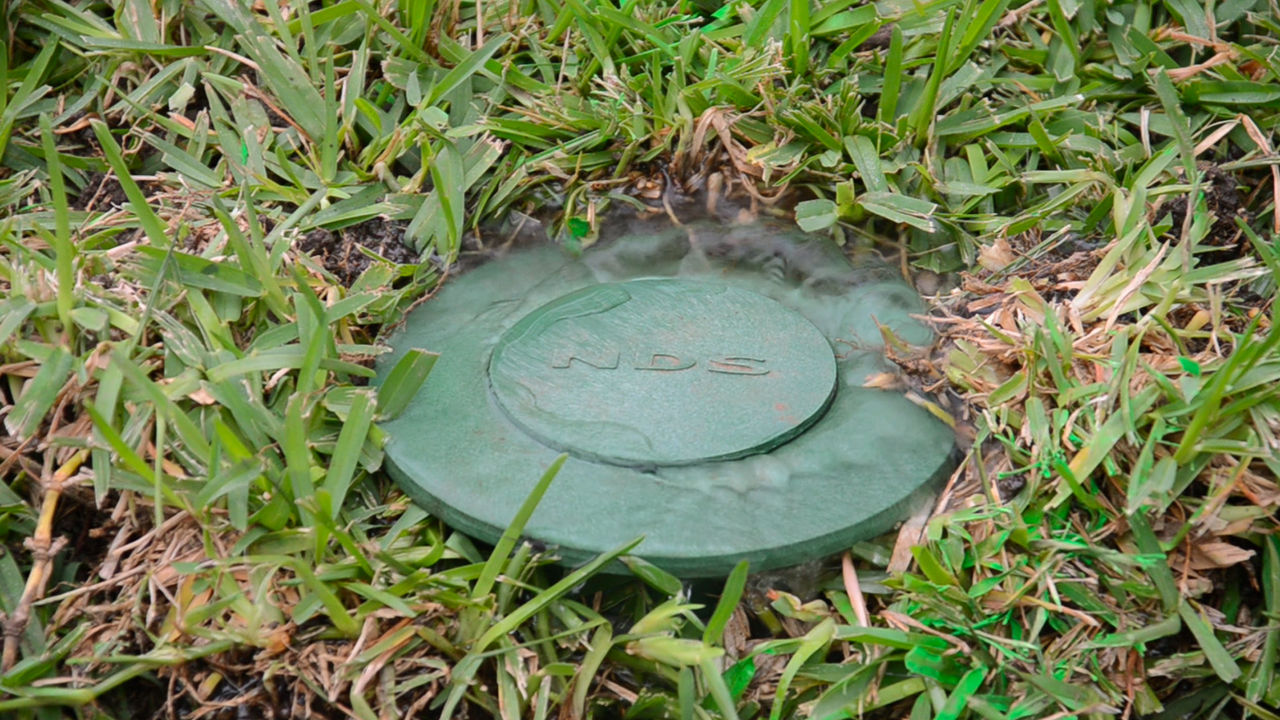
Accessible for Maintenance: Ensure the location allows easy access for routine cleaning and inspection without disrupting landscaping or hardscaping.
Properly Sloped for Drainage: Confirm that you can achieve the minimum 1% slope from the catch basin to your discharge point. This translates to a 1-inch drop for every 8 feet of pipe run.
Clear of Underground Utilities: Always call 811 (Dig Safe) before excavating to locate buried utilities like gas, electric, water, and telecommunications lines.
Code Compliance and Permits
Before proceeding with your catch basin installation, check local building codes and homeowners association guidelines. Some municipalities require permits for drainage modifications, especially if connecting to municipal storm systems. Requirements vary significantly by location, but commonly include:
- Setback requirements from property lines
- Discharge limitations and approved outlet locations
- Material specifications and installation standards
- Inspection requirements during or after installation

Step-by-Step Installation Guide: How to Install a Catch Basin
Step 1: Mark the Installation Area
Begin your catch basin installation by clearly marking all excavation areas. Use bright spray paint to outline the catch basin location and all pipe trenches. This visual guide helps ensure straight, properly aligned trenches and prevents accidental damage to surrounding landscaping.
Mark the basin footprint slightly larger than the actual unit to allow some working room during installation. For pipe trenches, mark a path that maintains consistent slope toward your discharge point while avoiding obstacles like trees, existing utilities, or permanent structures.
Double-check your slope calculations at this stage. Use a long level or transit to verify that your planned pipe route can achieve the minimum 1% grade required for proper drainage flow.
Step 2: Excavate the Basin and Trenches
Start excavation with the catch basin hole, digging to a depth that accommodates the basin height plus 2-4 inches of gravel base material. The hole should be approximately 6 inches wider than the basin on all sides to provide adequate working space.
Keep excavated soil nearby on a tarp for later backfilling, separating topsoil from subsoil when possible. Remove any rocks, roots, or debris that could interfere with proper basin seating or pipe installation.
Next, dig trenches for the pipe runs. Trench depth should provide appropriate cover over pipes (typically 12-18 inches minimum) while maintaining proper slope. Keep trench width narrow but sufficient for pipe installation and proper bedding material placement.
Pro Tip: Rent a trenching shovel or small trenching tool for long pipe runs. This specialized equipment creates uniform trenches much faster than standard shovels.
Step 3: Prepare the Foundation Base
Create a stable, level foundation for your catch basin using crushed stone or gravel. Spread 2-4 inches of 3/4-inch crushed stone at the bottom of the excavation, extending slightly beyond the basin footprint.
Level the gravel base using a hand tamper or the end of a 2x4 board. Check levels in all directions using a 4-foot level. A properly prepared base prevents settling and ensures your grate sits flush with the surrounding ground surface.
For pipe trenches, create a uniform bedding layer of sand or fine gravel. This bedding should be 2-3 inches deep and level along the entire trench length. Proper pipe bedding prevents joint stress and maintains consistent slope.
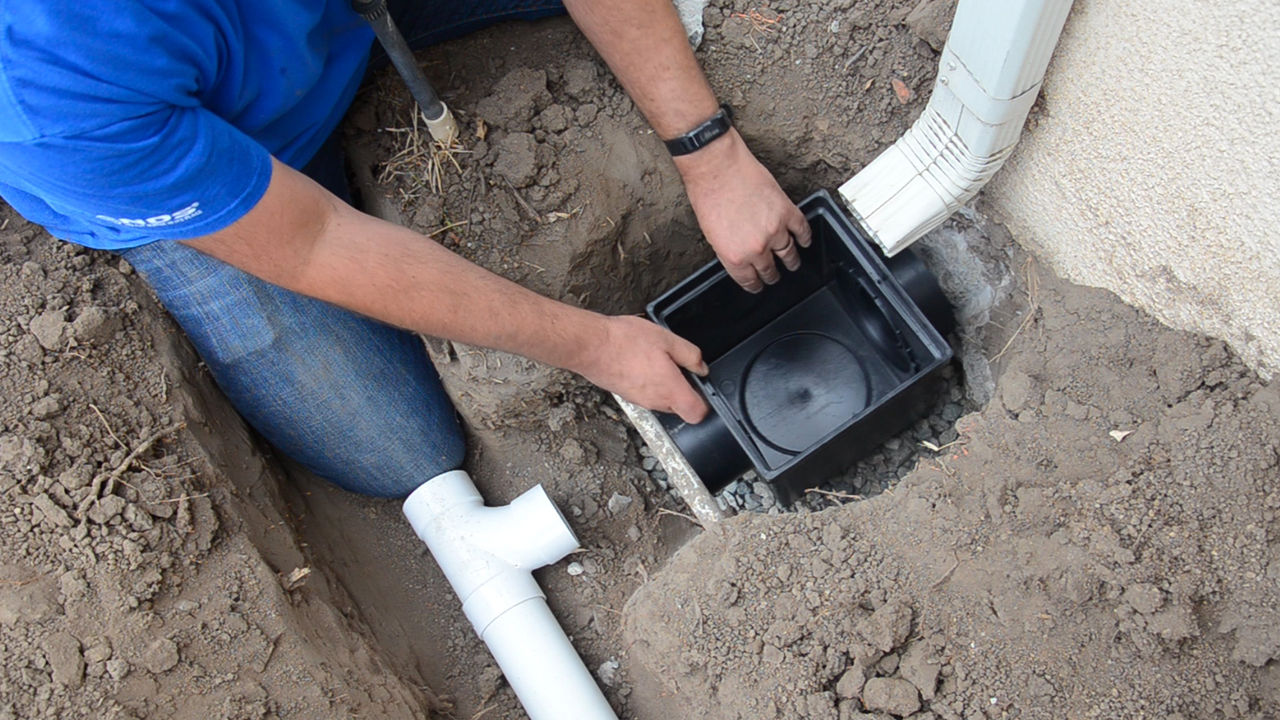
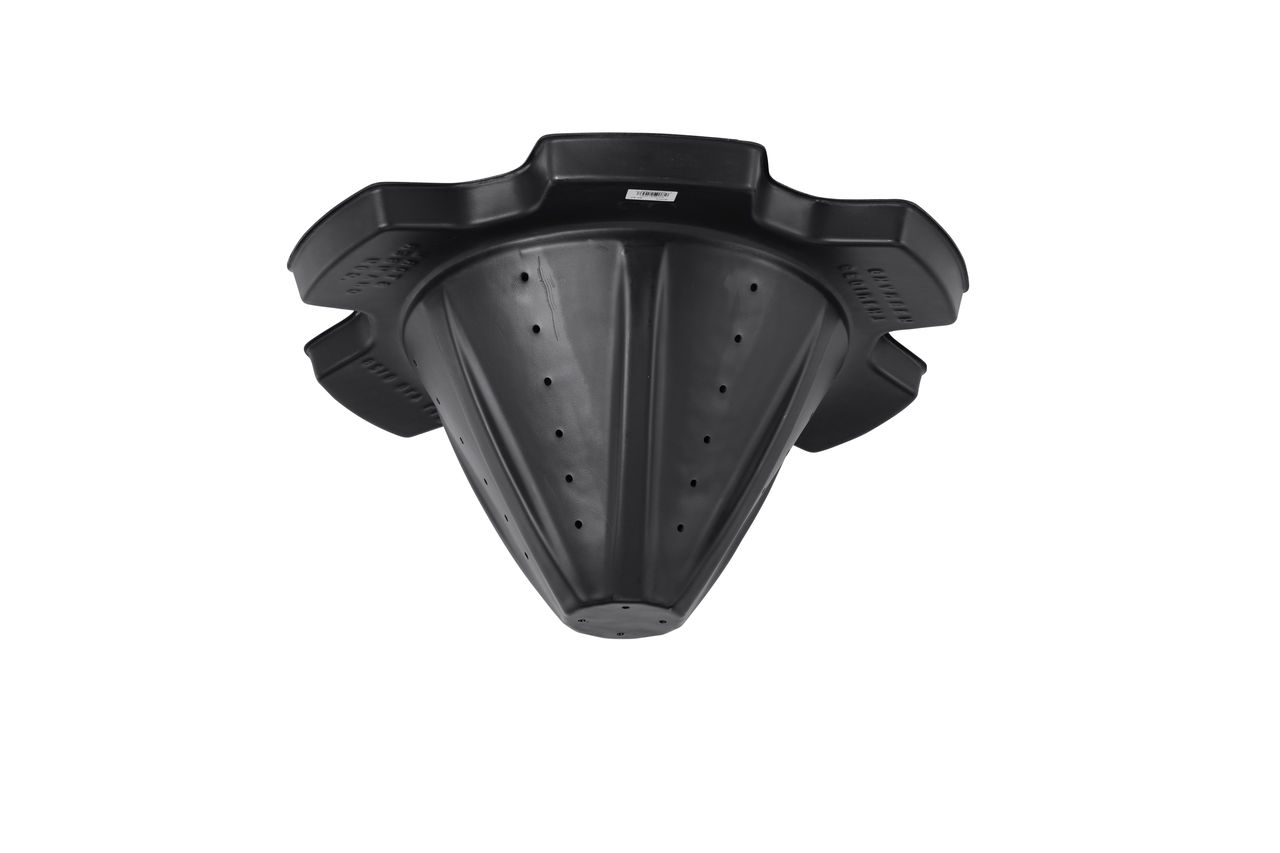
Step 4: Position and Set the Catch Basin
NDS catch basins also feature knockout weepholes that allow water to seep out if desired. To position and set the catch basin, carefully lower the catch basin into the prepared excavation. The unit should sit level and stable on the gravel base with the top positioned at the desired final grade height.
Most catch basins have pre-formed knockout sections for pipe connections. Remove the appropriate knockouts using a sharp utility knife or hacksaw, creating clean, smooth openings that match your pipe diameter.
Test-fit your inlet and outlet pipes before making permanent connections. With the exception of the 6 in. Spee-D® catch basin, NDS catch basins need an outlet adapter to connect drain pipe to the basin. Pipes should fit snugly into the basin openings without excessive force. If connections are too tight, carefully enlarge the opening or sand the pipe ends slightly. The NDS connections are soil tight, which is all you need when they are placed underground. You can achieve a watertight seal with the right adhesive.
Use a level to verify the basin sits level in all directions. Adjust the gravel base as needed to achieve proper positioning. The basin should be stable and not rock when pressure is applied to any corner.
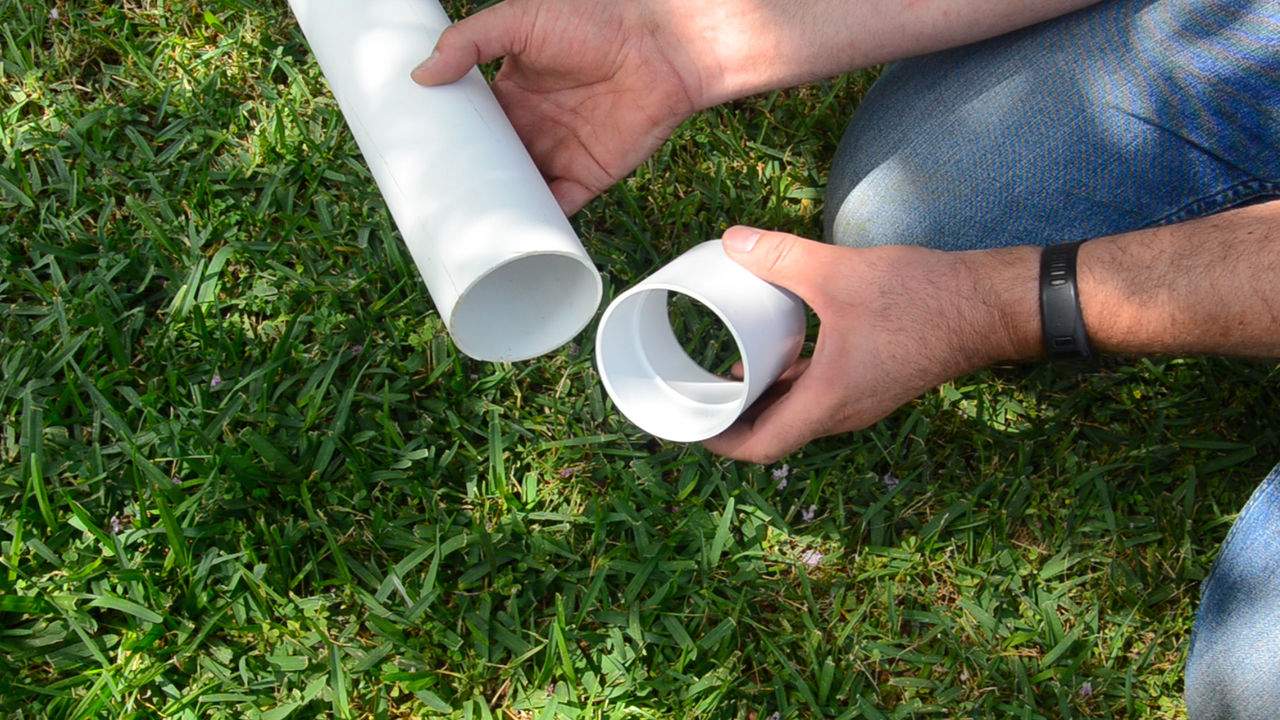
Step 5: Connect the Drainage Pipes
Begin pipe installation at the catch basin and work toward your discharge point, maintaining consistent slope throughout the entire run. Standard 4-inch PVC pipe works well for most residential applications, providing adequate flow capacity without being oversized.
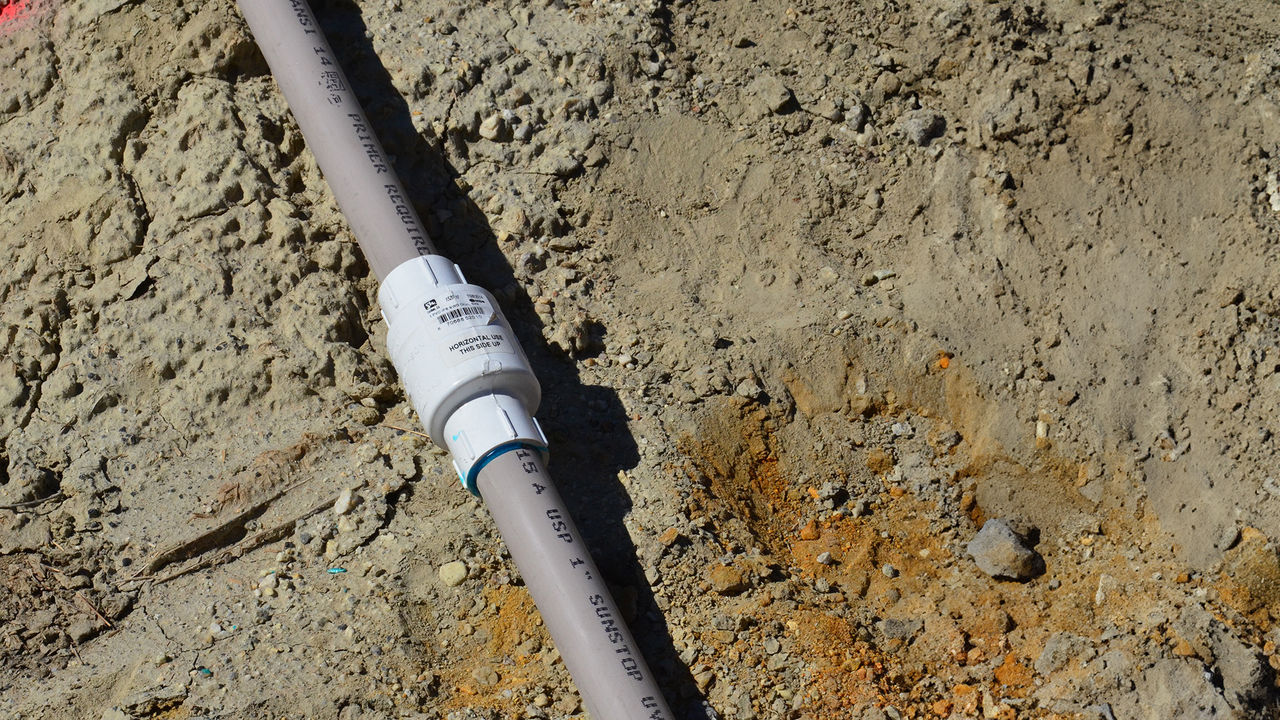
Apply PVC primer and cement to both pipe ends and fittings according to manufacturer instructions. Make connections quickly but carefully, as PVC cement sets rapidly. Ensure each joint is fully seated and properly aligned before the cement cures.
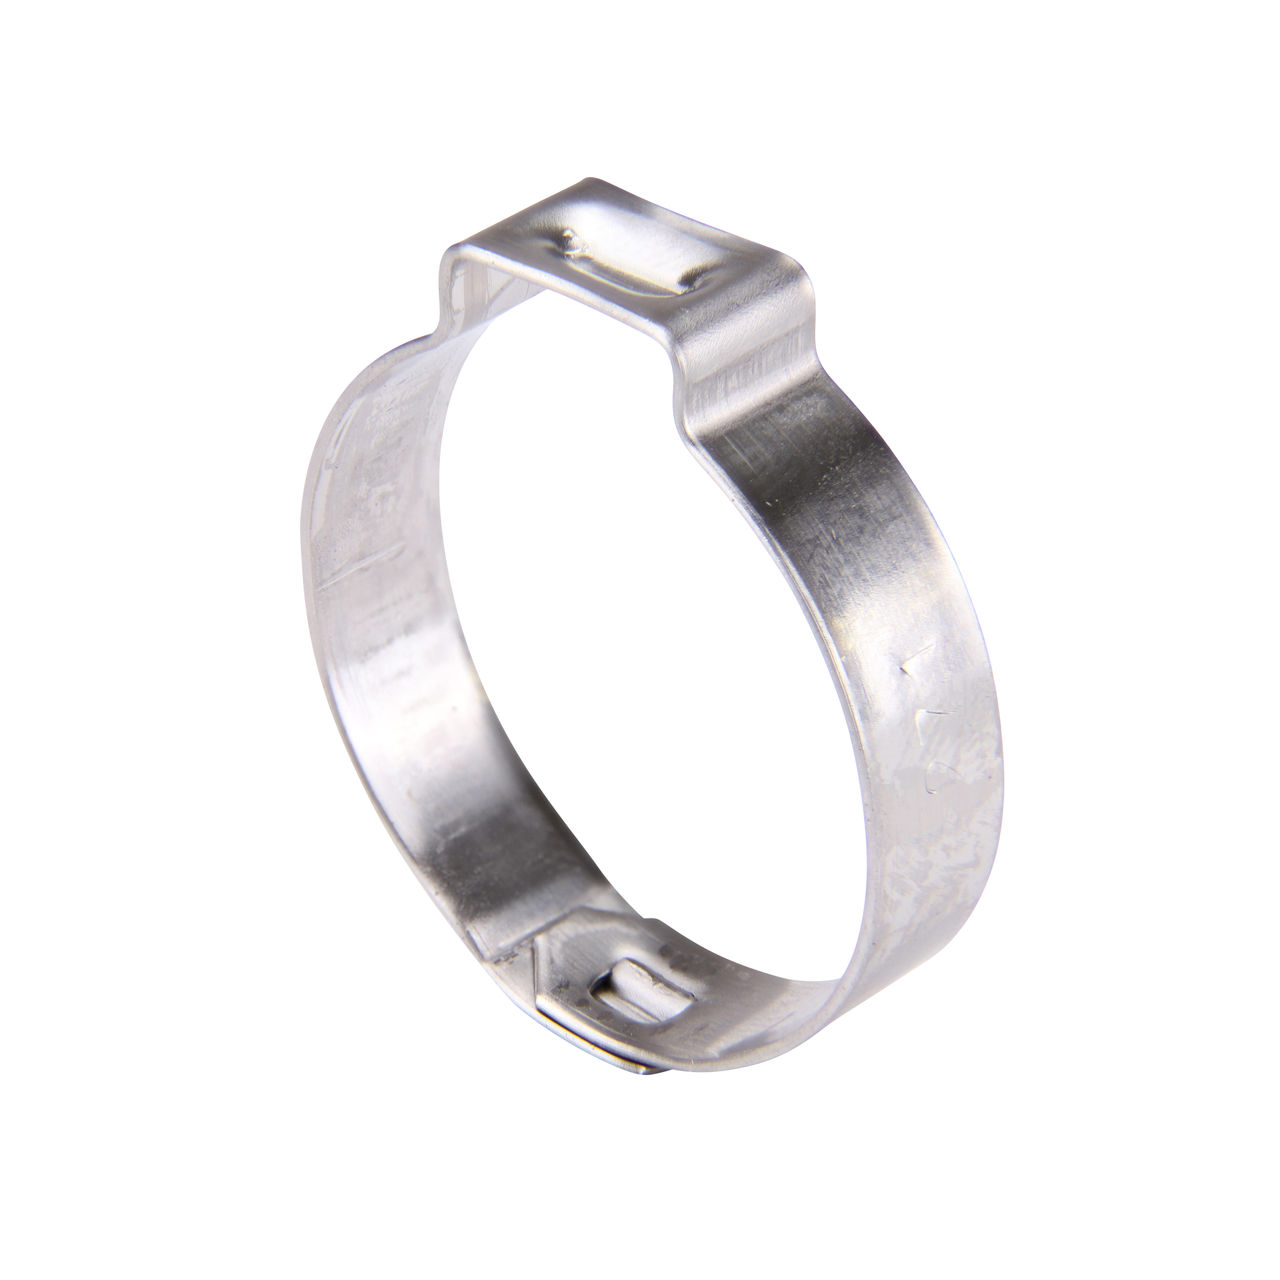
For connections entering the catch basin, use rubber gaskets or flexible couplings when possible. These connections accommodate minor settling while maintaining watertight seals. Apply silicone sealant around pipe penetrations as additional protection against leaks.
Common Mistake Alert: Don't forget to maintain proper pipe slope throughout the installation. Use a line level frequently to verify that your pipes continue dropping toward the discharge point.
Step 6: Backfill and Grade Around the Basin
Once all pipe connections are complete and tested, begin backfilling around the catch basin. Use the excavated soil, removing any rocks or debris that could damage the basin walls or create settling issues.
Backfill in layers, compacting gently by hand or with a hand tamper. Avoid using heavy equipment or excessive force that could shift the basin or damage pipe connections. Fill to within 2-3 inches of the final grade initially.
Position the basin grate so it sits slightly above the surrounding grade, approximately 1/4 to 1/2 inch high. This elevation prevents debris from washing into the basin while ensuring surface water flows toward the collection point.
Complete final grading around the basin, creating a gentle slope that directs surface water toward the grate from all directions. Smooth transitions prevent standing water and ensure efficient collection.
Step 7: Test Your Installation
Before considering your project complete, thoroughly test the entire drainage system. Pour several buckets of water directly into the catch basin grate, observing flow patterns and checking for leaks at all connection points.
Water should flow smoothly through the system without backing up or pooling in the basin. If water moves slowly or stands in the basin, recheck your pipe slope or look for blockages in the line.
Test surface drainage by running water from a garden hose around the basin area, ensuring that surface water flows toward and into the grate efficiently. Make minor grade adjustments if needed to improve water collection.
Check all pipe joints and basin connections for leaks. Minor seepage may occur initially but should stop as soil settles and seals naturally. Persistent leaks may require additional sealant or connection adjustments.
Post-Installation Maintenance and Care
Routine Maintenance Requirements
Proper maintenance ensures your catch basin continues operating effectively for years after installation. Regular care prevents clogs, extends system life, and maintains optimal drainage performance.
Monthly Visual Inspections: Check the grate area for visible debris buildup, standing water, or signs of settling around the basin. Remove any leaves, trash, or debris blocking the grate openings.
Seasonal Deep Cleaning: At least twice per year, remove the grate and clear accumulated sediment from the basin sump. Spring and fall cleanings prepare your system for peak runoff seasons.
Pipe System Checks: Annually inspect pipe connections for signs of settlement, damage, or blockage. Look for areas where pipes may have shifted or where tree roots could cause problems.
Troubleshooting Common Issues
Even well-installed catch basins may develop performance issues over time. Understanding common problems and their solutions helps maintain system effectiveness.
Standing Water in Basin: If water remains in the basin after storms, check for pipe blockages or insufficient slope. Snake the outlet pipe to clear debris, or use a plumber's auger for stubborn clogs. Persistent standing water may indicate inadequate system capacity for your stormwater volume.
Grate Clogging: Frequent grate blockages suggest excessive debris in your drainage area. Consider installing larger or different grate styles, adding upstream debris filters, or increasing maintenance frequency.
Slow Drainage Performance: Gradual performance decline often results from sediment accumulation in pipes or the basin sump. NDS catch basins have a built-in sump area where accumulated debris can be cleaned out as well. Professional pipe cleaning every few years maintains optimal flow capacity.
Settlement Issues: If the basin settles below grade, surface water may bypass the collection point. Minor settlement can often be corrected by adjusting the surrounding grade. Significant settlement may require reinstallation with improved base preparation.
Extending System Lifespan
Quality installation and materials provide the foundation for long system life, but ongoing care will maximize your investment.
- Use Quality Components: Choose durable HDPE or PVC basins and pipes designed for underground installation
- Protect from Damage: Avoid driving heavy equipment over buried pipes or the basin area
- Control Debris Sources: Maintain surrounding landscaping to minimize debris entering the system
- Monitor Performance: Address minor issues promptly before they become major problems
- Professional Inspections: Consider periodic professional evaluations, especially for complex or critical drainage systems
Advanced Considerations and Integration Options
Connecting to Existing Drainage Systems
Many homeowners can enhance their property's drainage by connecting new catch basins to existing infrastructure. Common integration opportunities include:
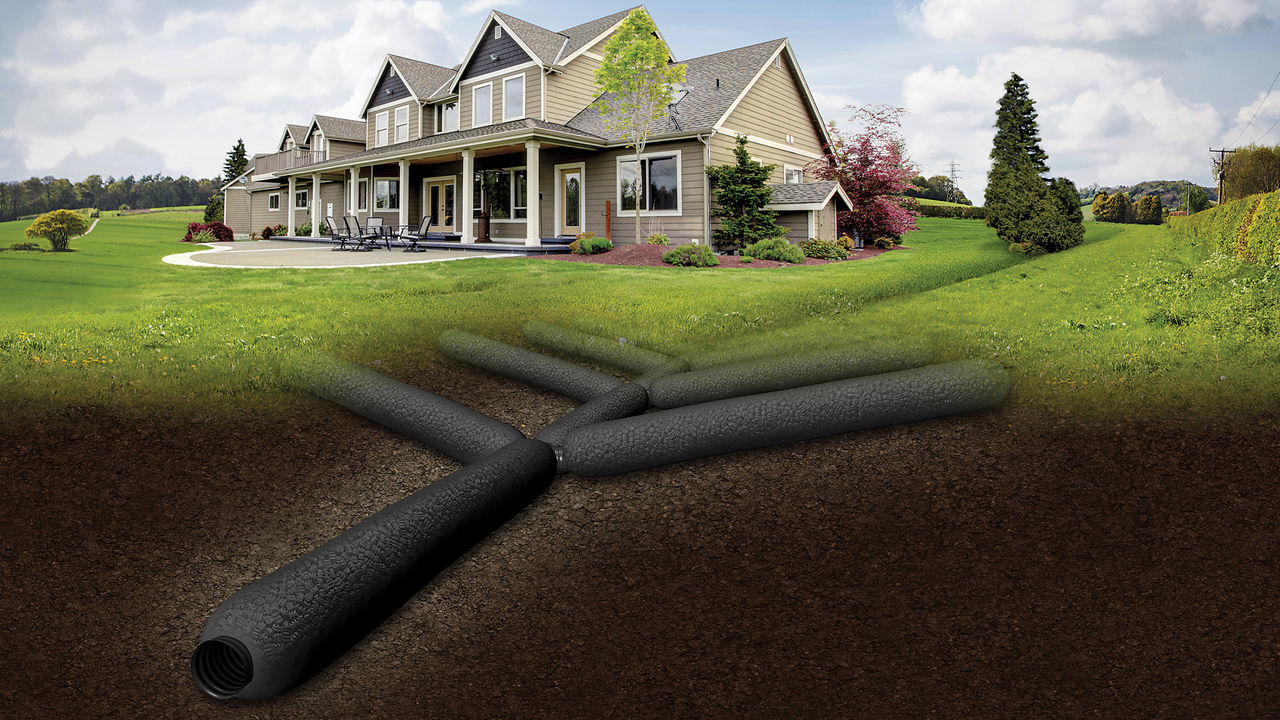
French Drain Connections: Catch basins work excellently as collection points feeding into French drain systems. The combination provides both surface and subsurface drainage in a comprehensive solution.
Dry Well Integration: In areas without municipal storm drains, catch basins can discharge into properly sized dry wells, allowing collected water to percolate into surrounding soil gradually.
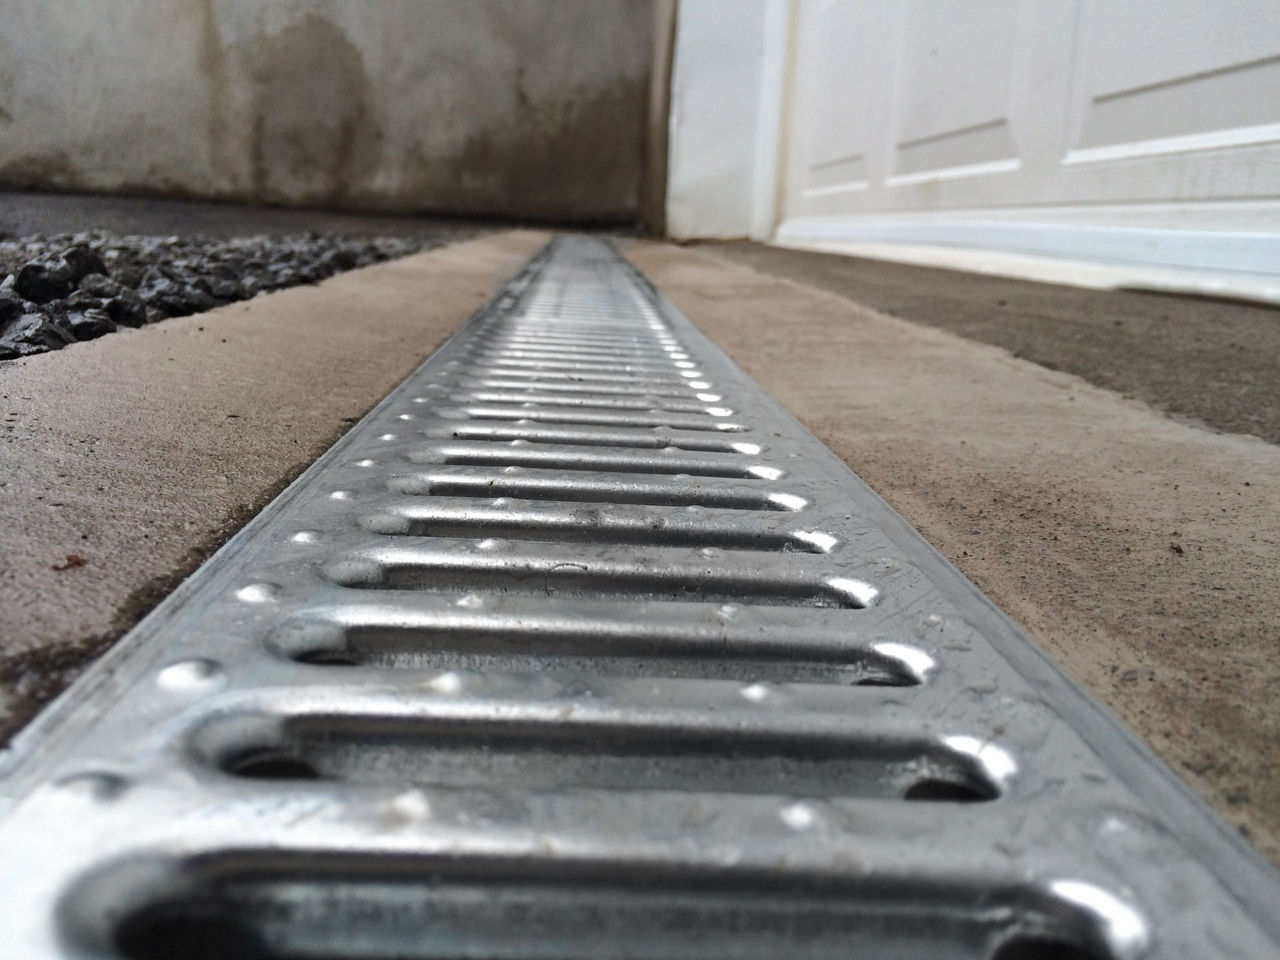
Channel Drain Networks: Linear channel drains can feed into catch basins for centralized collection from large paved areas like driveways or patios.
Municipal Storm System Tie-ins: Where permitted, catch basins can connect to municipal storm drainage, but this typically requires permits and professional installation to meet local codes.
Commercial Drainage Solutions for Larger Properties
Homeowners with extensive properties or significant drainage challenges may need commercial drainage solutions that go beyond basic residential catch basins. These situations might include:
- Large paved areas requiring multiple collection points
- Steep slopes generating high-velocity runoff
- Areas subject to local flooding regulations
- Properties with unique soil or groundwater conditions
Commercial-grade systems typically feature larger capacity basins, heavy-duty grates, and more robust pipe networks designed to handle greater flow volumes and loading stresses.
When to Call a Professional
While many homeowners can successfully install basic catch basin systems, certain situations require professional expertise:
Complex Grading Requirements: Properties requiring significant regrading or multiple basin installations may need professional design and equipment.
Utility Conflicts: Areas with numerous underground utilities require careful coordination and may need professional locating services.
Municipal Connections: Tie-ins to city storm systems typically require licensed contractors and permit compliance.
Challenging Soil Conditions: Rocky soil, high water tables, or contaminated areas may need specialized installation techniques.
Large-Scale Projects: Extensive drainage systems covering multiple acres or serving commercial properties benefit from professional engineering and installation.
Frequently Asked Questions About Catch Basin Installation
What materials are needed for catch basin installation?
A typical residential catch basin installation requires the basin unit with grate, 4-inch PVC pipes and fittings, crushed stone for bedding, PVC cement and primer, silicone sealant, and basic hand tools for excavation and assembly. Material costs typically range from $200-500 for basic installations, depending on pipe length and basin size.
How deep should a catch basin be installed?
Catch basin depth depends on your specific drainage needs and pipe routing requirements. Most residential installations place the basin 18-24 inches deep, allowing adequate pipe cover while keeping the grate at ground level. The basin should sit on a 2-4 inch gravel base with proper slope maintained to the discharge point.
Can a catch basin connect to an existing drainage system?
Yes, catch basins commonly connect to existing French drains, dry wells, or municipal storm systems where permitted. Connections should maintain proper slope and use appropriate fittings for watertight joints. Check local codes before connecting to municipal systems, as permits may be required.
What are common mistakes to avoid during installation?
The most frequent installation errors include insufficient pipe slope (less than 1%), poor base preparation leading to settling, inadequate backfilling causing structural stress, and improper grate height allowing debris accumulation. Taking time for proper preparation and testing prevents most issues.
How do I know if I need multiple catch basins?
Multiple basins may be necessary for large drainage areas, properties with multiple low spots, or areas where single-point collection would require excessively long pipe runs. Generally, consider additional basins if your drainage area exceeds 2,500 square feet or if you have multiple distinct problem areas.
What size catch basin do I need for my property?
Residential catch basins typically come in 6", 9", 12", and 18" sizes. Choose based on your drainage area and expected flow volume. A 12" basin handles most residential applications, while larger sizes suit extensive paved areas or regions with intense rainfall. Consider your specific needs and local climate when selecting size.
Conclusion: Protecting Your Property Investment
Learning how to install a catch basin can protect your property from water damage while enhancing its functionality and value.
The key to successful catch basin installation lies in thorough preparation, quality materials, and attention to detail during each step. By properly assessing your drainage needs, choosing optimal locations, and following proven installation techniques, you can create an effective stormwater management system that serves your property for decades.
Remember that installing catch basins is just one component of comprehensive property drainage. The most effective systems often combine catch basins with other solutions like French drains, proper grading, and regular maintenance to create robust protection against water-related problems.
Whether you're addressing existing drainage issues or proactively protecting your property investment, a well-installed catch basin system provides peace of mind during storm events and helps maintain the beauty and functionality of your outdoor spaces year-round.
Start your drainage improvement project today by assessing your property's needs and gathering the necessary materials and tools. With proper planning and execution, you'll soon enjoy the benefits of effective stormwater management that keeps your property dry, safe, and beautiful in all weather conditions. Visit ndspro.com for more information.


