


How to Plan Successful Drip Irrigation Systems

Building a superior irrigation system starts with thoughtful planning well before the first piece of tubing is unrolled. By investing effort in the design process and prep work, you can create drip systems that deliver long-term performance and reliability—helping strengthen your reputation as a trusted irrigation professional.
Here are smart planning strategies and product tips that will help you position your next drip project for success.

Discussing the drip irrigation project with a client
1. Carefully evaluate the property and landscape
During your property walk-though, take note of factors that can impact irrigation performance—like elevation changes, soil type, and sun exposure. Create a detailed site sketch that includes planting beds, trees, and other irrigated areas as well as hardscape features that may affect tubing placement.
DRIP TIP: For sloped terrain, plan to use pressure-compensating emitters or dripline to help ensure consistent water distribution across varying elevations.

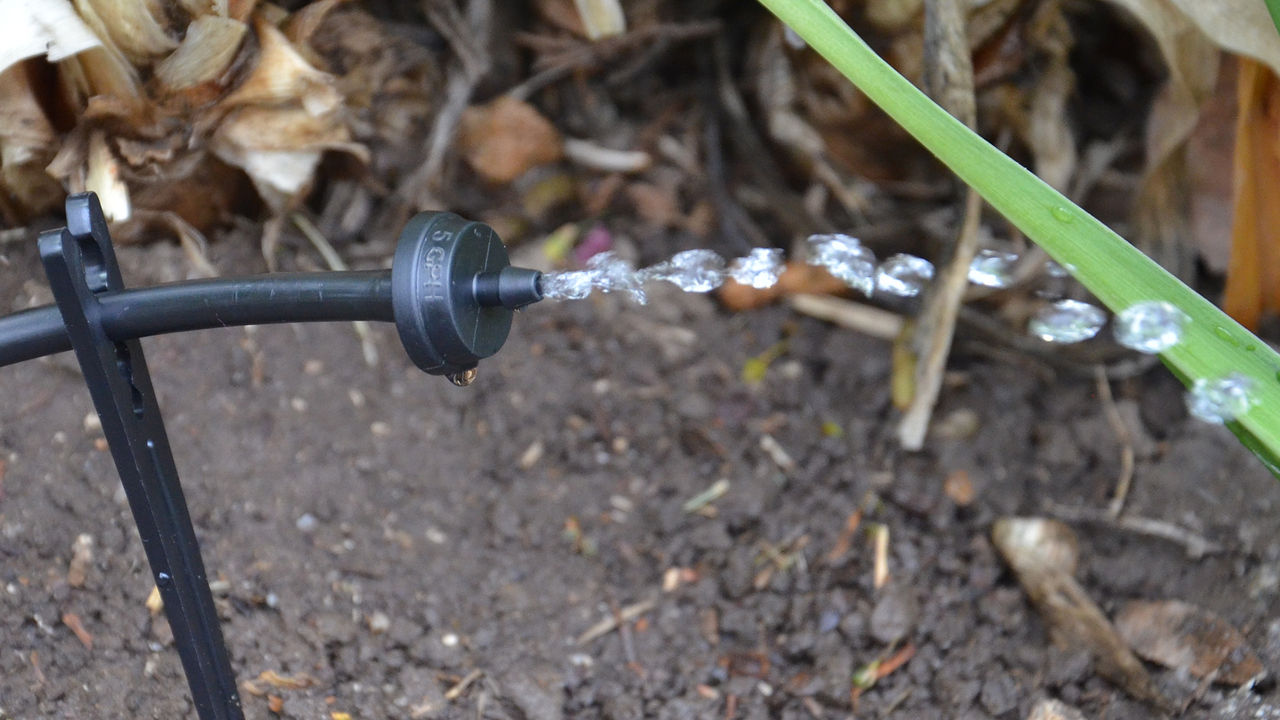
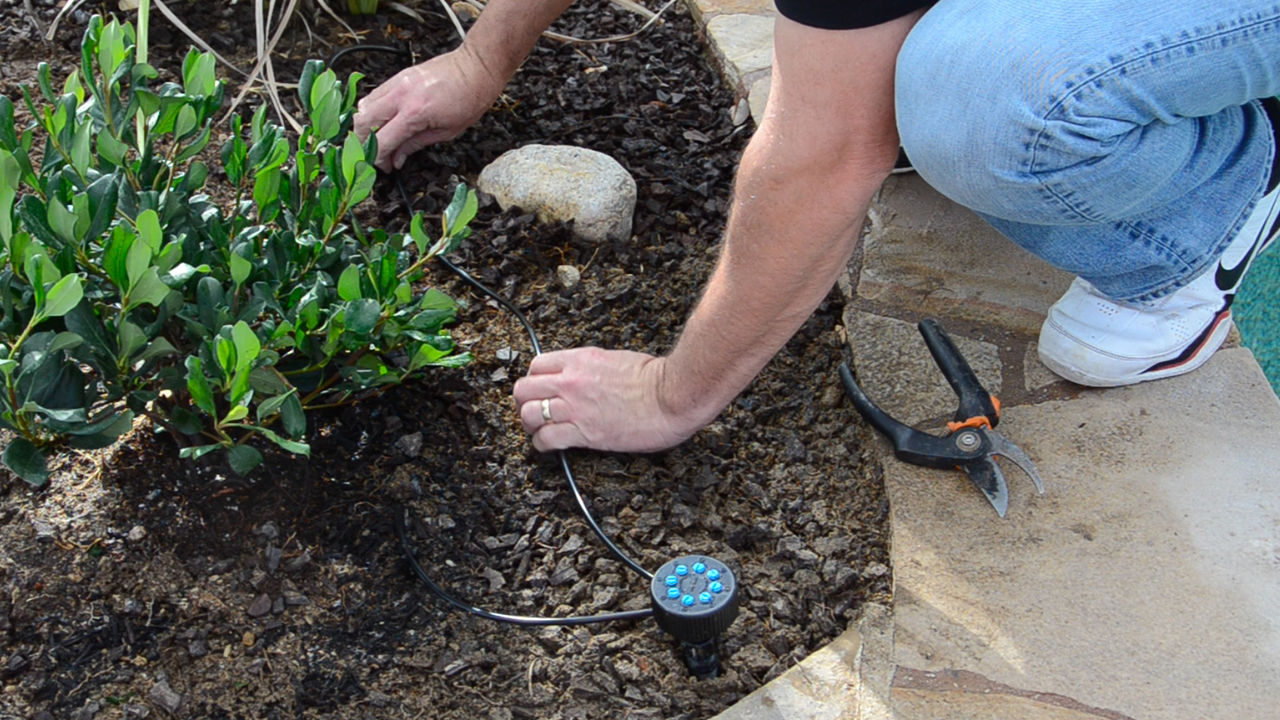
Installing tubing for plants with similar water needs
2. Organize irrigation zones according to water usage
To maximize the precision and efficiency of your drip setup, group plants with similar water needs into dedicated irrigation zones. For example, flowering annuals often require more frequent irrigation than mature shrubs, native plants, and drought-tolerant species. Proper zoning allows each landscaped area to receive the appropriate amount of water.
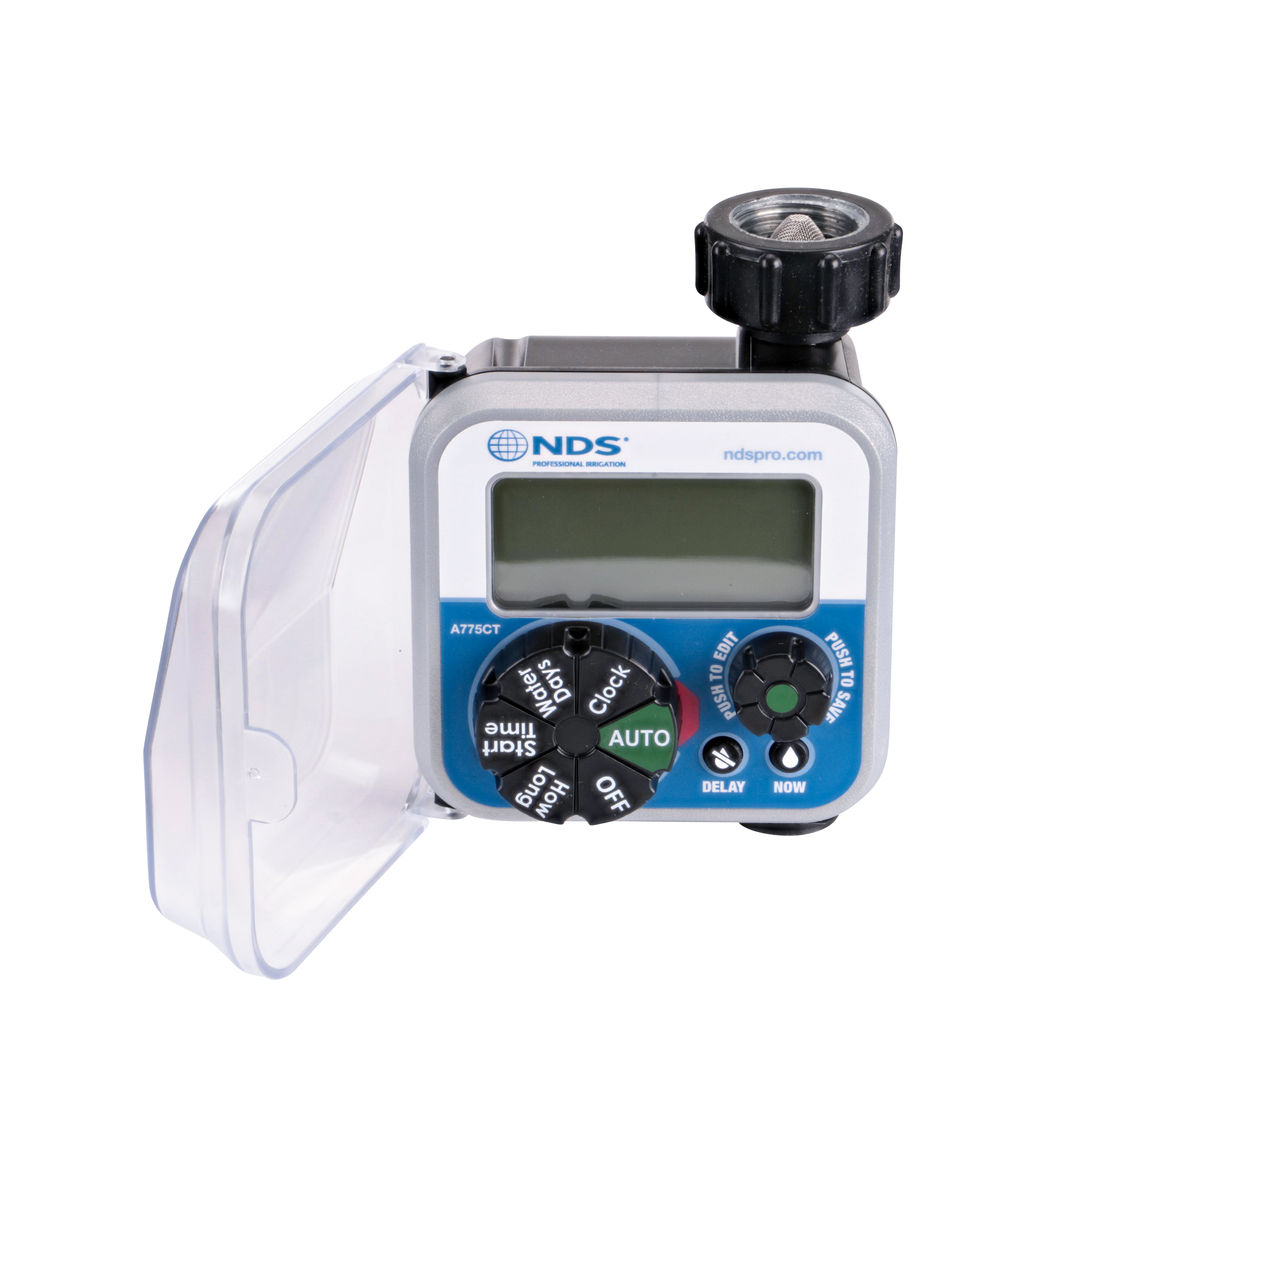
DRIP TIP: To set up an irrigation zone quickly, opt for an all-in-one control zone kit that comes preassembled with a valve and pressure-regulating filter.

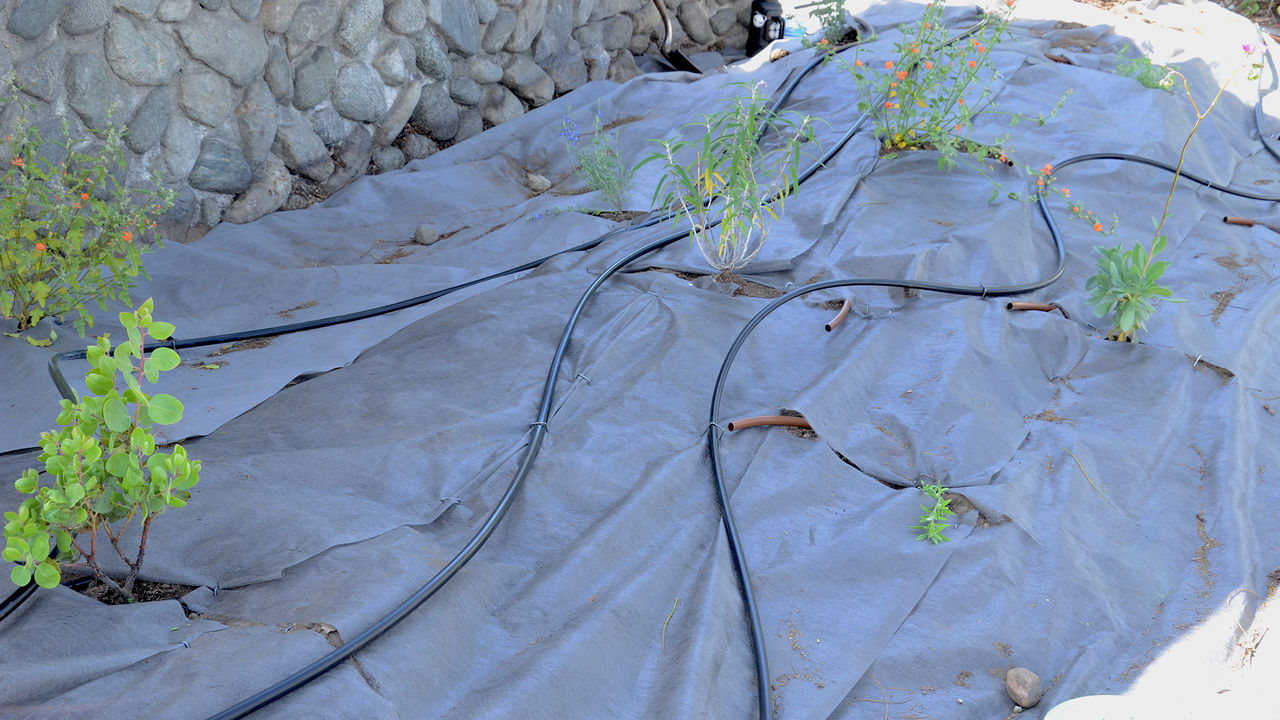
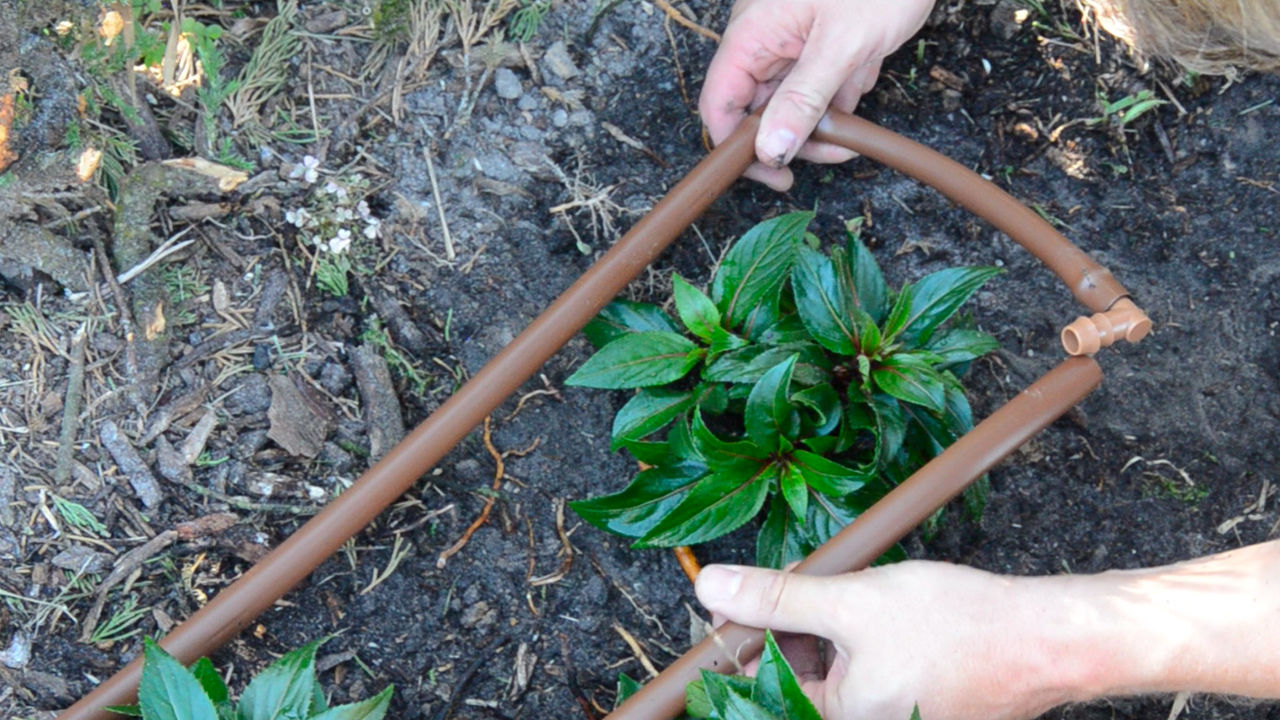
Snaking tubing around plants in a landscape bed
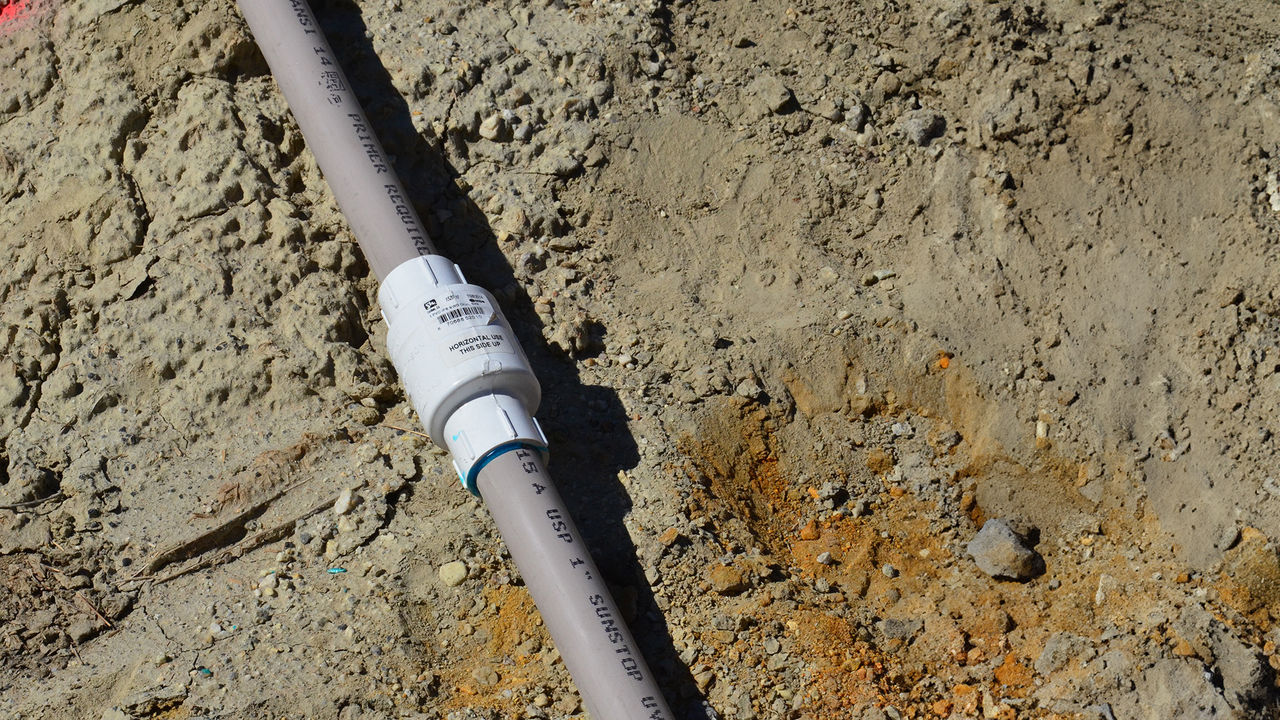
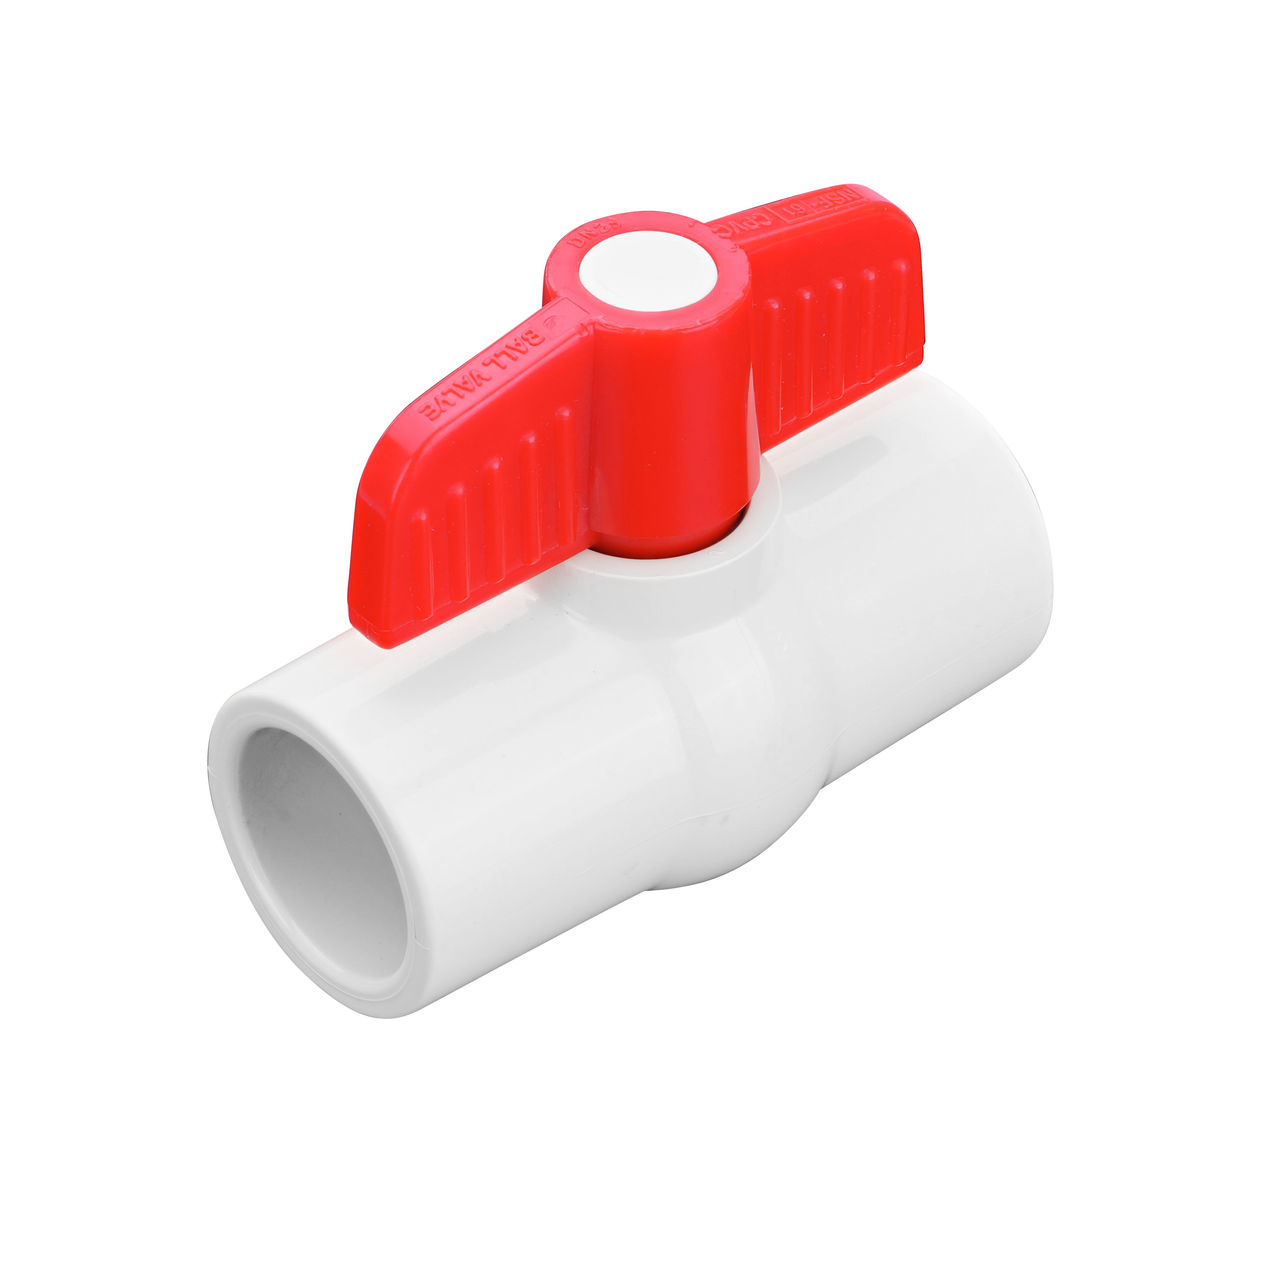
3. Plan tubing routes for optimum system performance
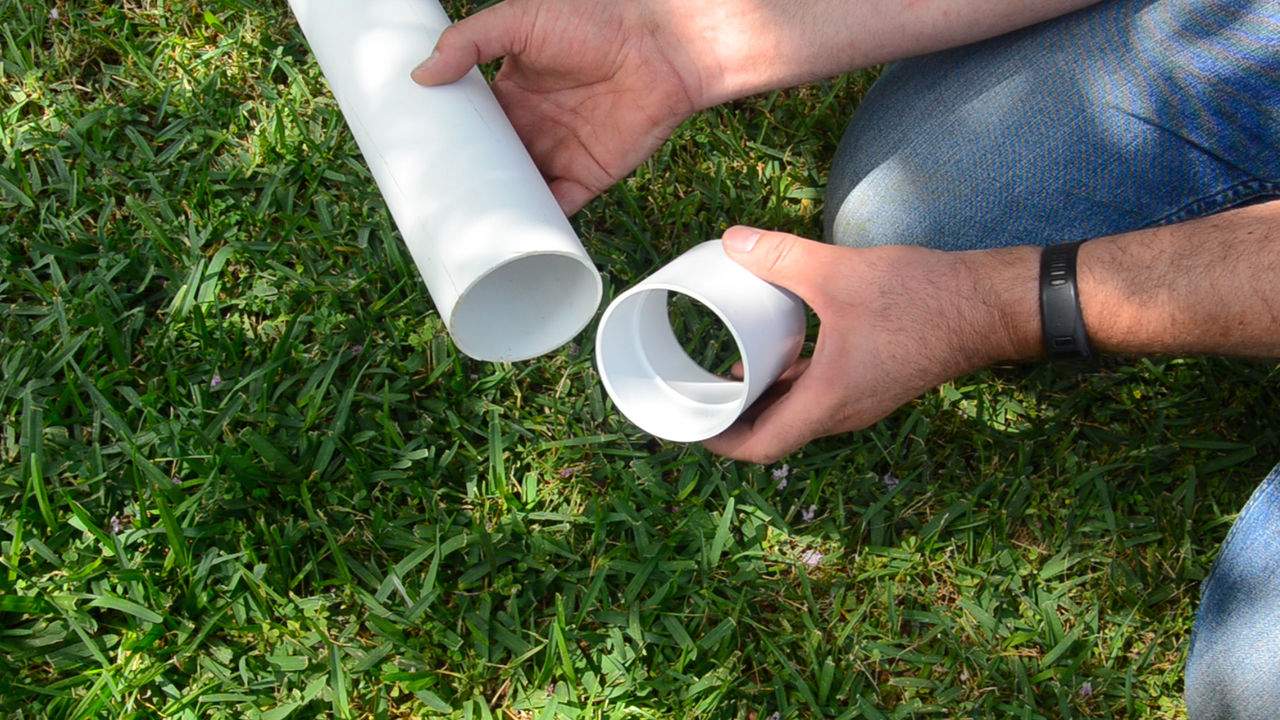
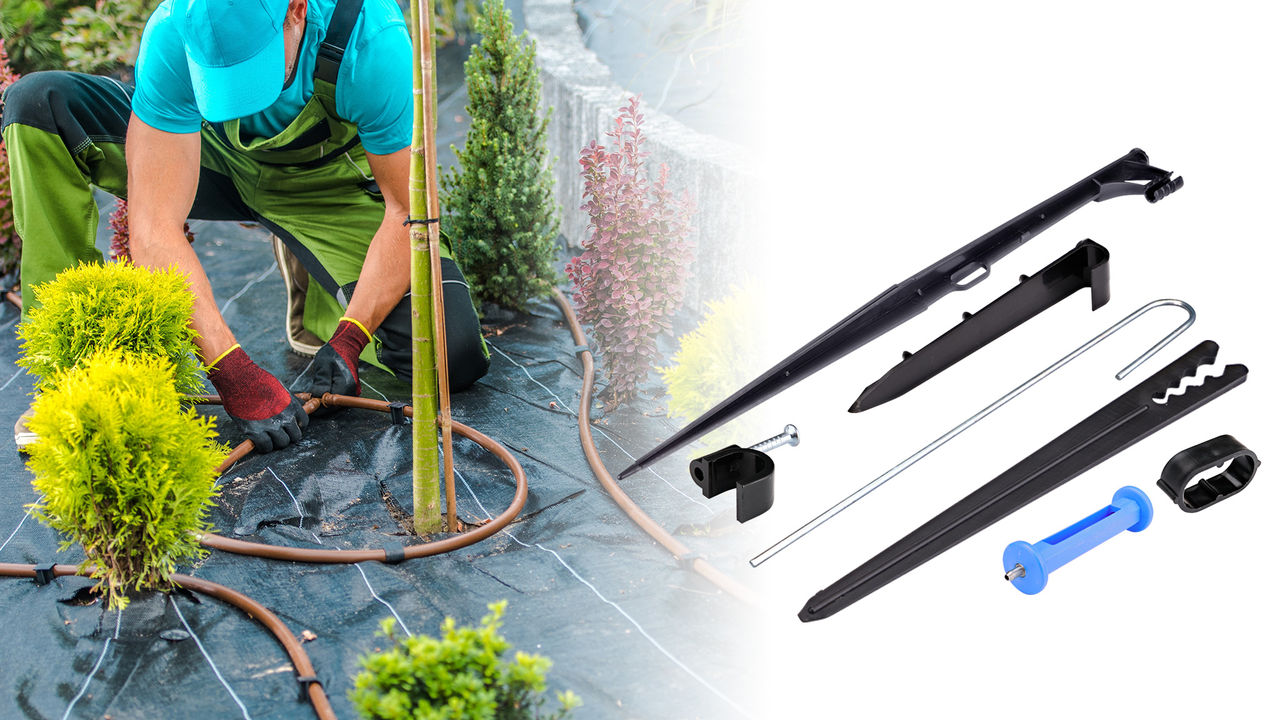
For an efficient tubing layout, avoid unnecessary complexity and sharp bends that can disrupt water flow. Use stakes to keep tubing in place, the appropriate fittings to ensure secure connections, and single- or multi-outlet emitters to deliver water where needed.
Exceeding recommended tubing run lengths or overloading a line with too many emitters can degrade system performance so it's a good idea to check product specs. The NDS specifications library is a good resource, with a search bar to help you find what you need.
What is the 200/200 rule?
Some contractors use the 200/200 rule as a rough planning guideline: limiting tubing run lengths to a maximum of 200 ft. and the total flow rate of drip emitters for each line to 200 GPH.
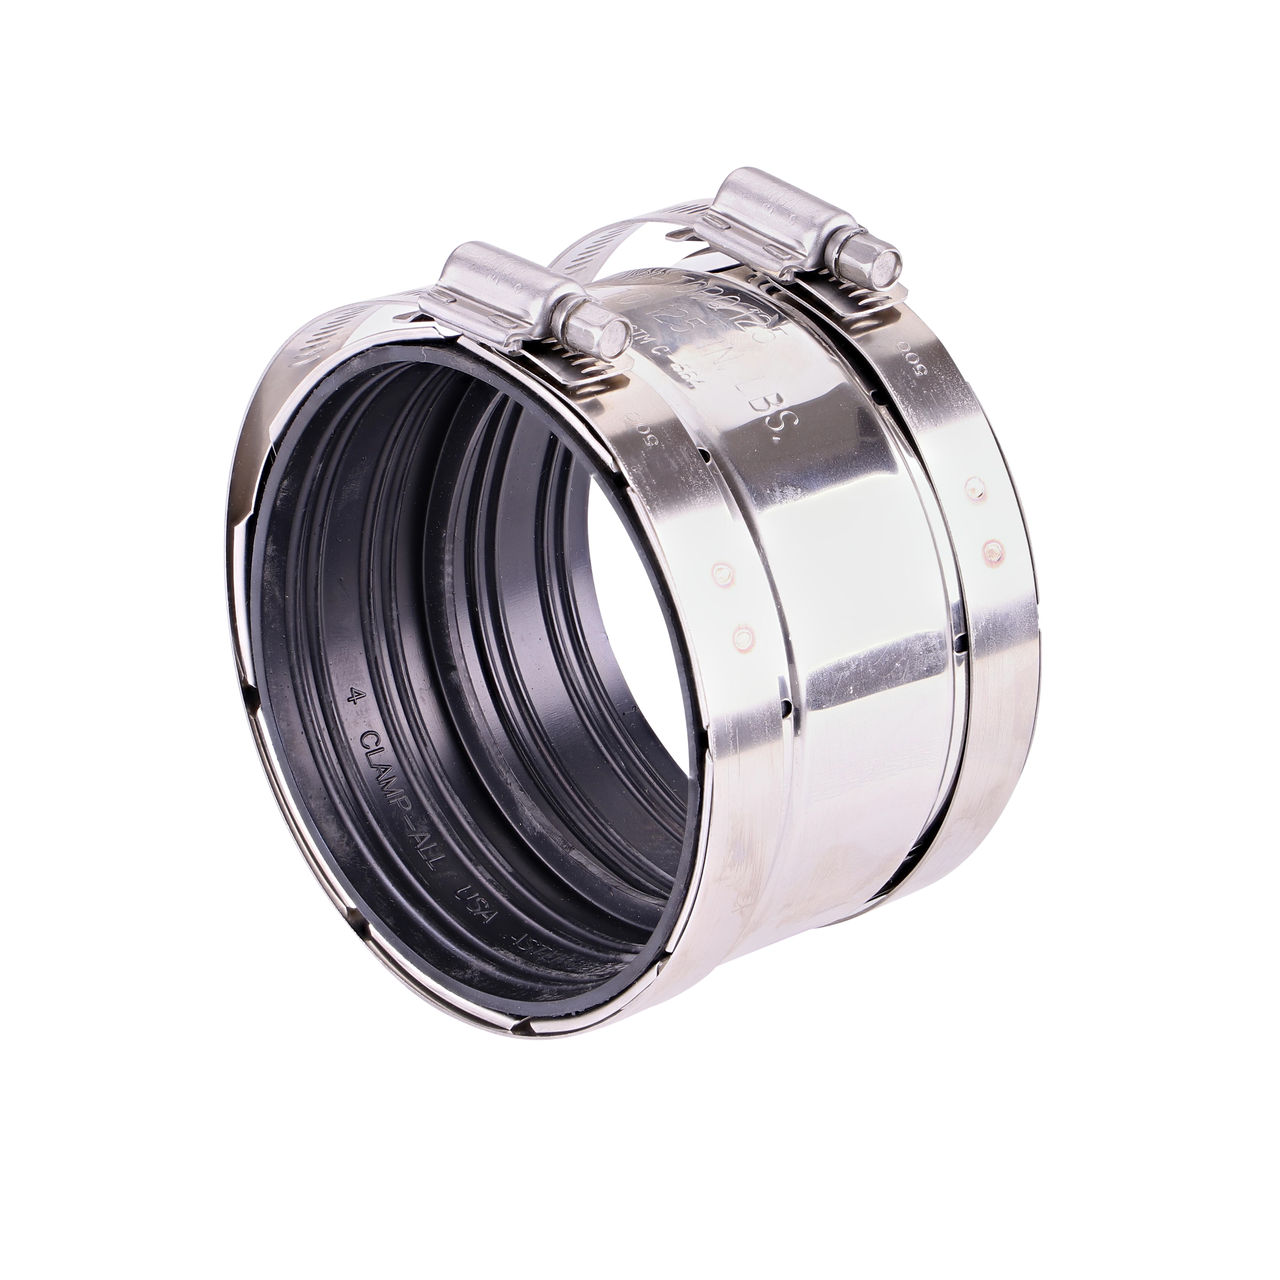
DRIP TIP: Need a longer run? NDS Dura Flo™ CV Check Valve 17mm Dripline enables runs of up to 314 ft. while also reducing header materials and installation labor.

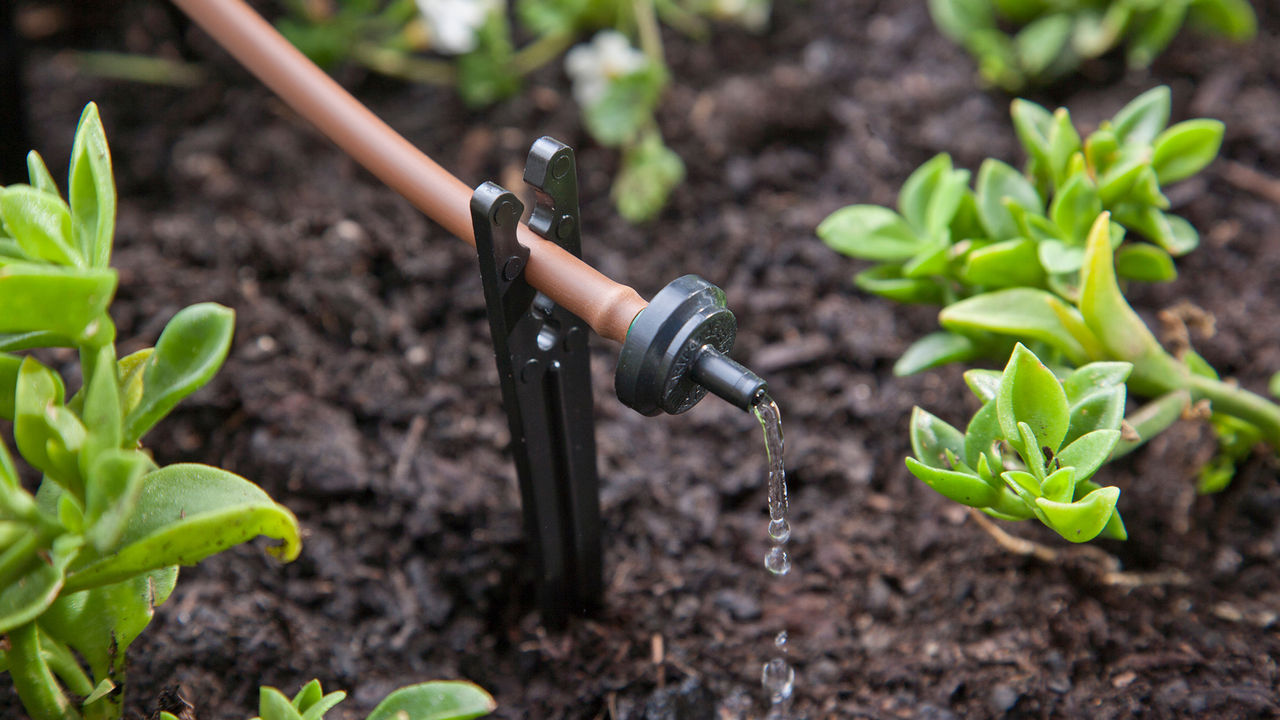
Dripline capped with a Smart Loc™ Hose End Plug
4. Plan for the possibility of future expansion
Landscapes often evolve over time with new planting beds, garden areas, or outdoor living spaces. You can make it easier to accommodate future irrigation projects by integrating flexibility into your original design—such as adding extra outlets that can be capped until needed.
DRIP TIP: For even more flexibility now and in the future, choose Smart Loc™ fittings that work with a variety of supply tubing and dripline sizes. Bonus: They're easy to remove and reuse!
These field-tested best practices will help you create drip irrigation systems that perform effectively over time, contributing to healthy landscapes and happy clients. When you're ready to level up your skills, take the NDS PRO Drip Irrigation Course for practical, hands-on instruction that will enhance your credibility as a proven drip expert.


