


How to Install a Dry Well: Step-by-Step Tips
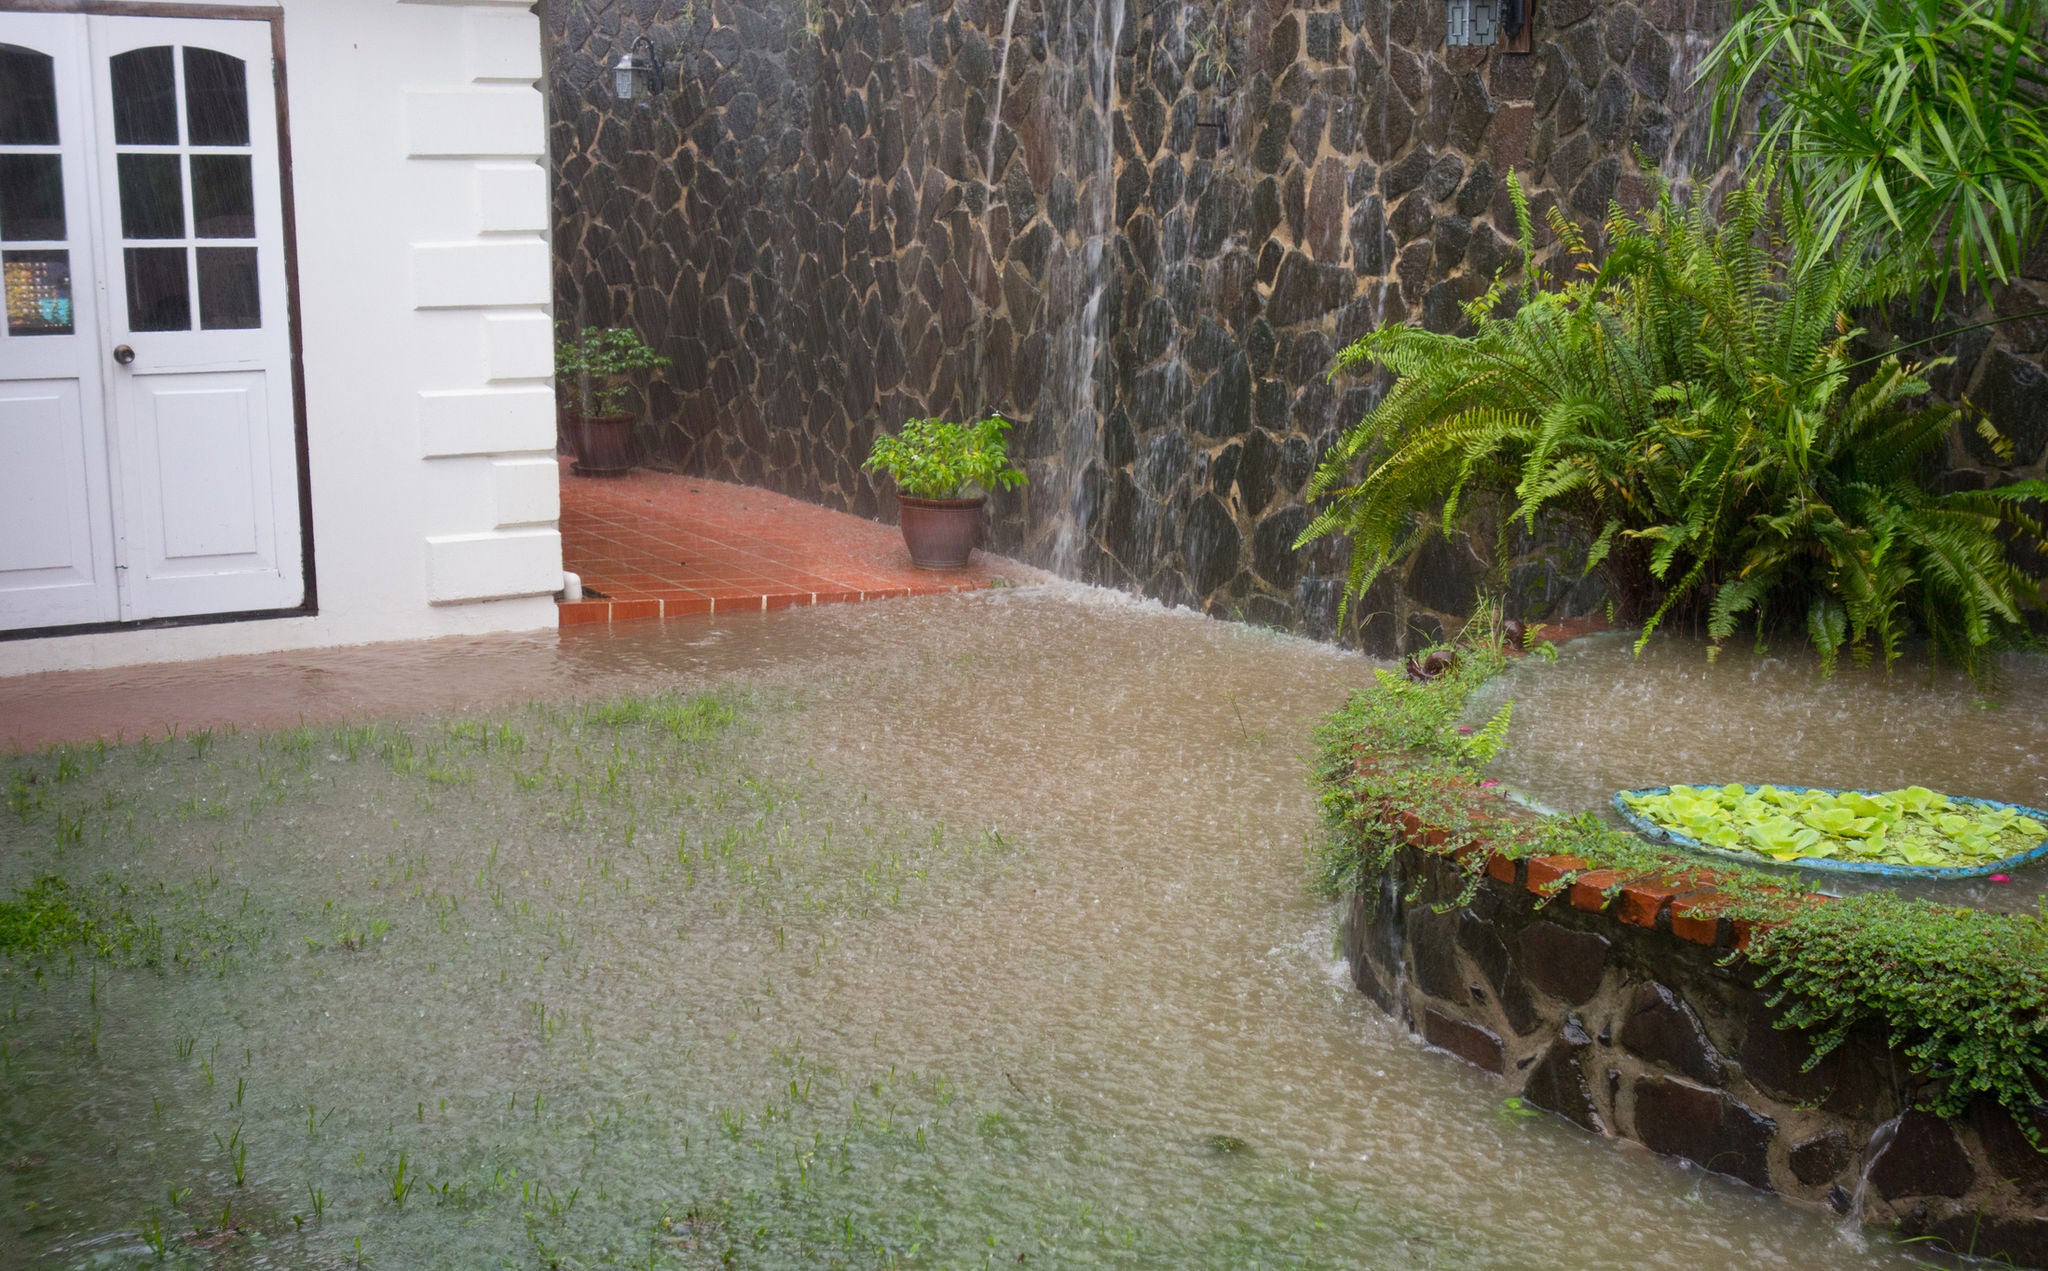
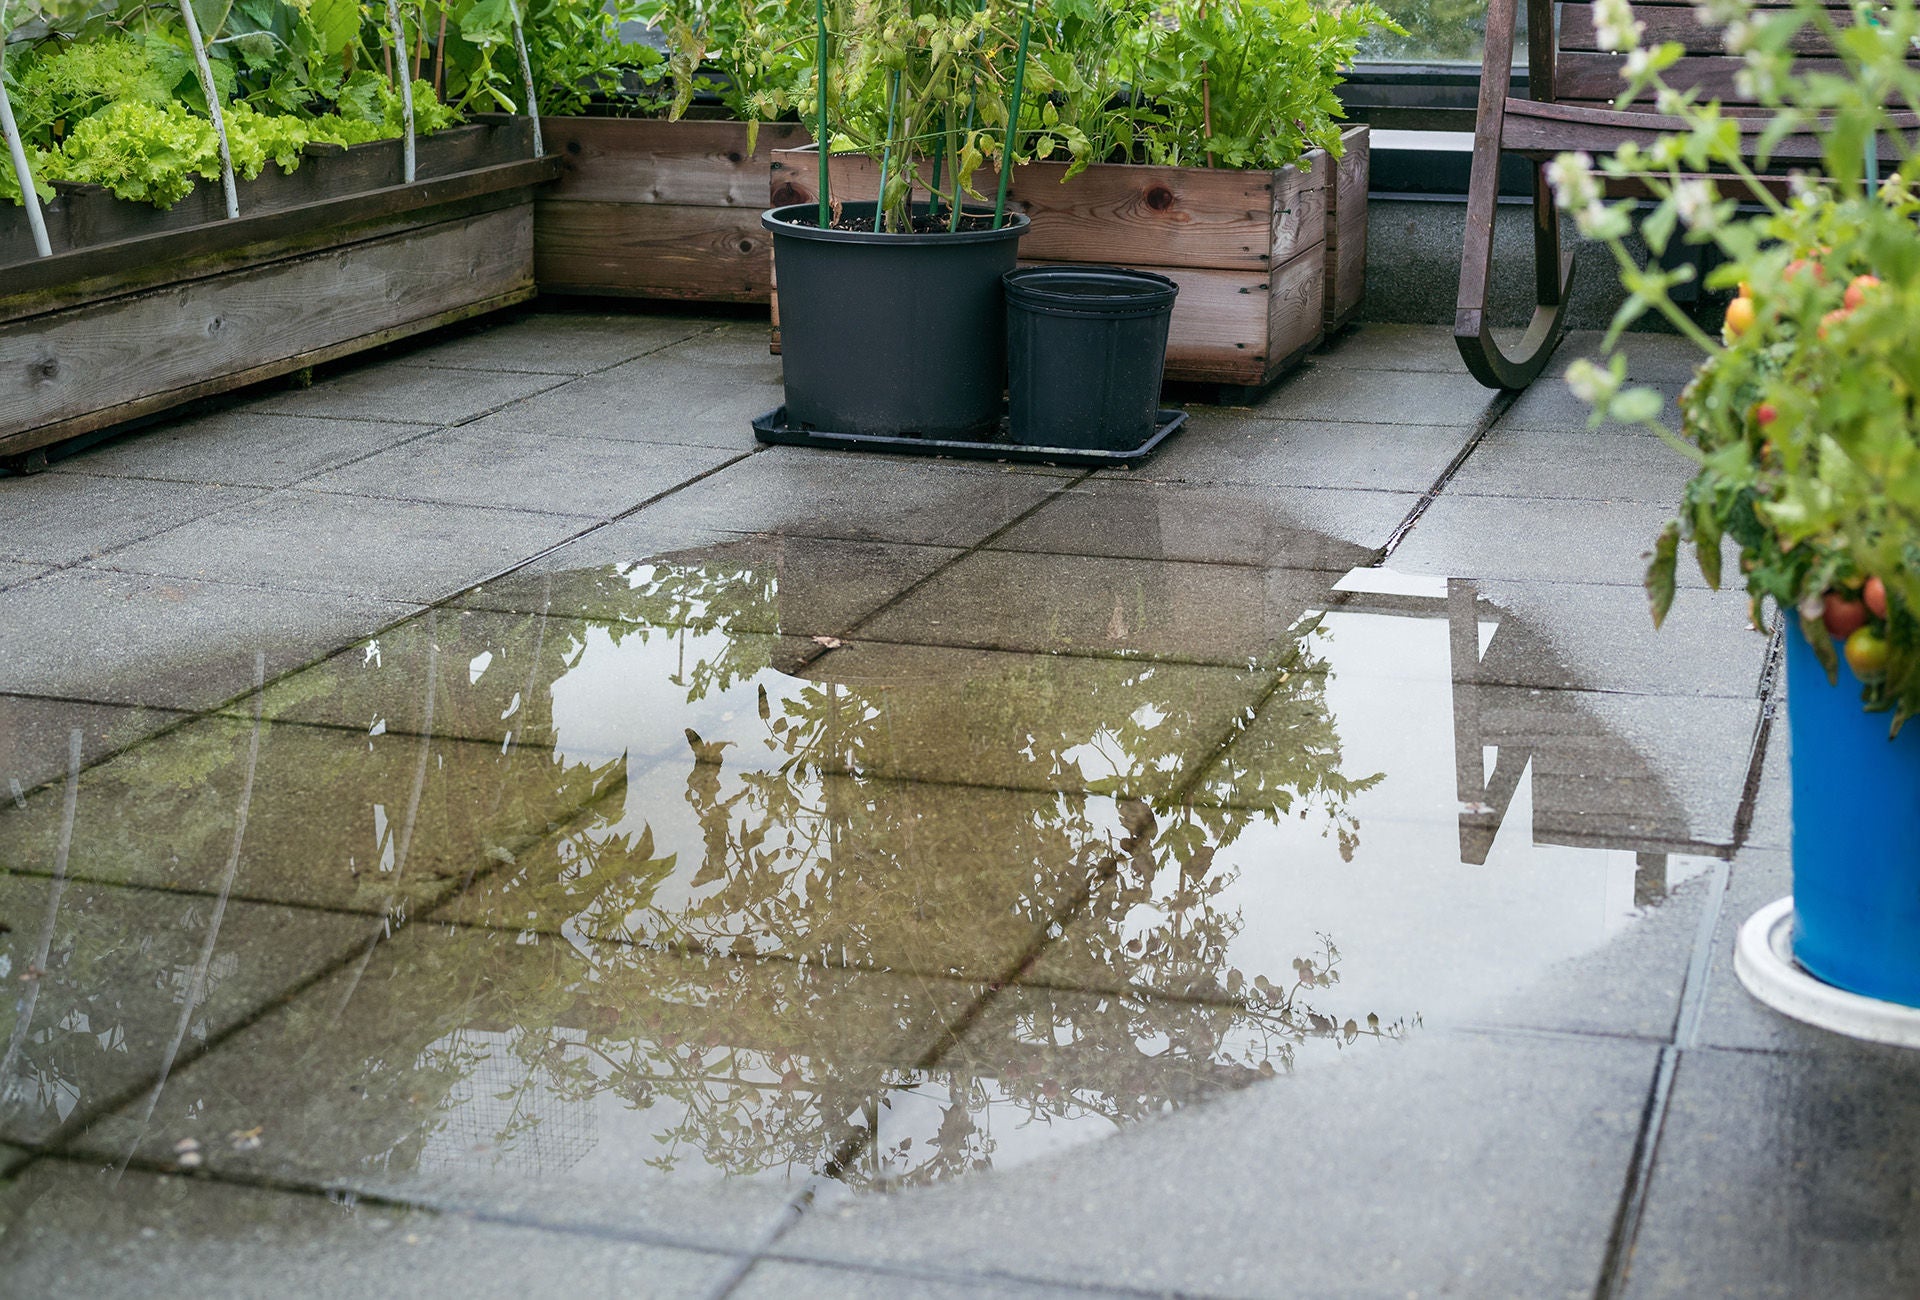
If heavy rain leaves puddles in your yard or water is pooling near your foundation, a dry well can be one of the most effective solutions for managing excess stormwater. This practical guide explains how to install a dry well, from assessing your property and choosing materials to excavation, assembly, and maintenance.
Whether you’re a homeowner tackling your first drainage project or a DIY enthusiast looking to upgrade your yard’s water management, understanding the correct installation process will ensure a reliable and long-lasting solution.
Understanding dry wells
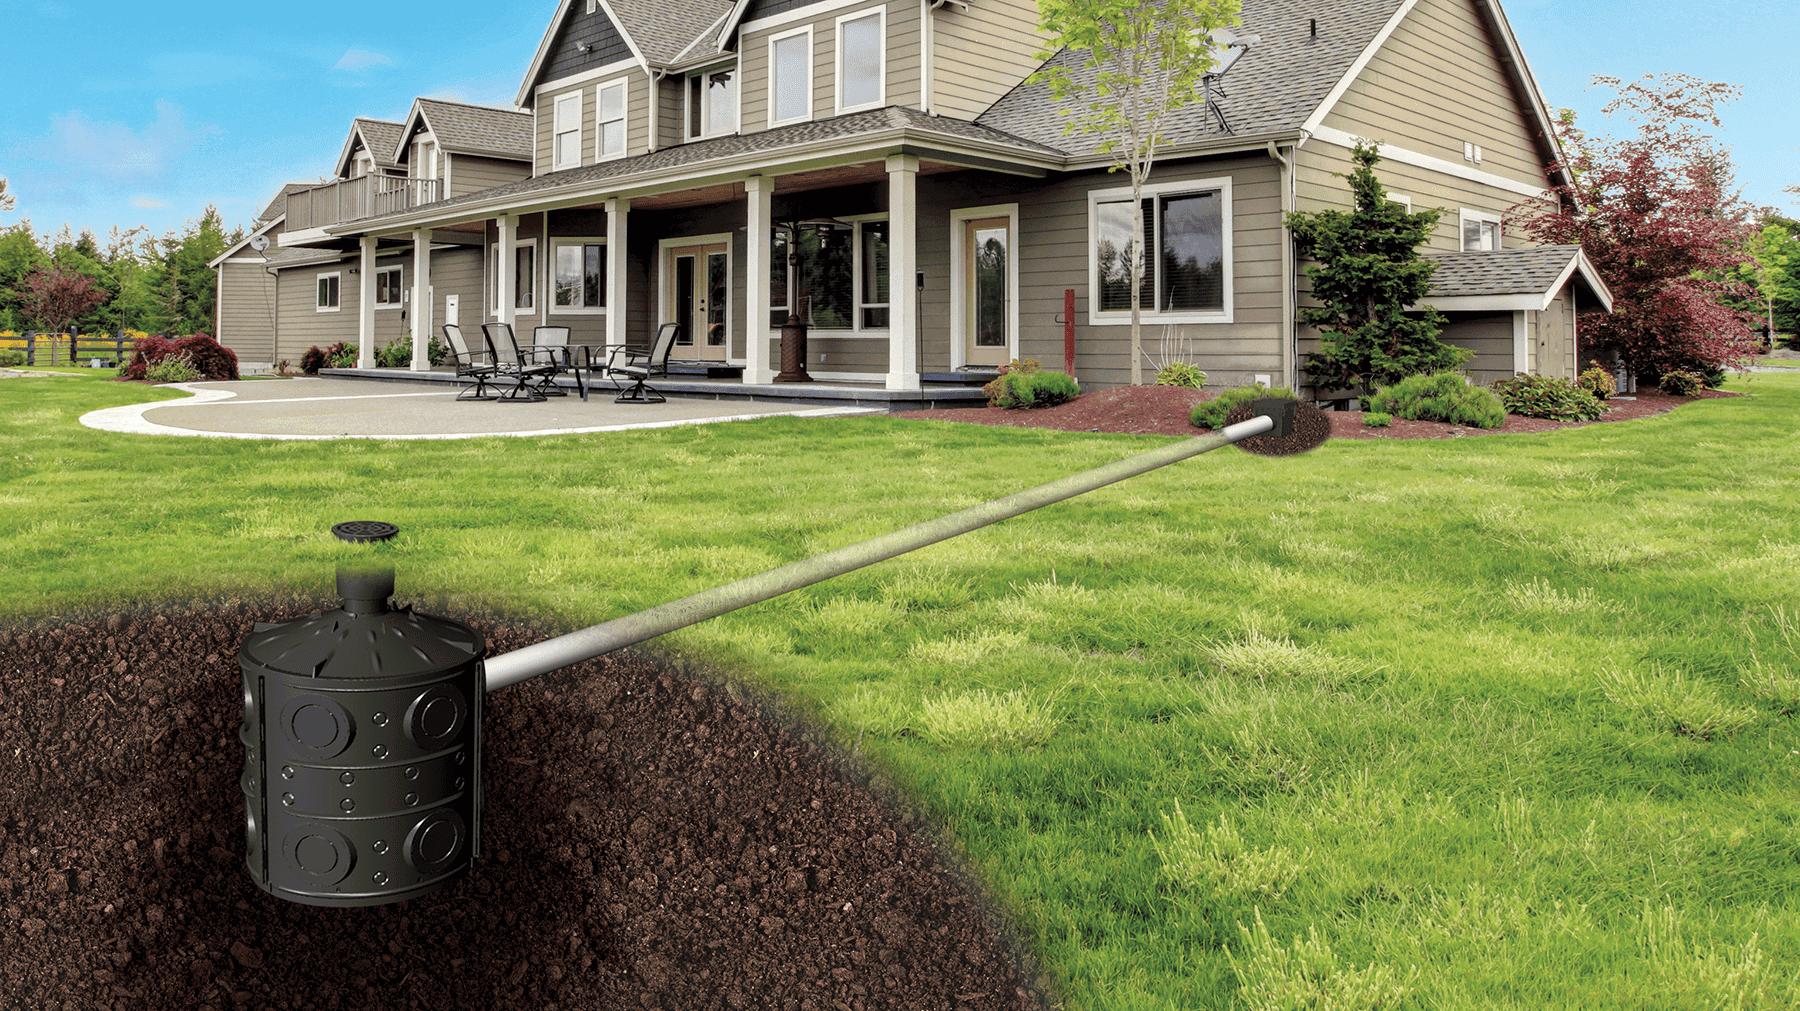
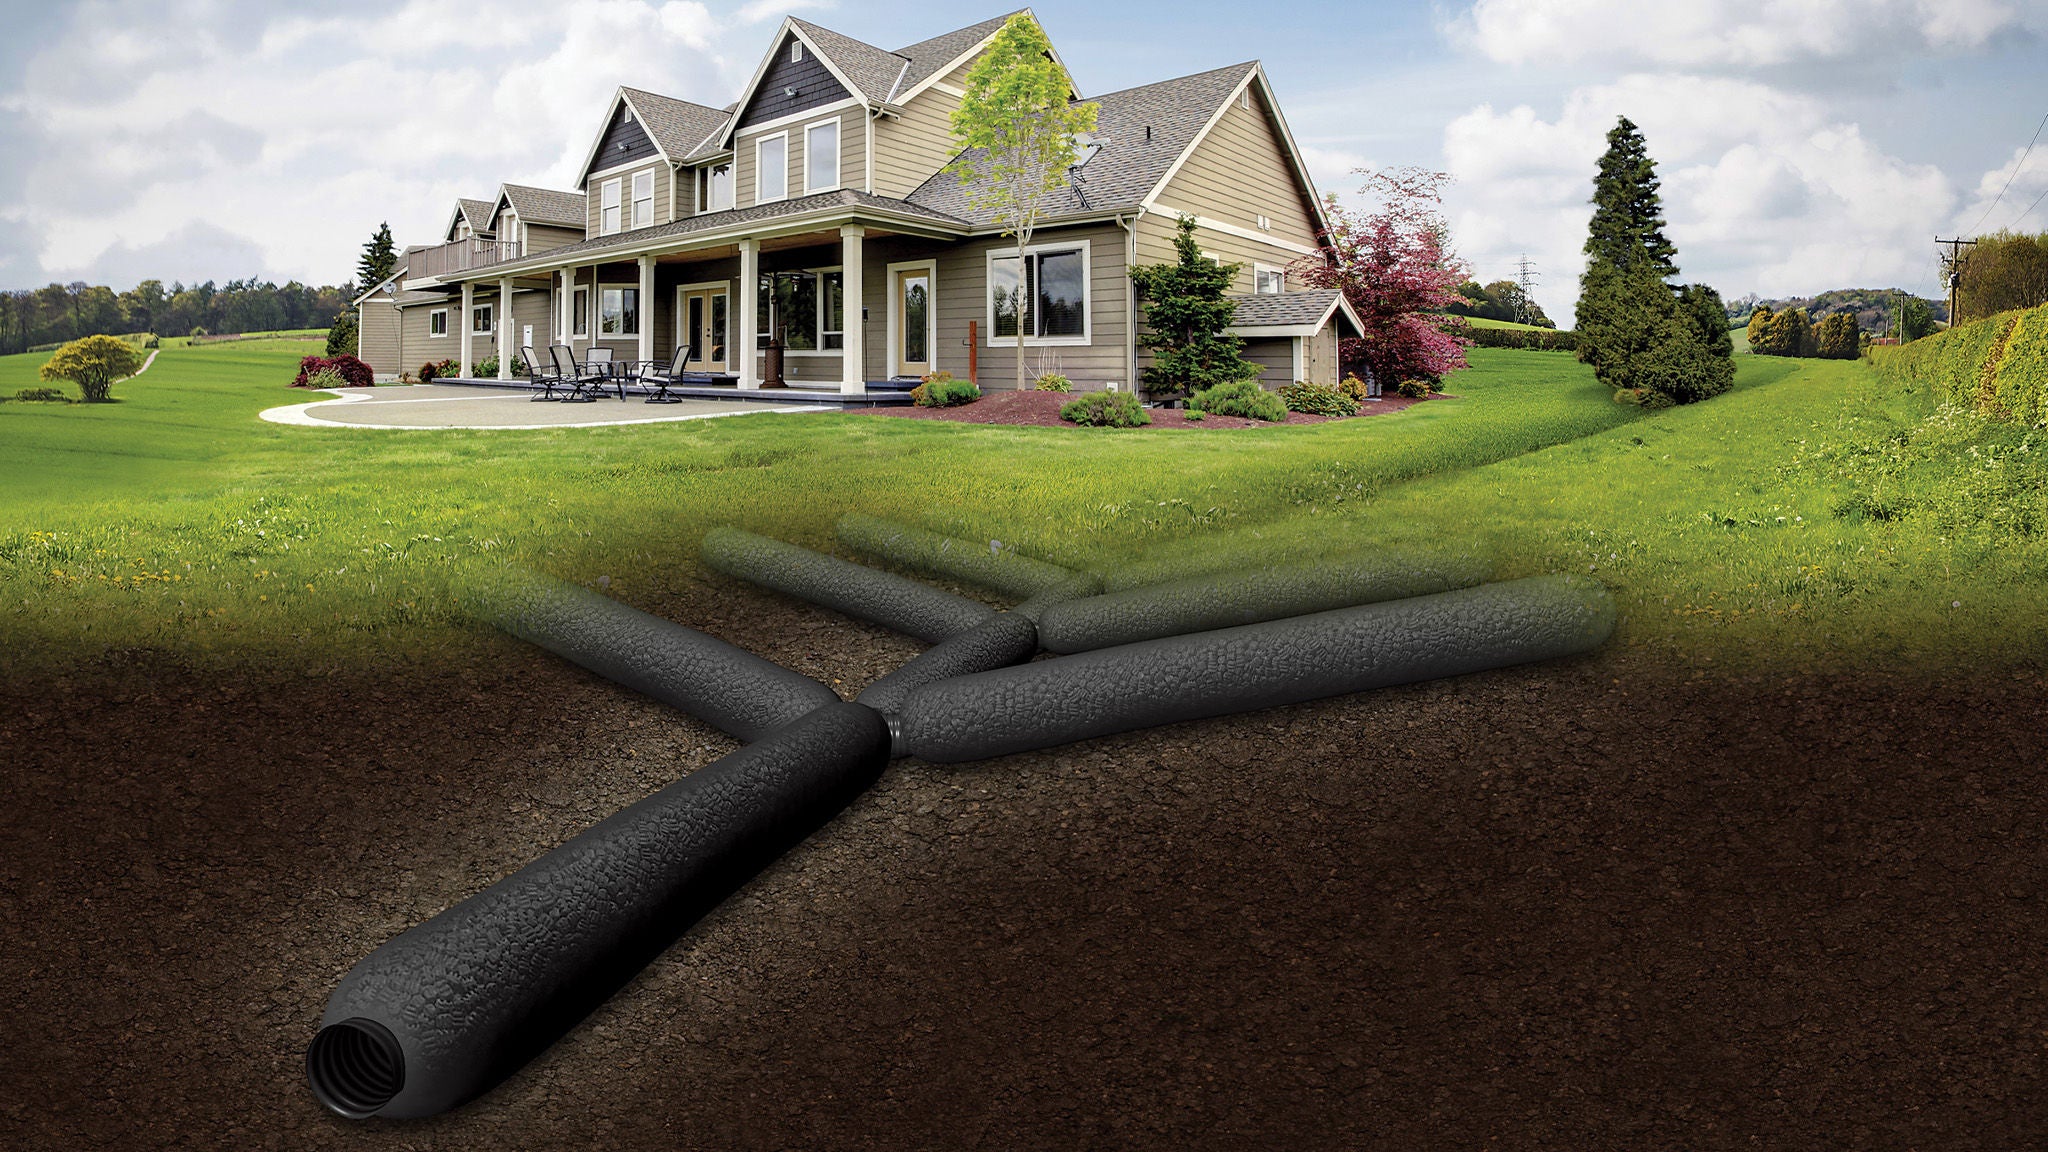
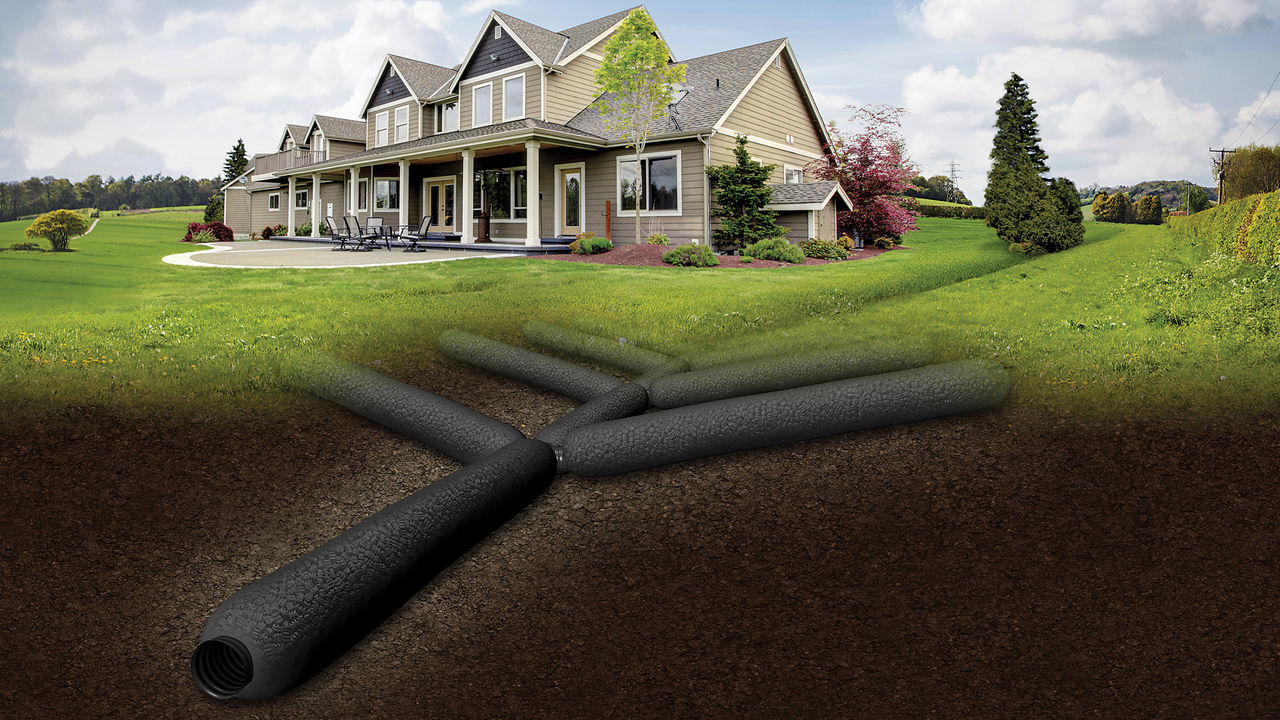
A dry well is an underground structure that collects stormwater runoff and allows it to infiltrate gradually into the surrounding soil. It helps to prevent pooling, erosion, and water damage around homes and landscapes by managing runoff where it is collected.
What a dry well does
A dry well captures water from roof gutters, driveways, and low-lying areas and slowly releases it into the ground through infiltration. This supports groundwater recharge and reduces surface runoff that can overwhelm storm drains.
When to use a dry well
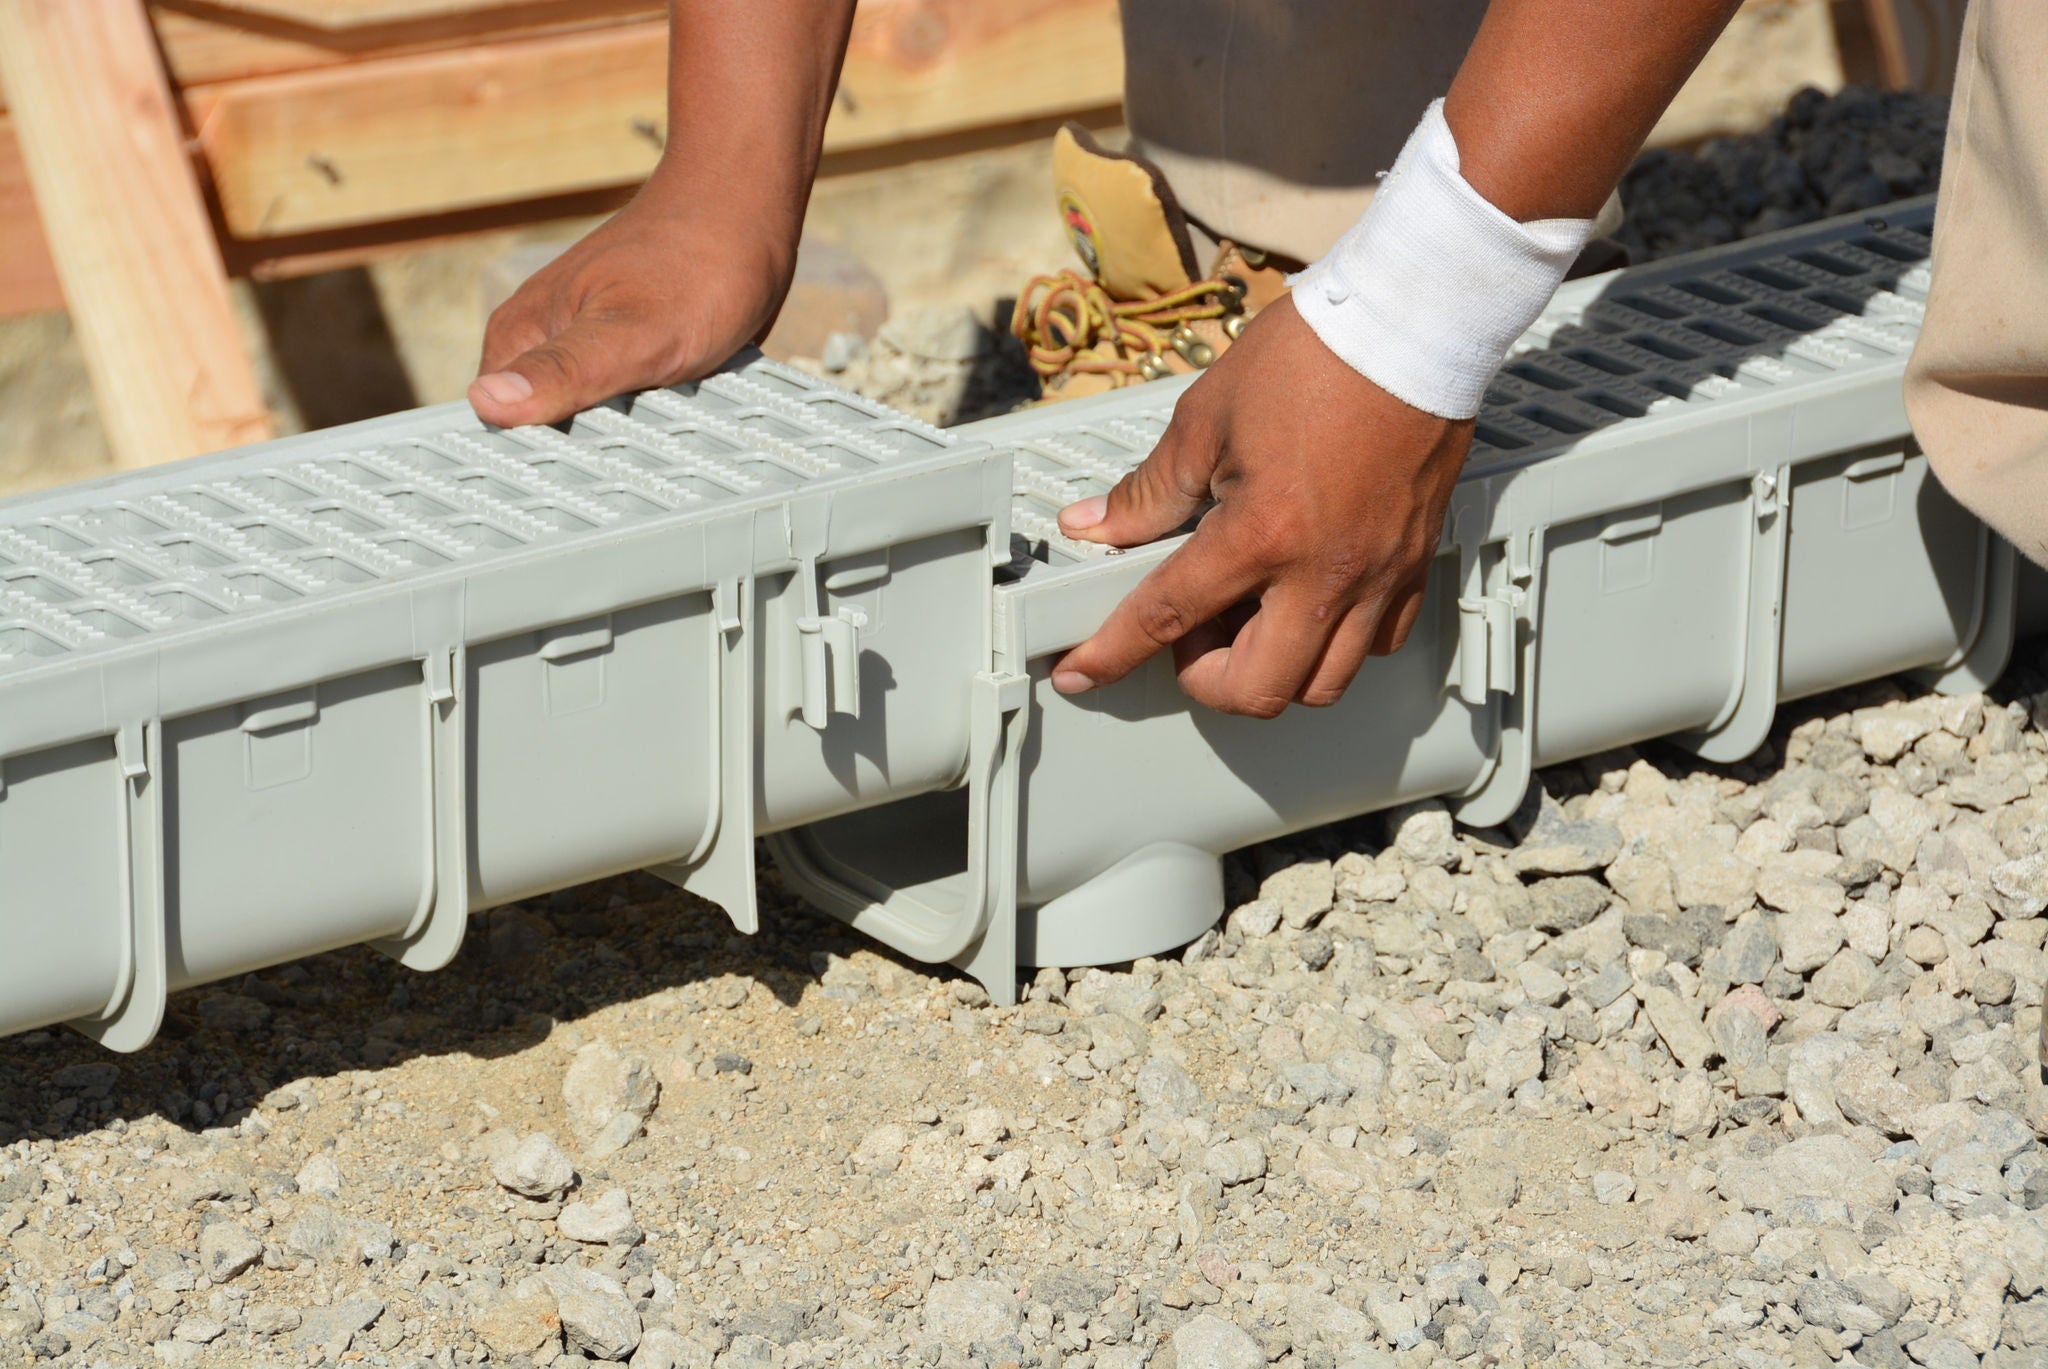
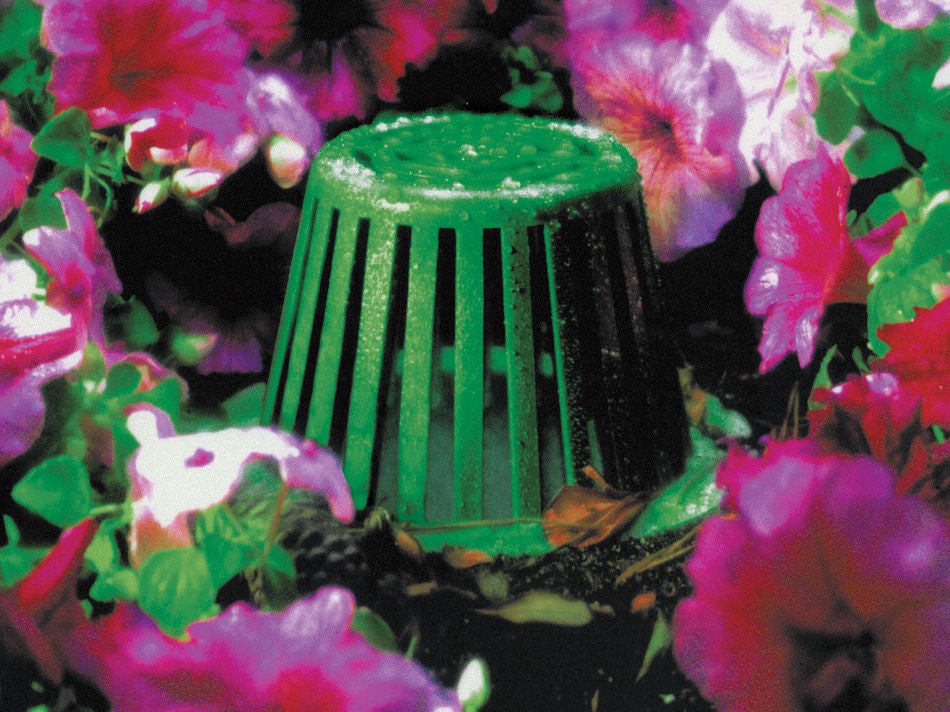
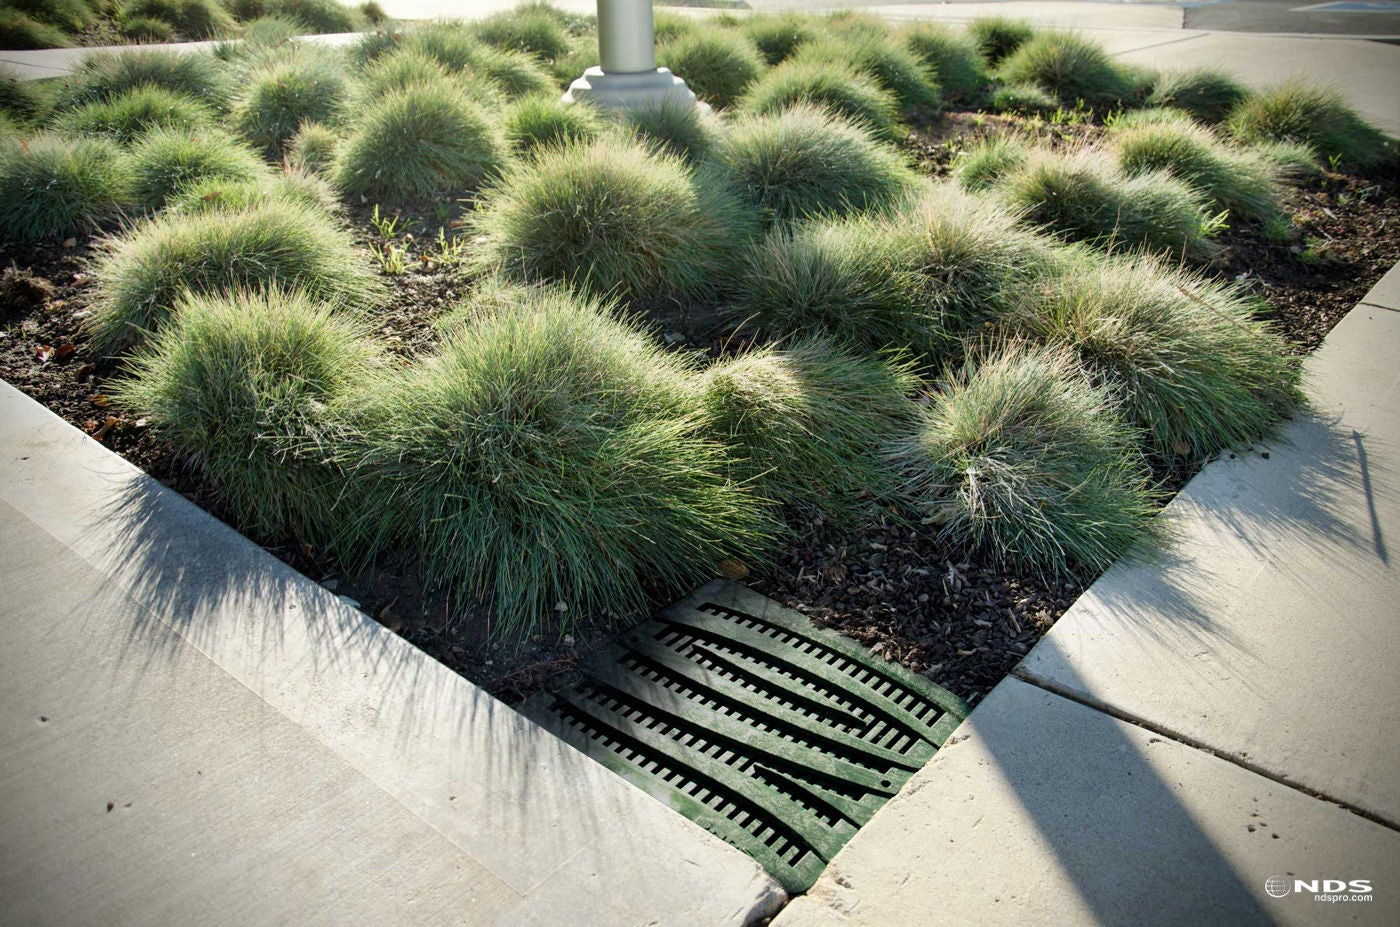
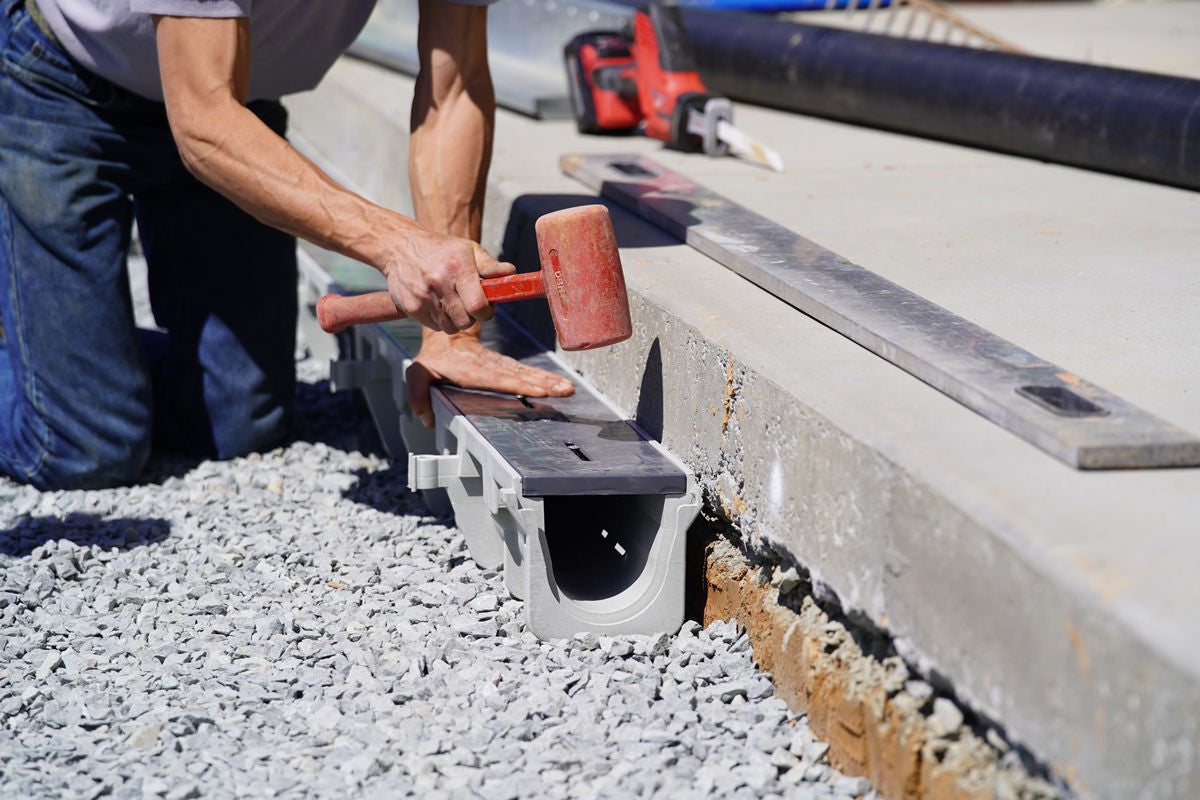
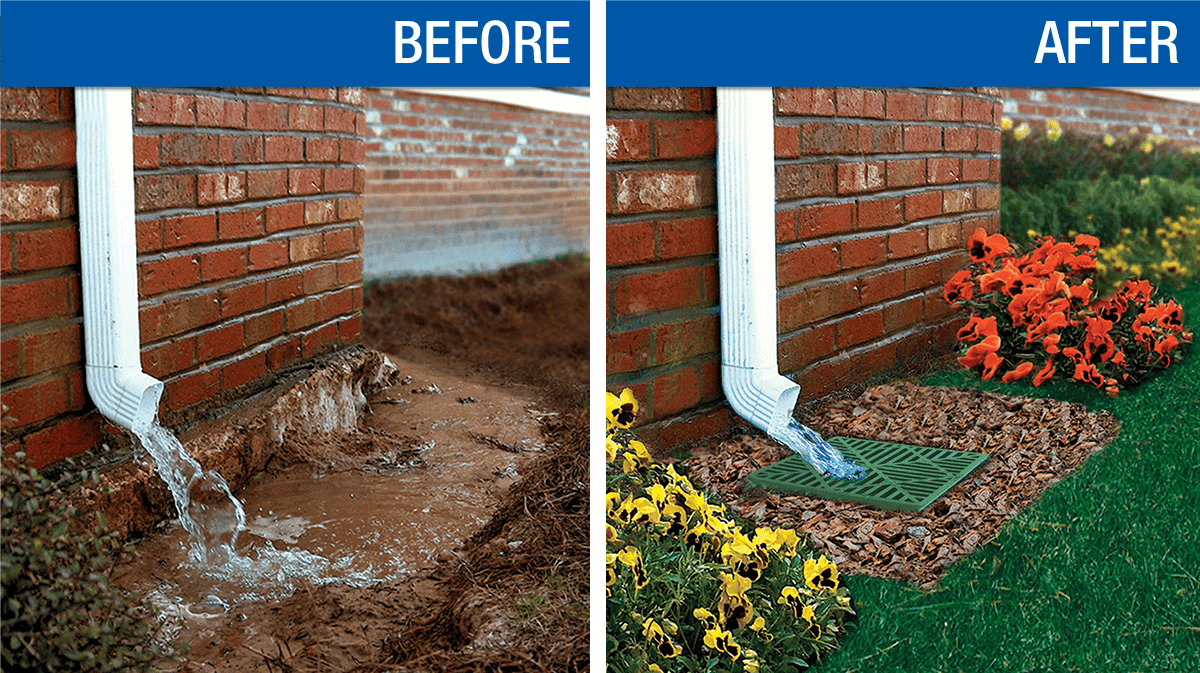
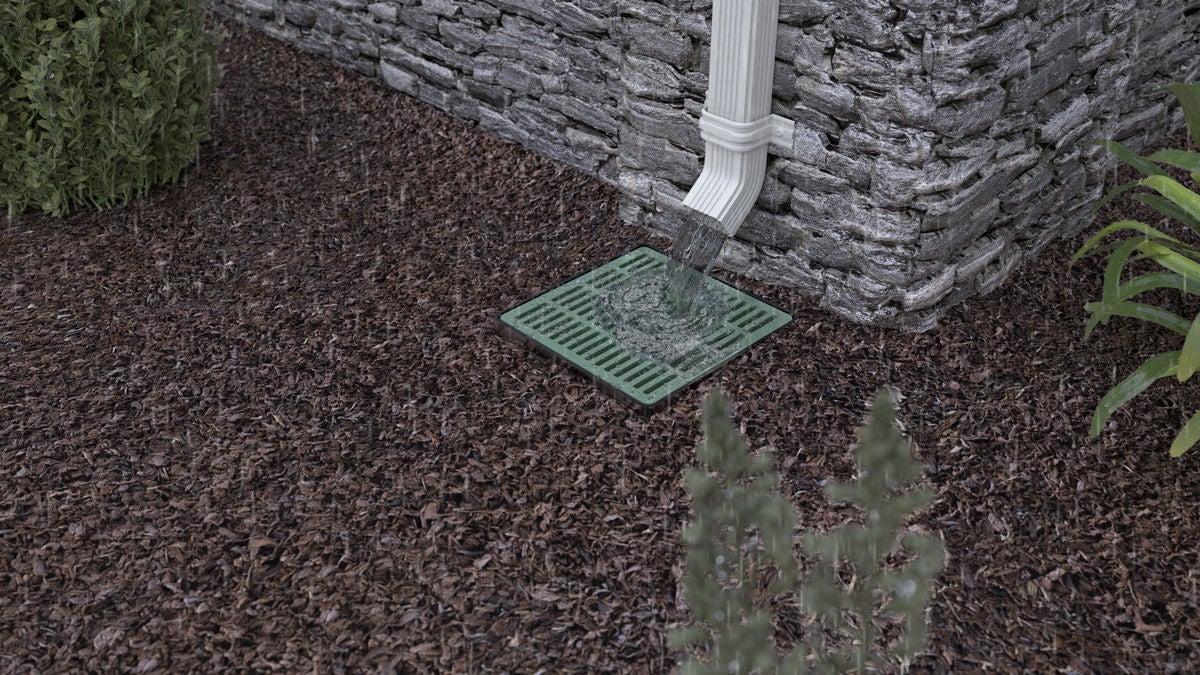
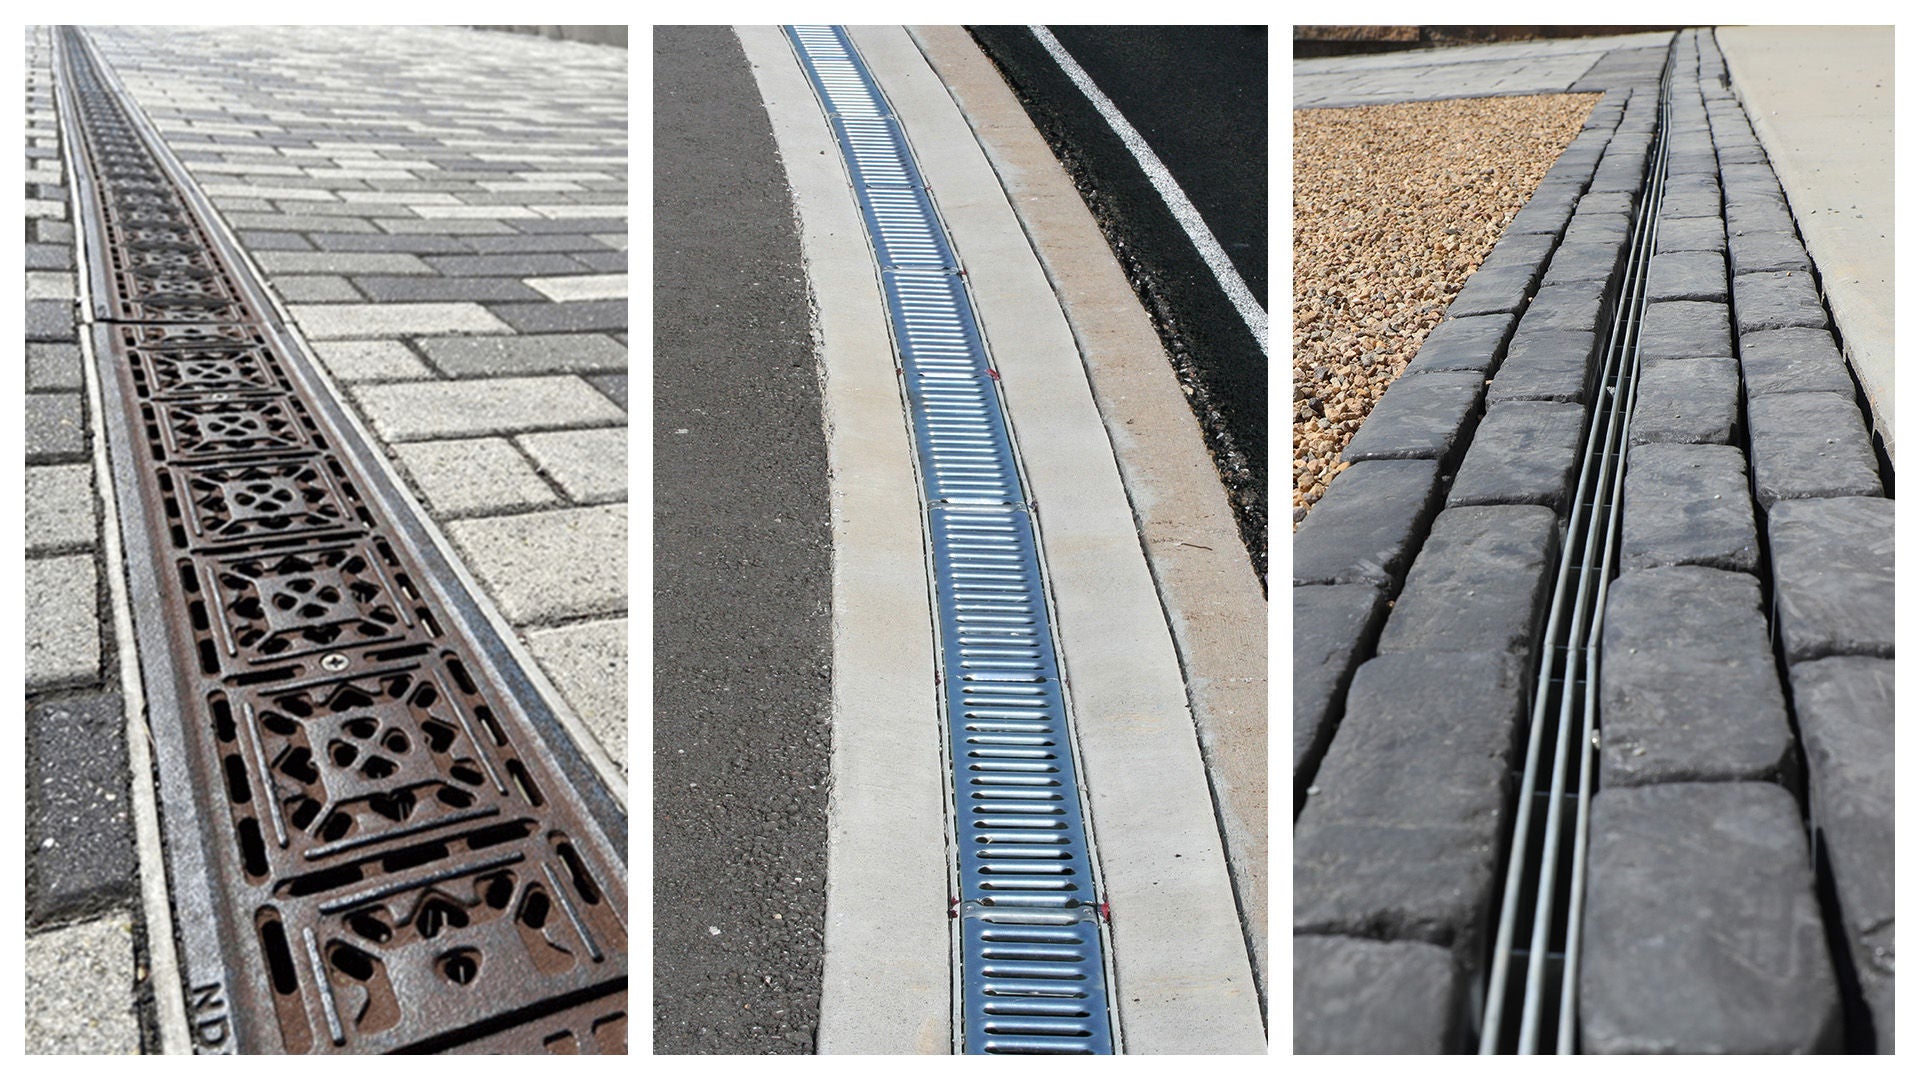
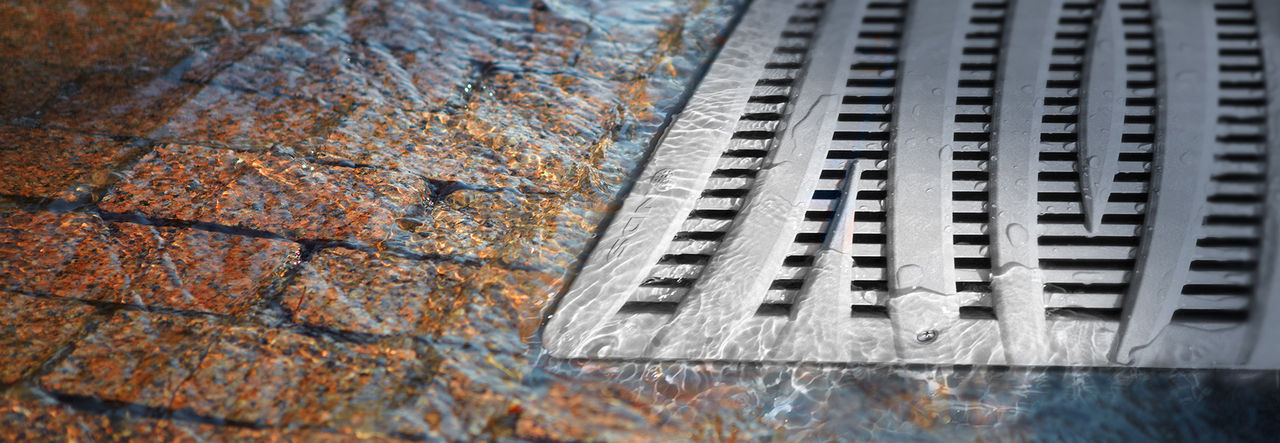
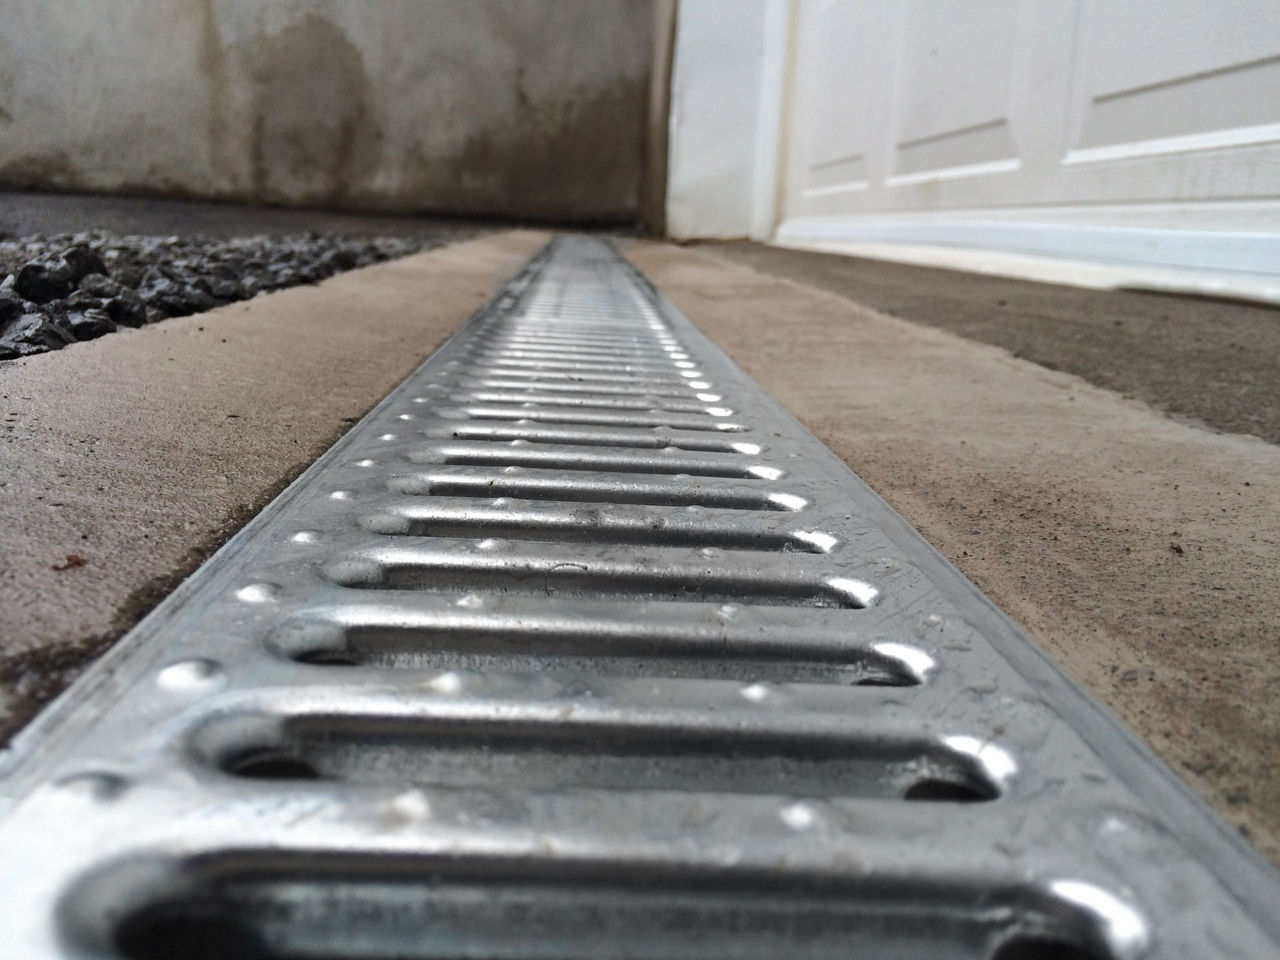
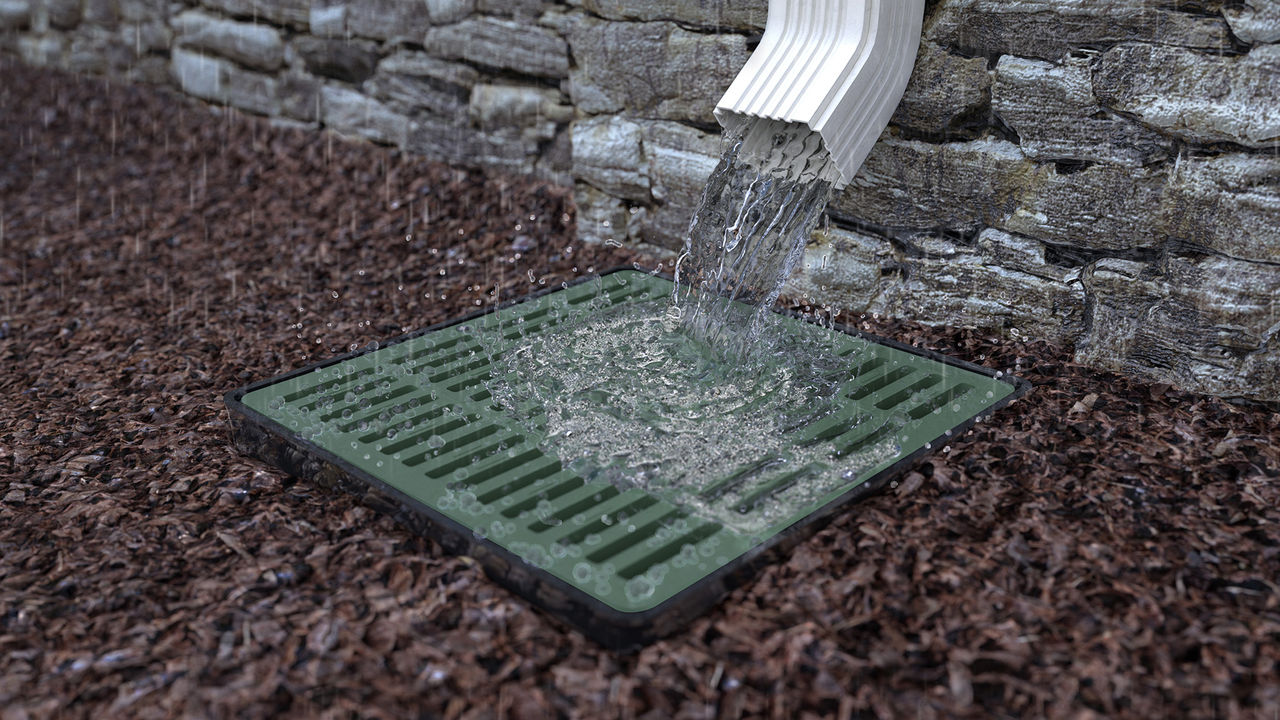
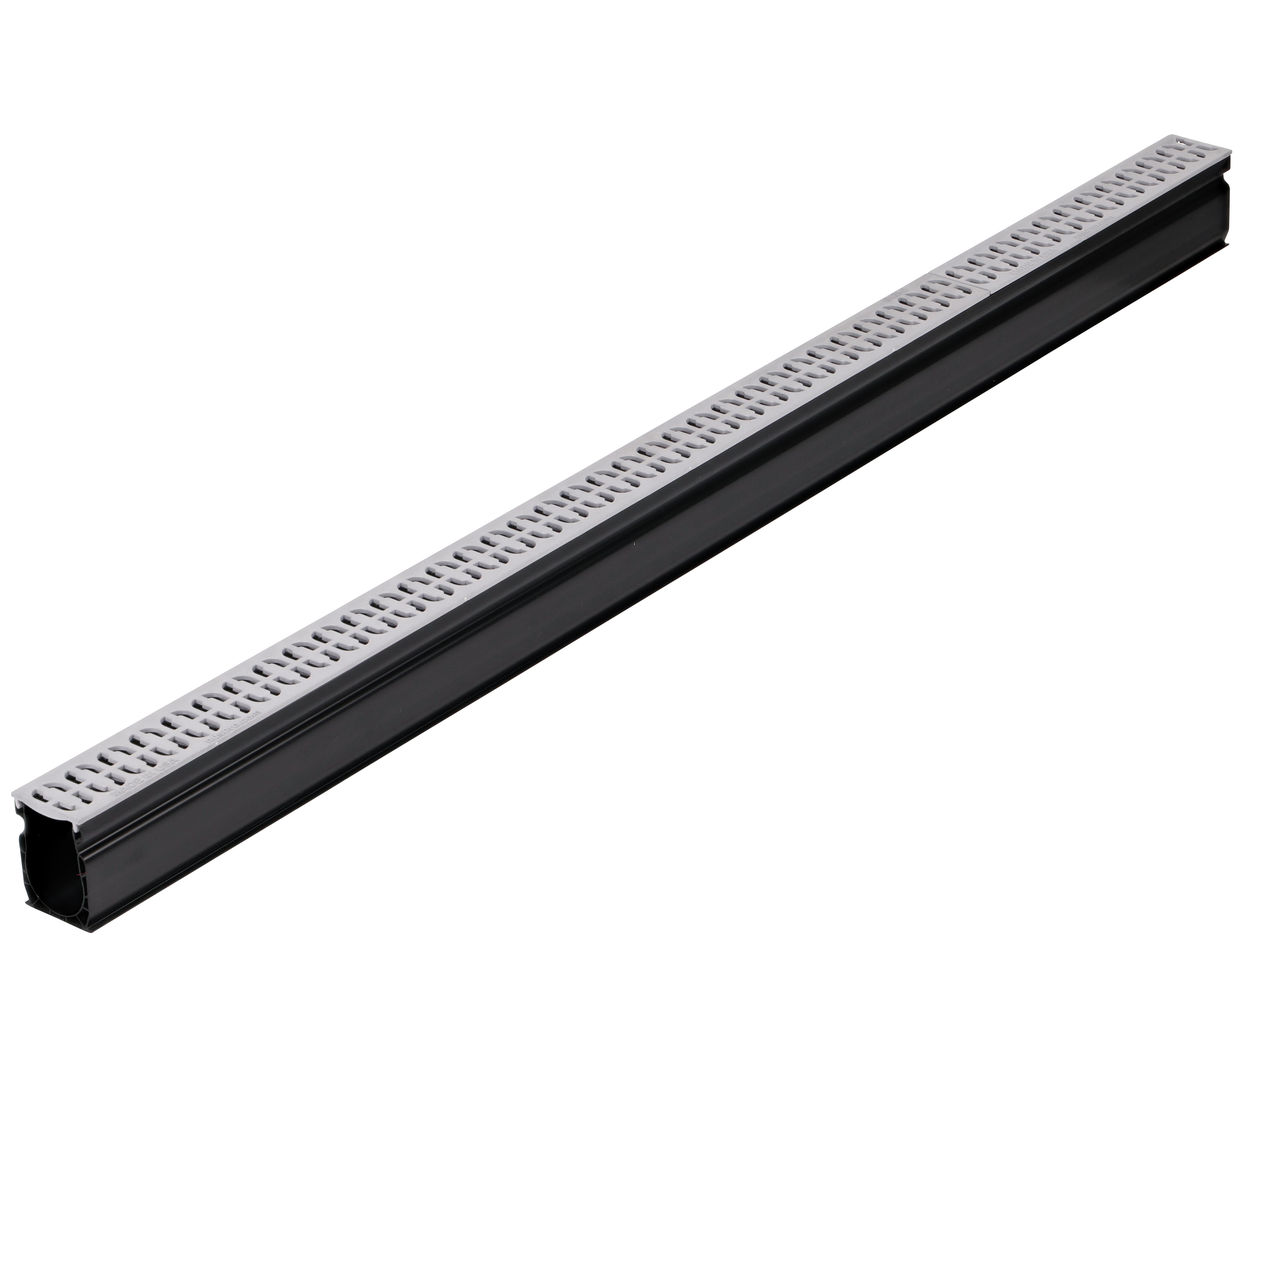
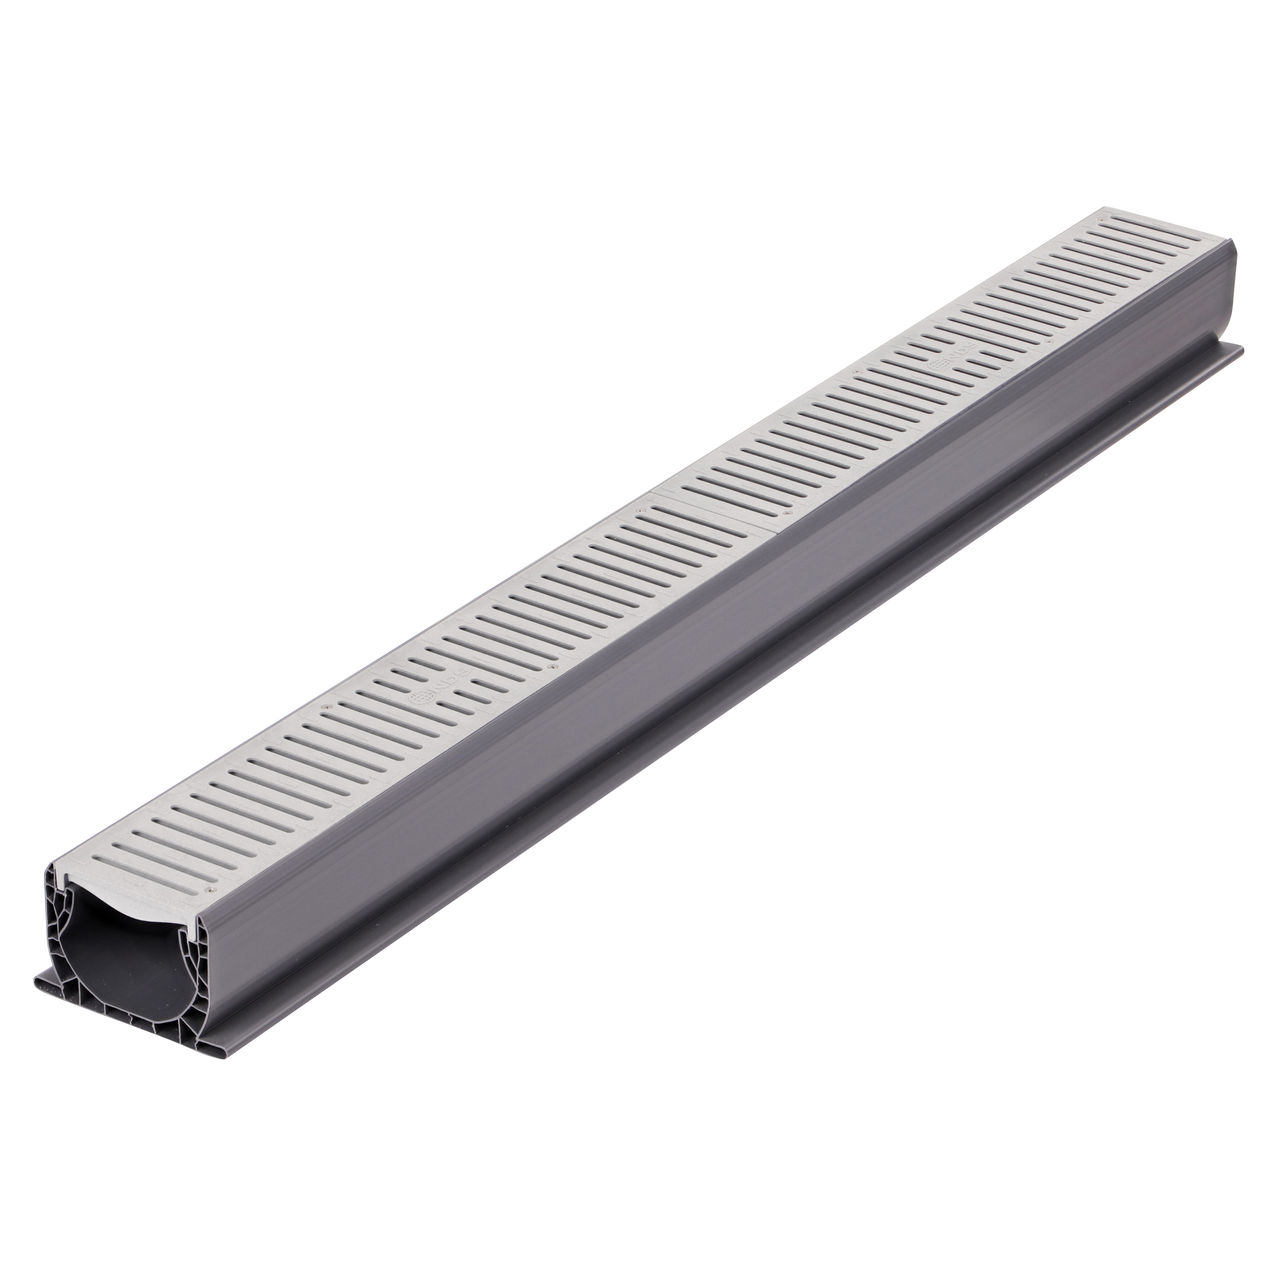
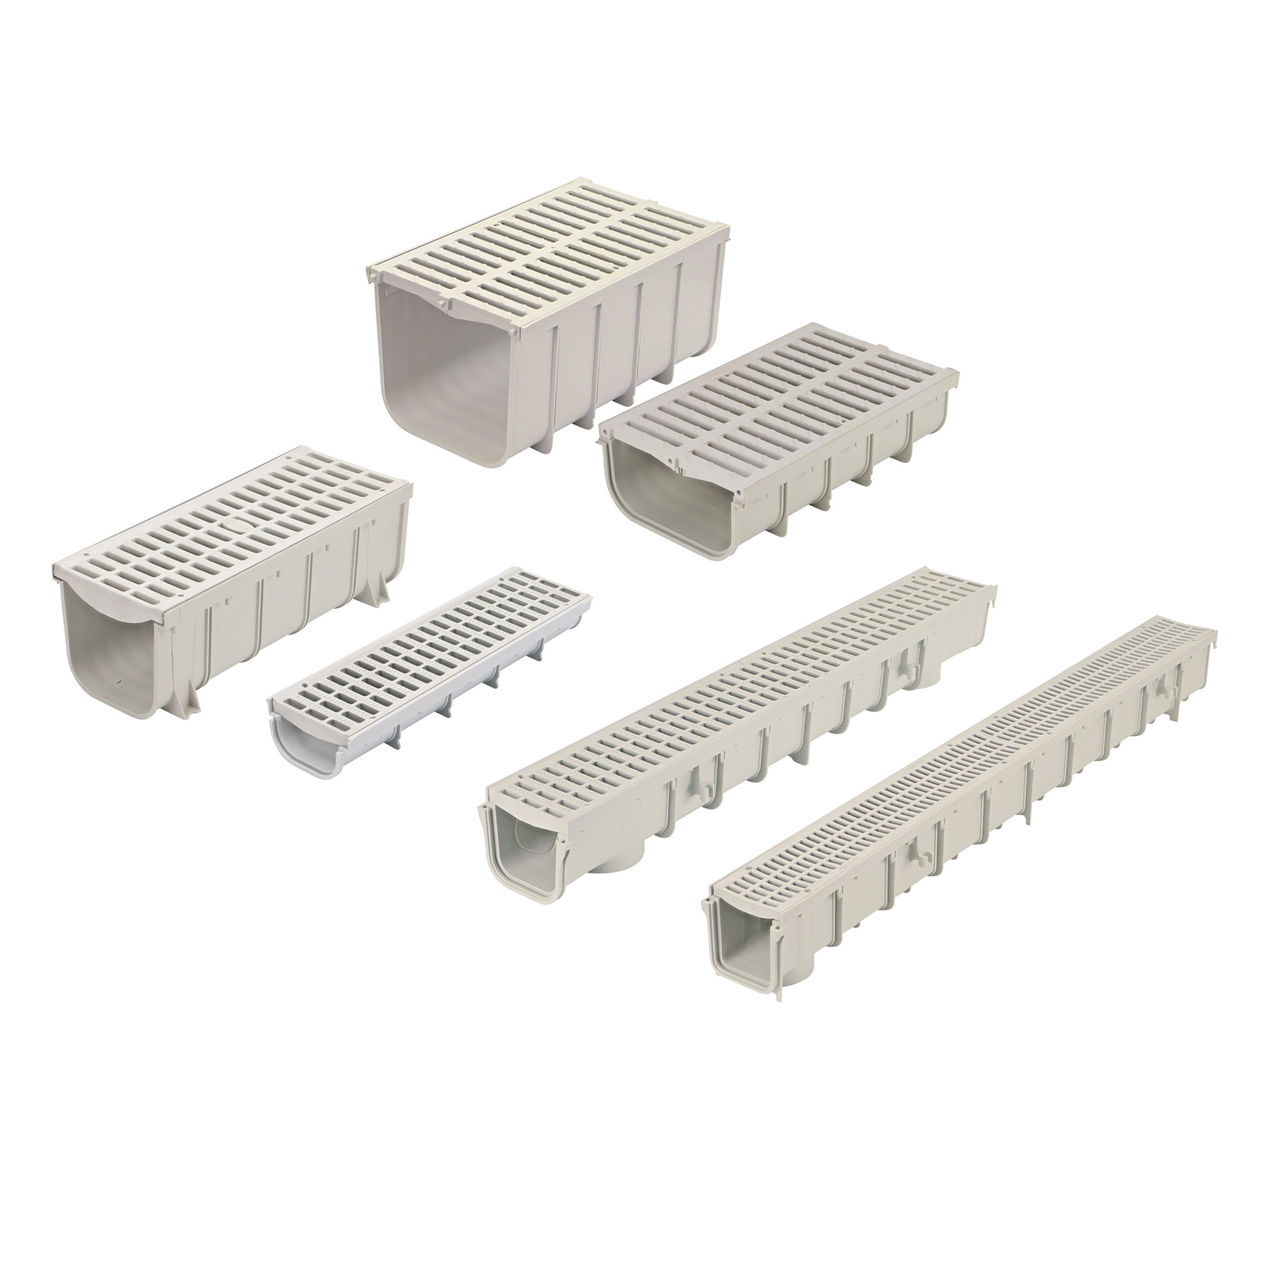
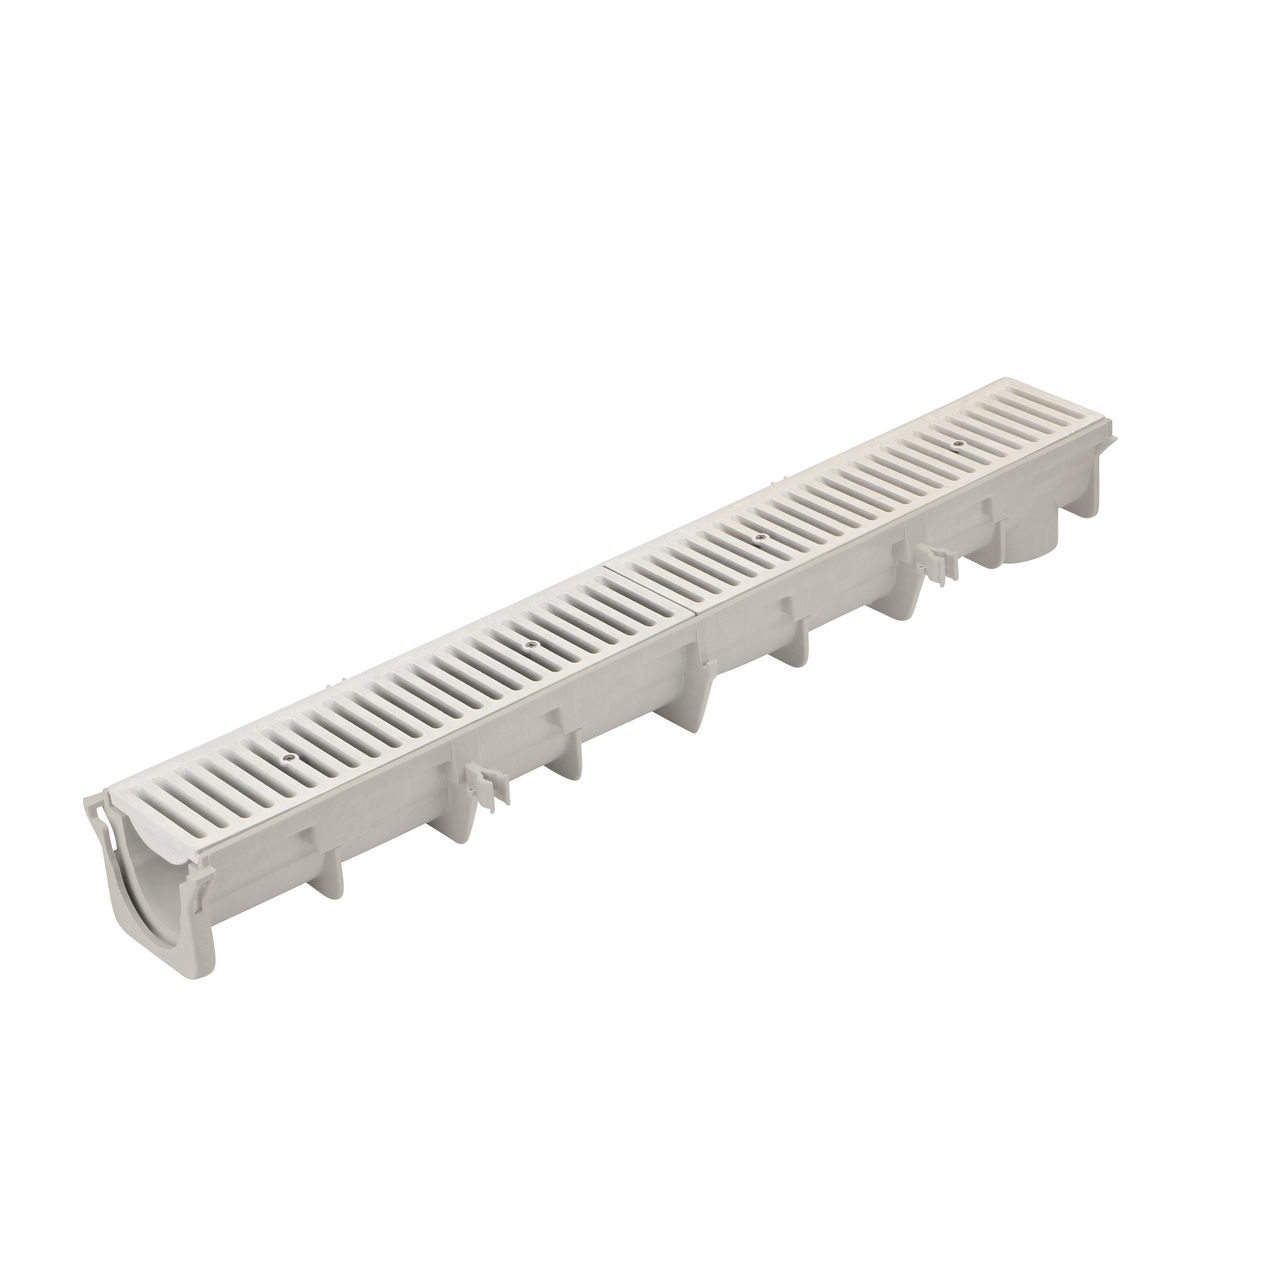
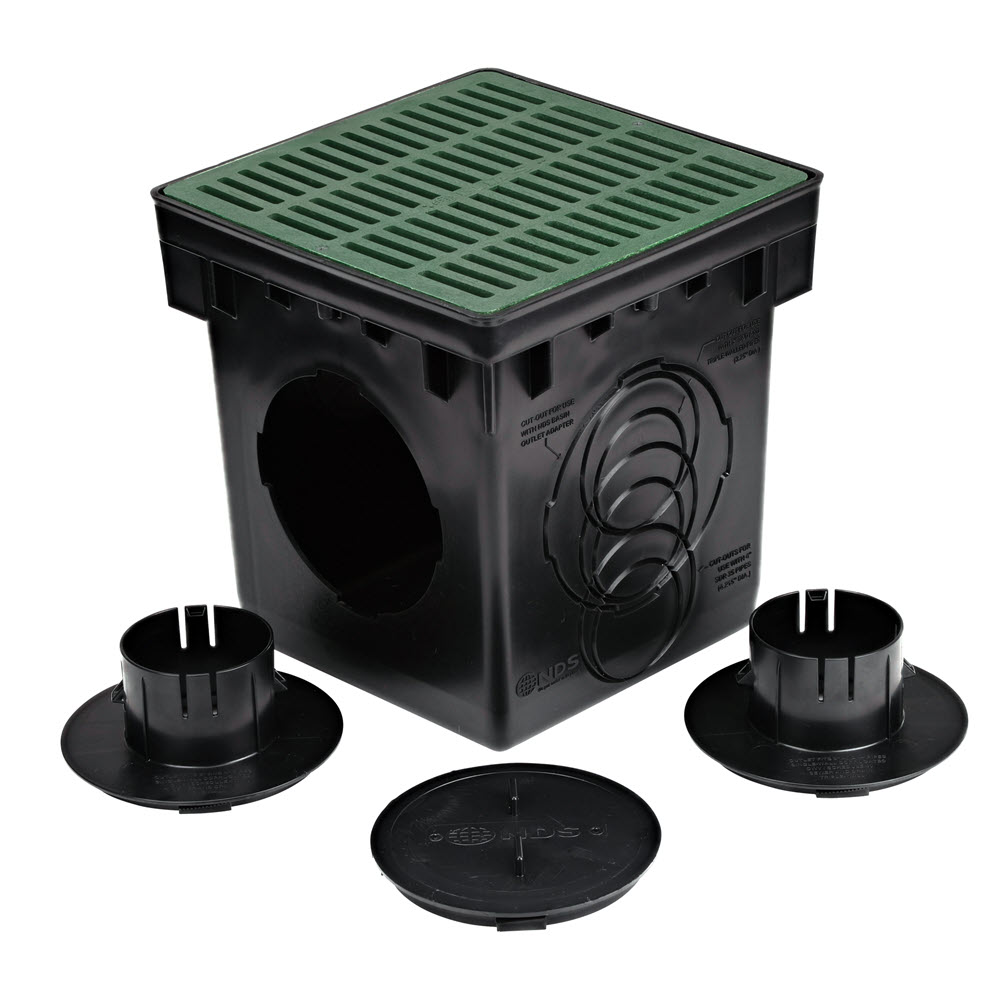
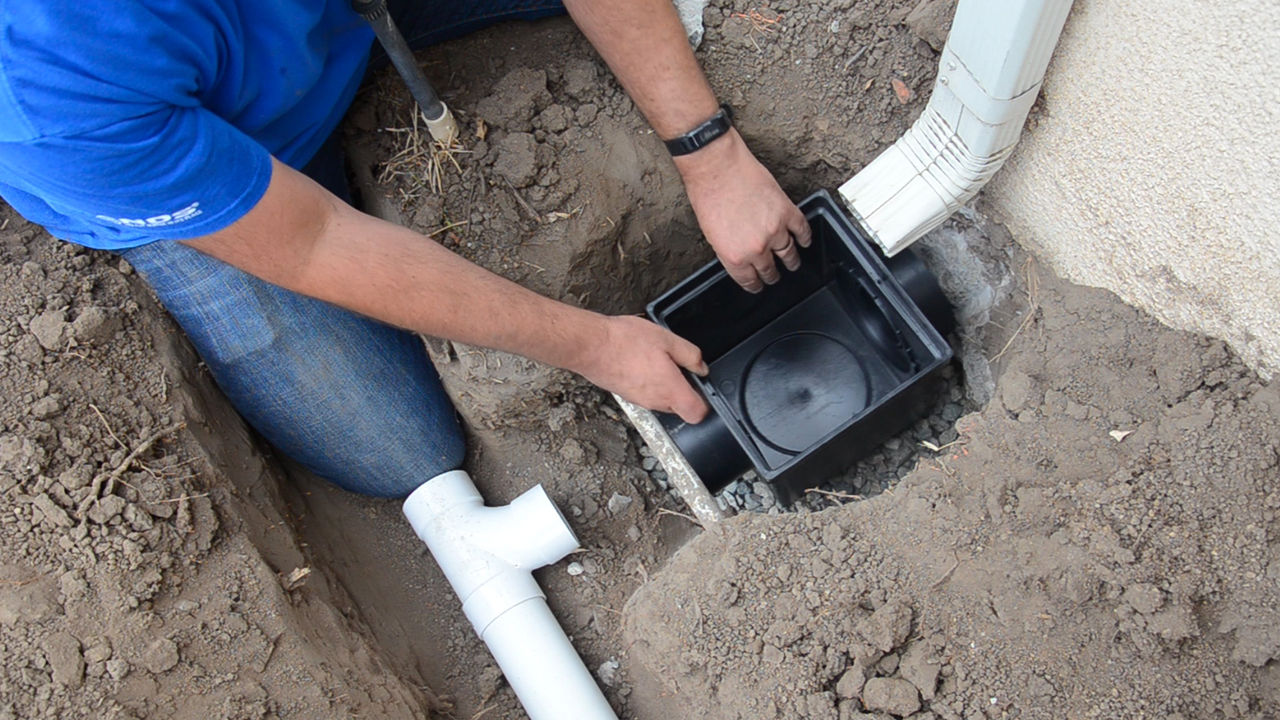
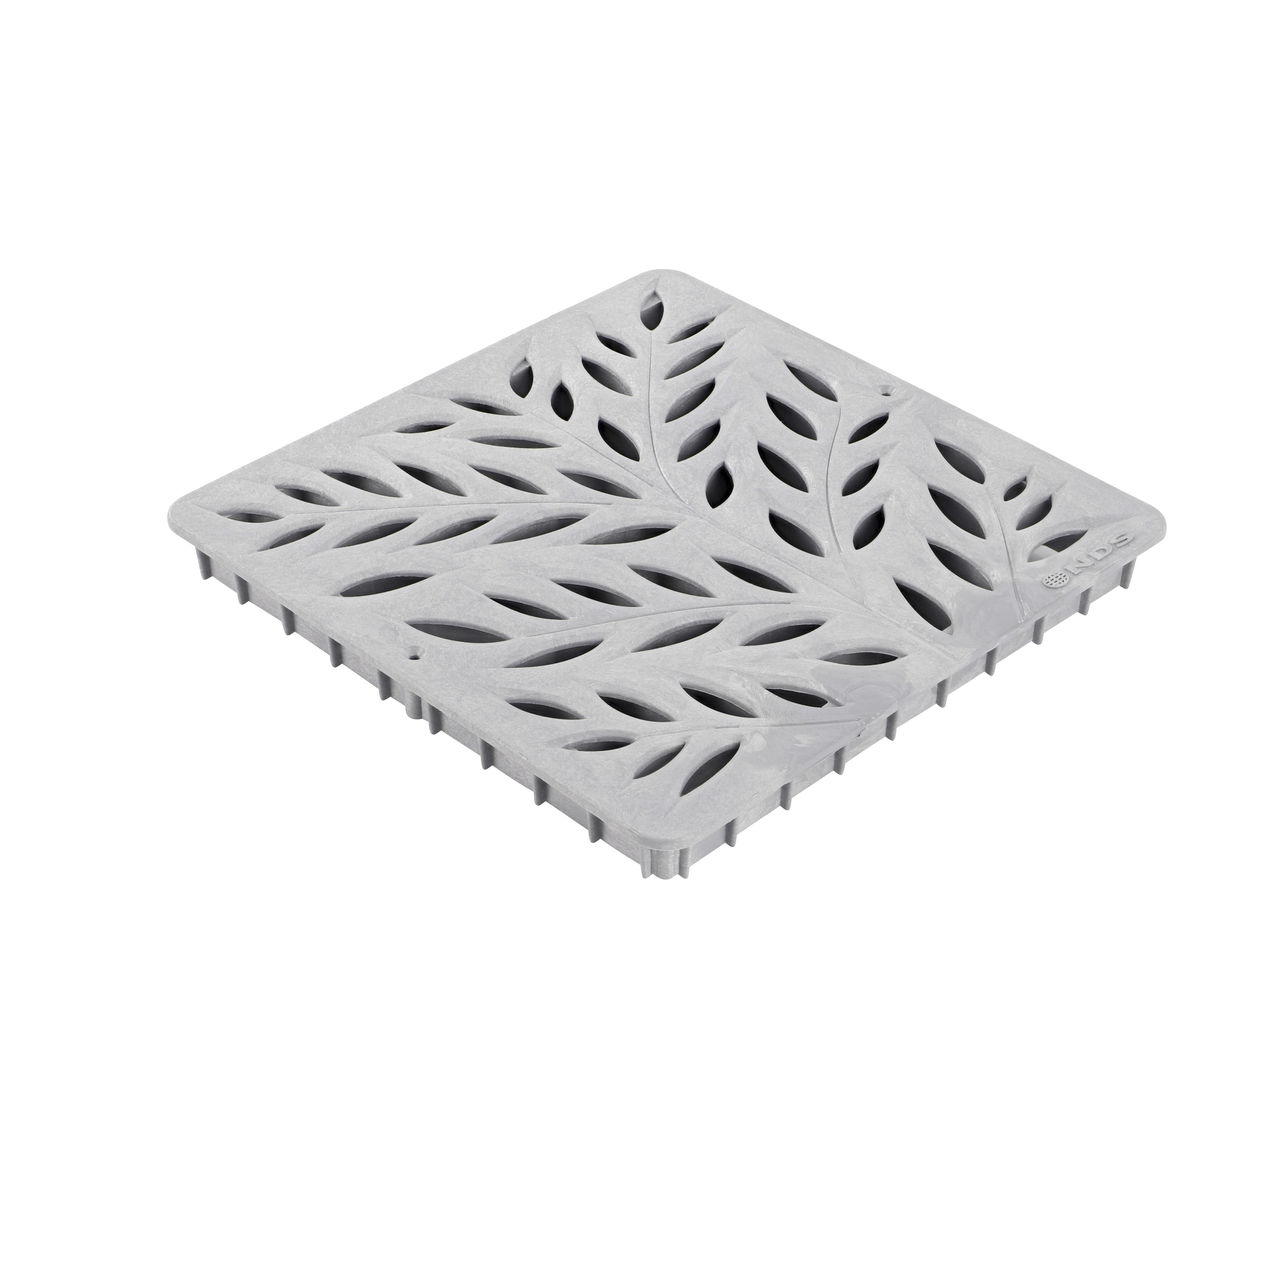
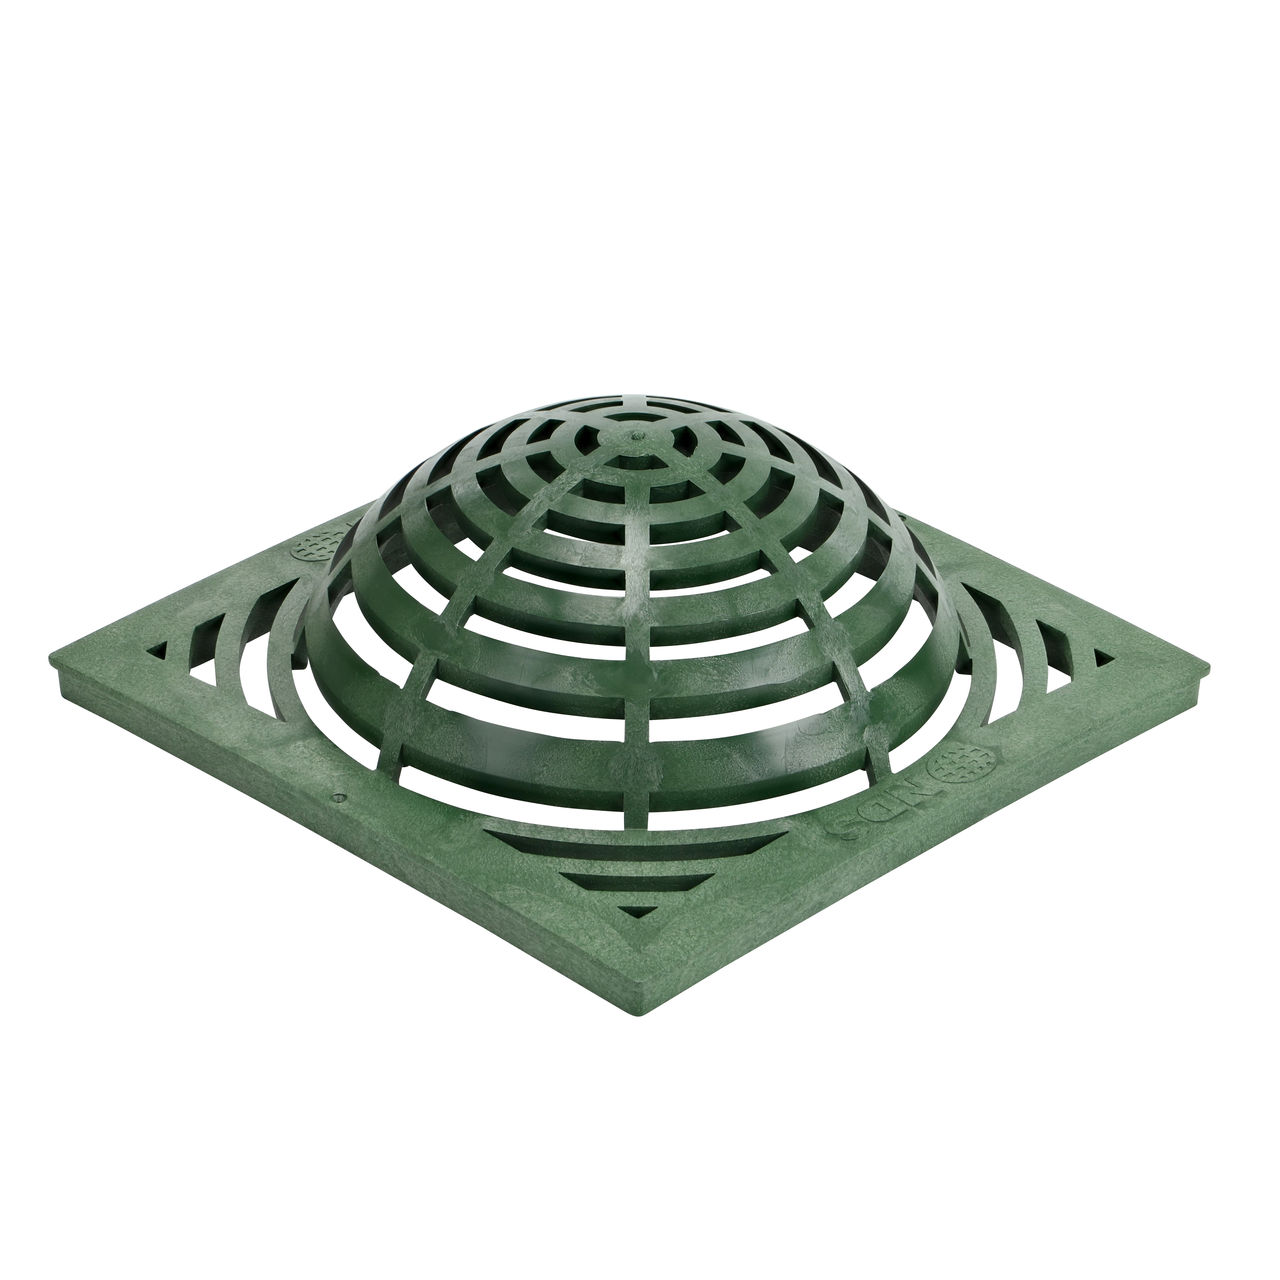
Dry wells are ideal for properties that experience standing water in low areas of the yard, water runoff from downspouts, or pooling around patios and walkways. Homeowners can install them as part of a broader drainage system that may also include catch basins and grates or channel drainage systems.
Benefits of installing a dry well
- Reduces water pooling and erosion around structures
- Protects foundations from moisture damage
- Helps comply with local stormwater management rules
- Contributes to groundwater recharge and sustainability
NDS Flo-Well® vs. traditional gravel dry wells
For a brief overview, watch this video: Collect and Store Runoff Back into the Ground with the NDS Flo-Well Dry Well.
Traditional gravel-filled pits have long been used to manage water runoff, but modern systems like the NDS Flo-Well Dry Well make installation faster, cleaner, and more efficient.
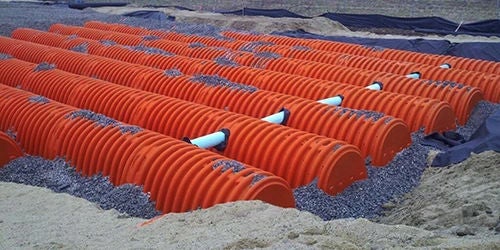
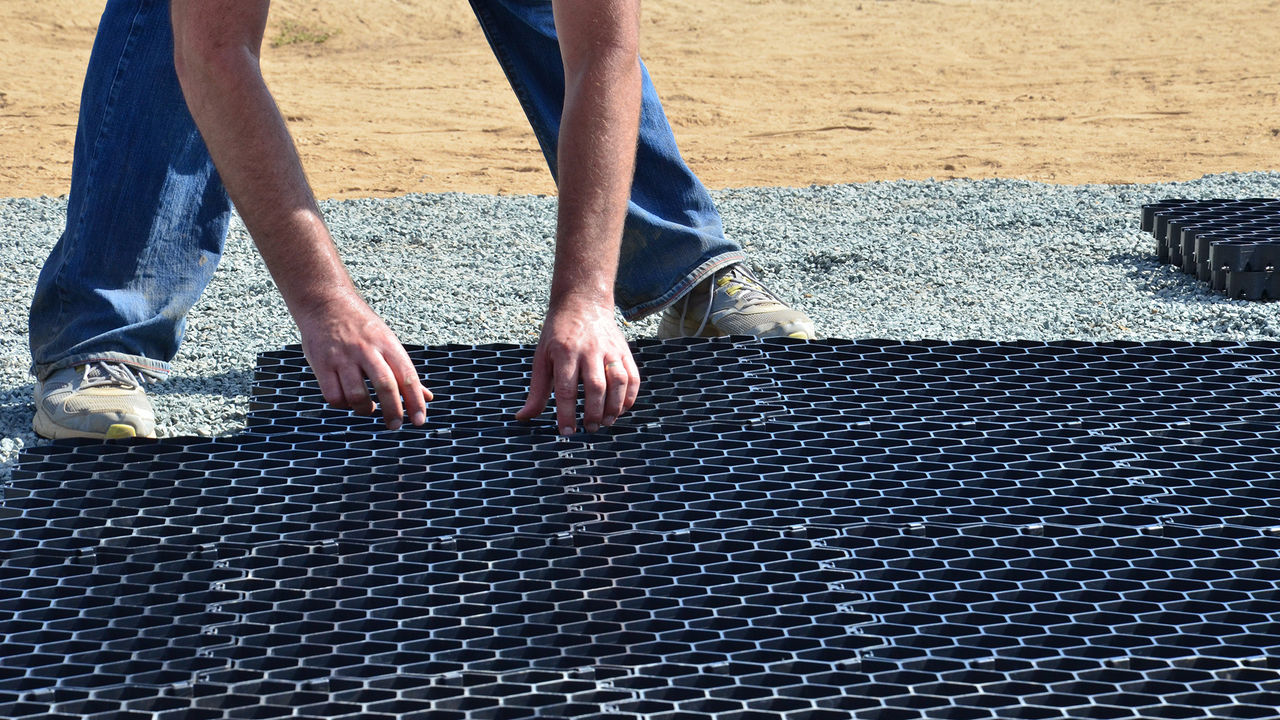
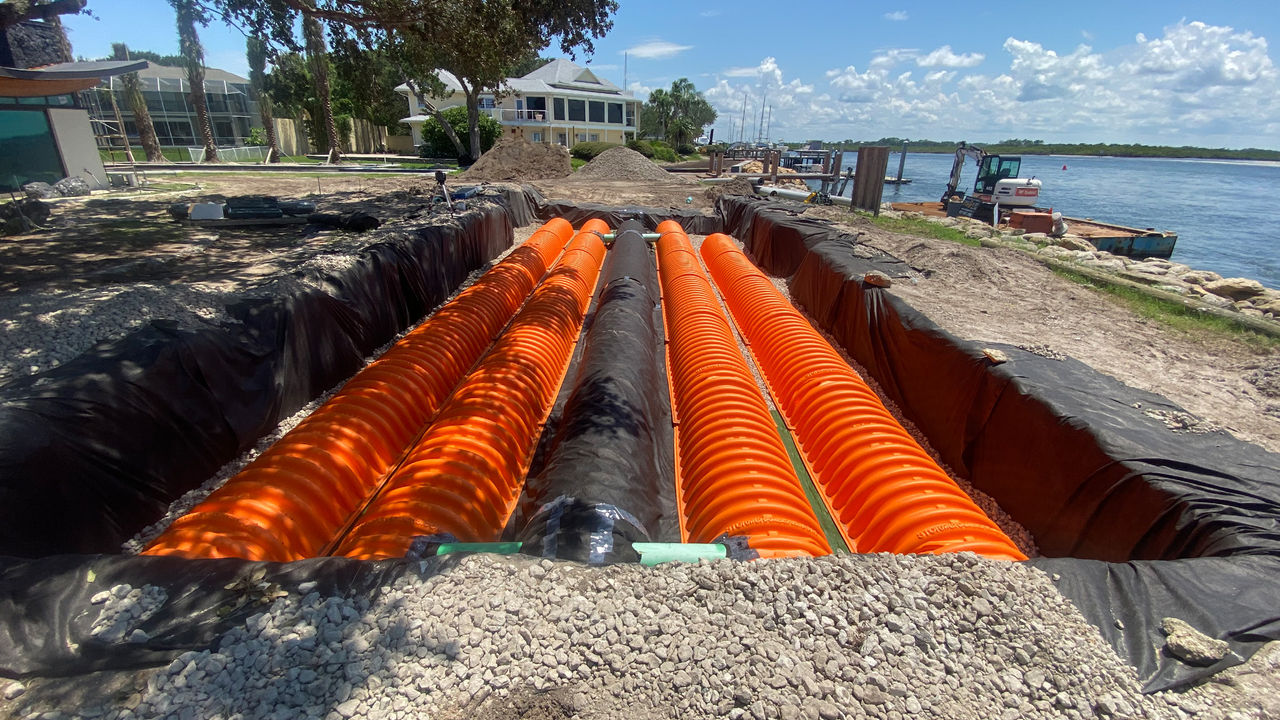
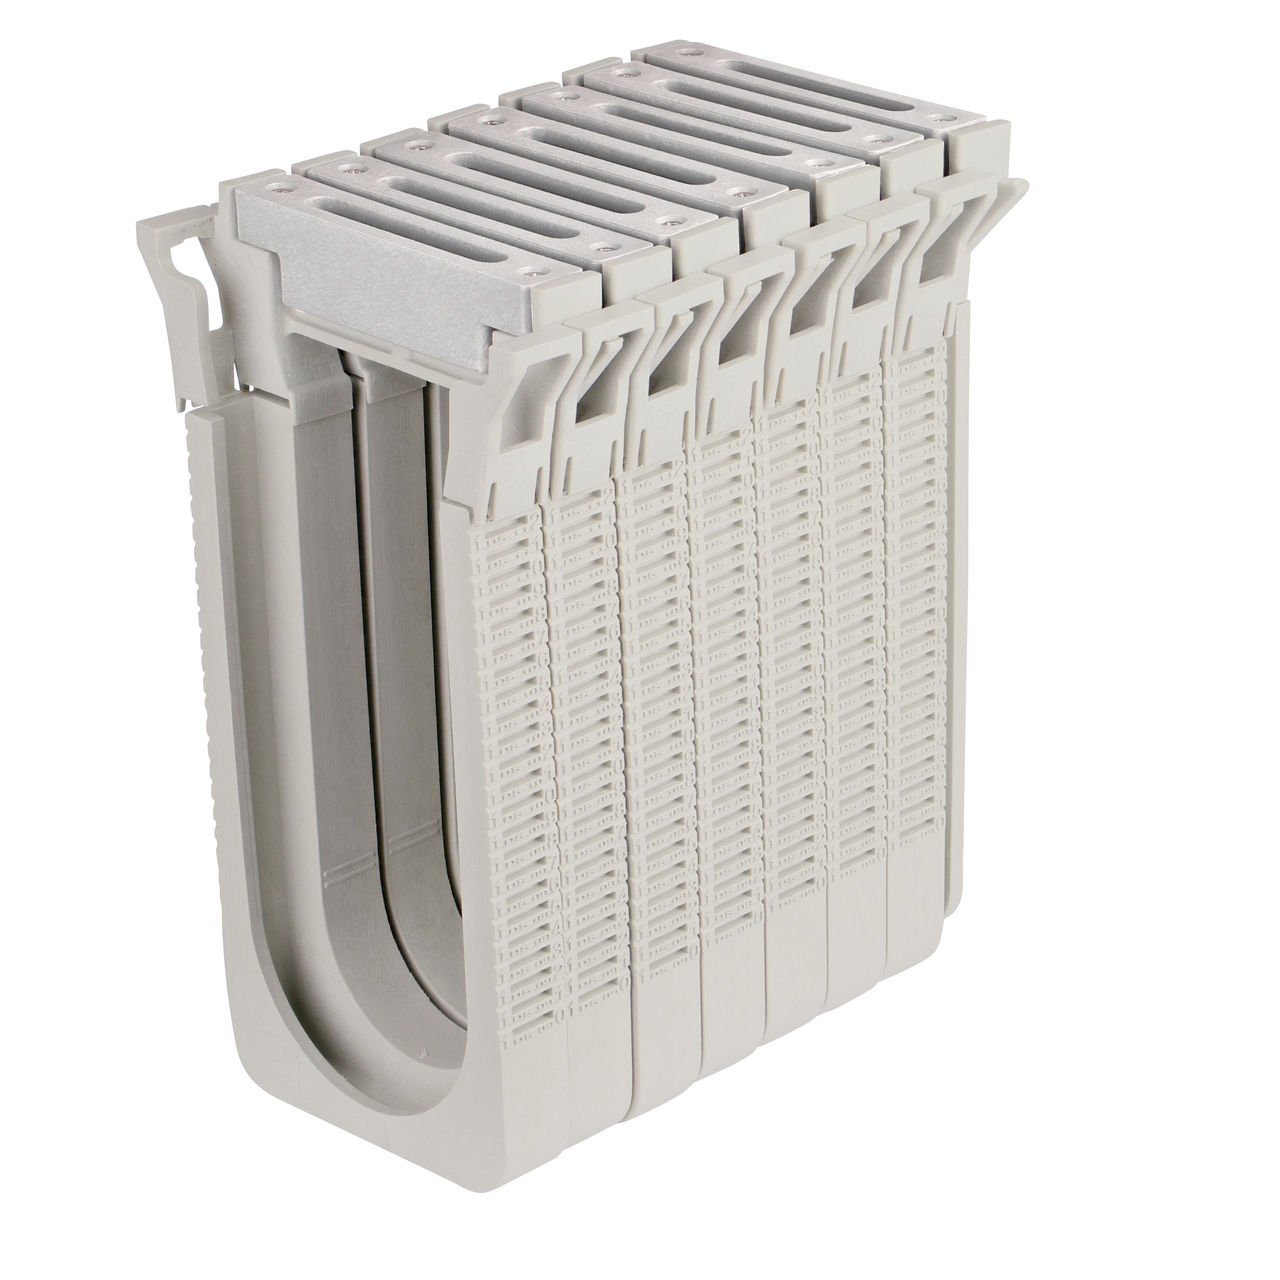
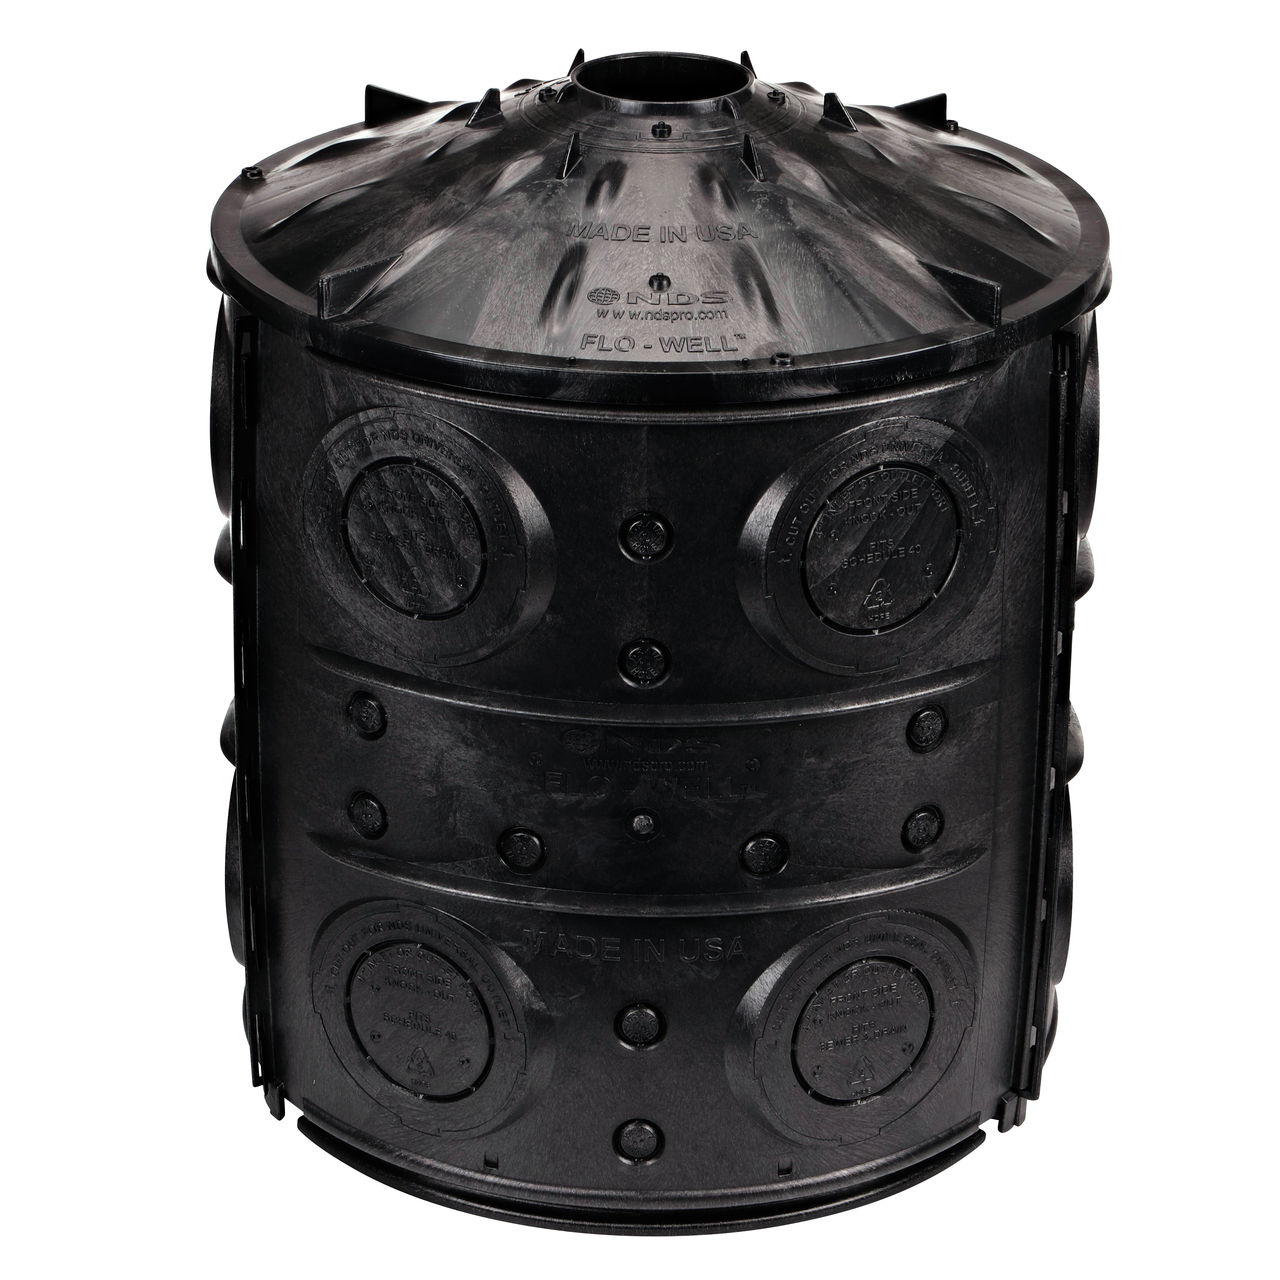
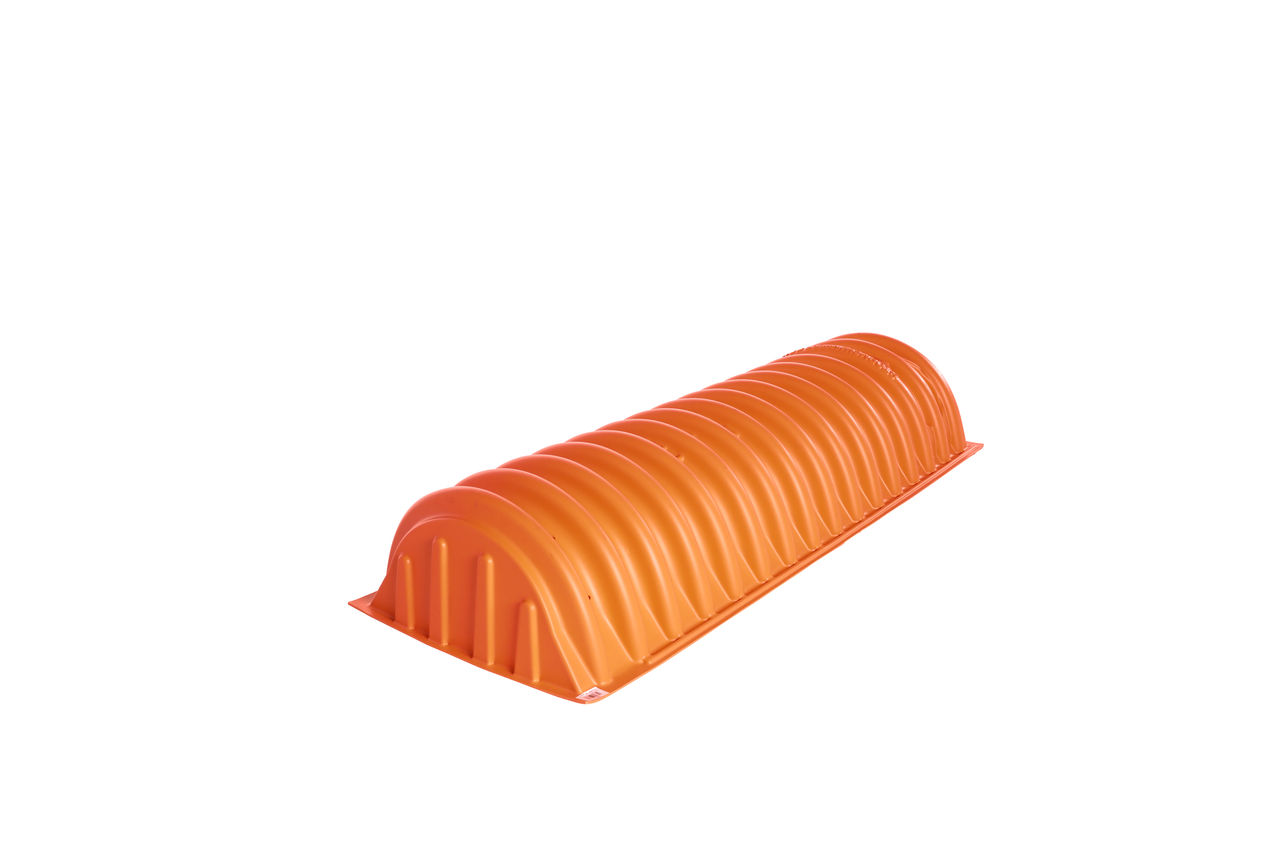
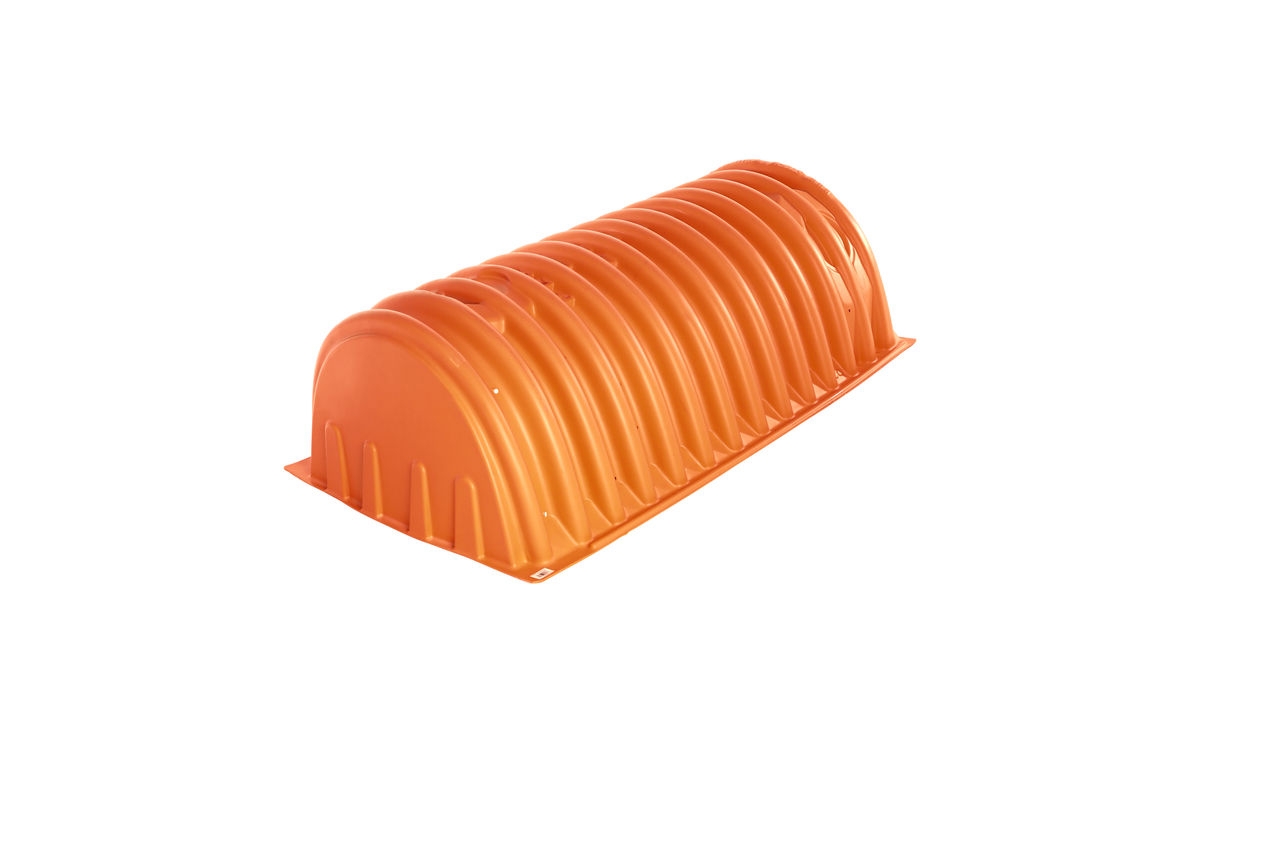
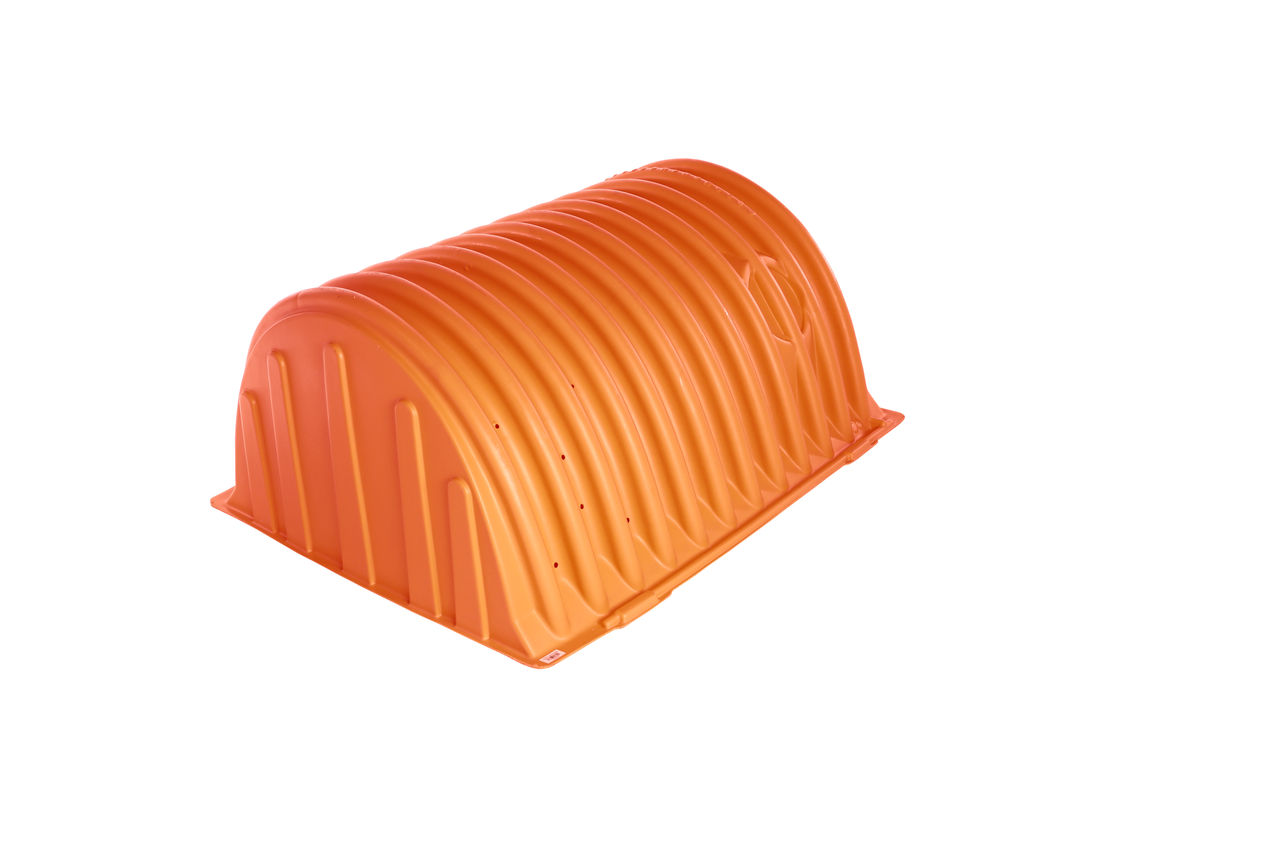
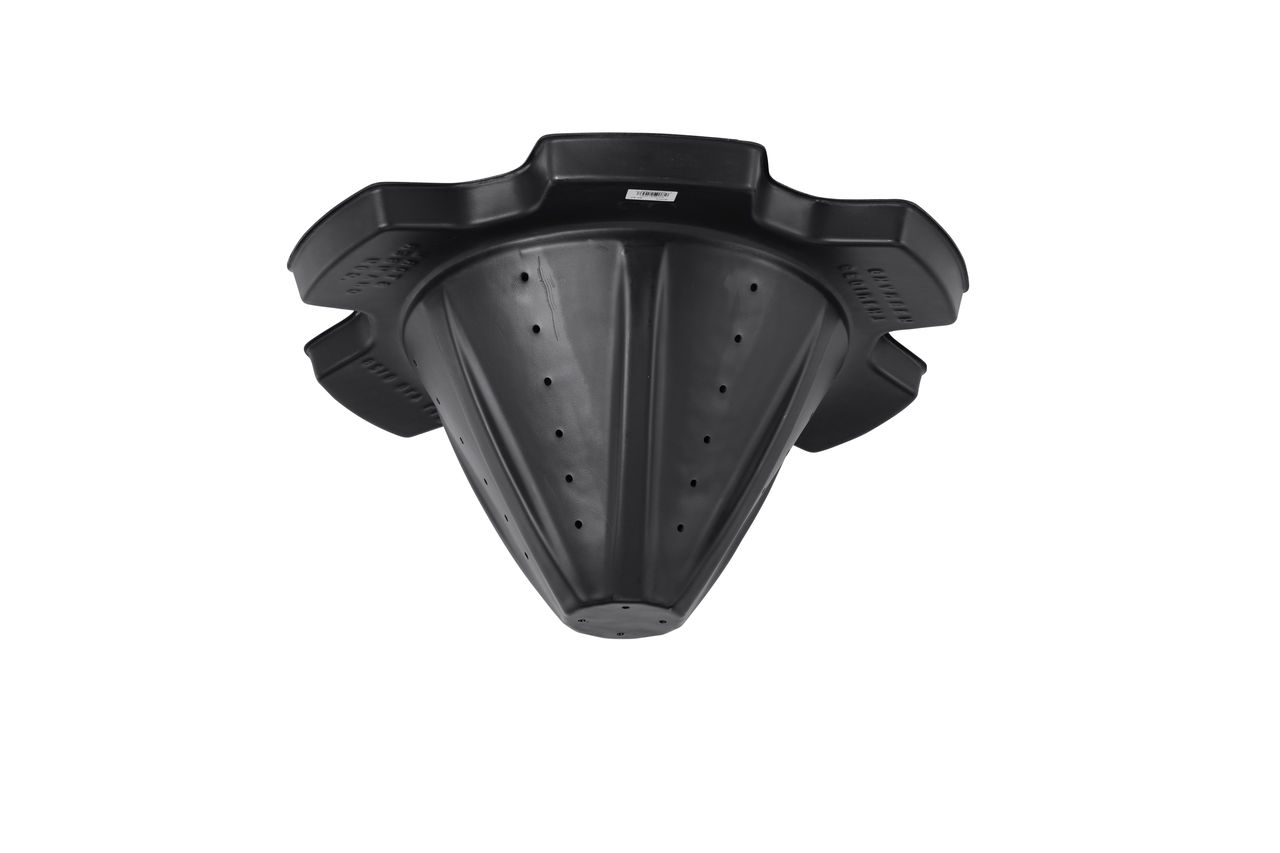
The Flo-Well system is a modular, prefabricated HDPE unit that eliminates the need for heavy gravel or large excavations. Each unit provides 50-gallon water storage capacity while maintaining structural strength. Units can be stacked or connected to handle larger volumes, and they can be installed without heavy equipment in most residential settings.
Compared to gravel systems, Flo-Well units:
- Require less digging and backfill
- Assemble quickly with interlocking panels
- Provide predictable storage and infiltration performance
- Minimize clogging when used with a filter fabric wrap in certain soil conditions
By using Flo-Well dry wells, you can achieve the same or better drainage performance with fewer materials and less labor while maintaining a long-lasting solution.
Assessing your site for a dry well
Before installation, take time to evaluate your yard and soil conditions. A dry well depends on good infiltration, so knowing your site’s characteristics helps prevent performance issues later.
Start by choosing a location that slopes away from your home or building and meets local setback requirements from property lines, wells, and septic systems. Most installations place dry wells at least 10 ft. from the foundation to prevent water from seeping back toward structures.
Next, check your soil’s permeability. You can perform a simple percolation test by digging a small hole, filling it with water, and observing how quickly it drains. As a general guideline, the water should drain at a rate of about 1/2 to 2 in. per hour. Soils within this range are typically well suited for a dry well. If you notice water lingering for several hours, consider incorporating a secondary drainage feature like a French drain system to help direct water flow.
Finally, always call 811 before you dig to locate underground utilities and avoid accidental damage.
Planning your dry well system
Before beginning excavation, calculate how much stormwater your system needs to handle. Use the NDS Flo-Well dry well calculator to estimate the drainage volume from your roof or patio area based on local rainfall and determine the number of dry wells needed.
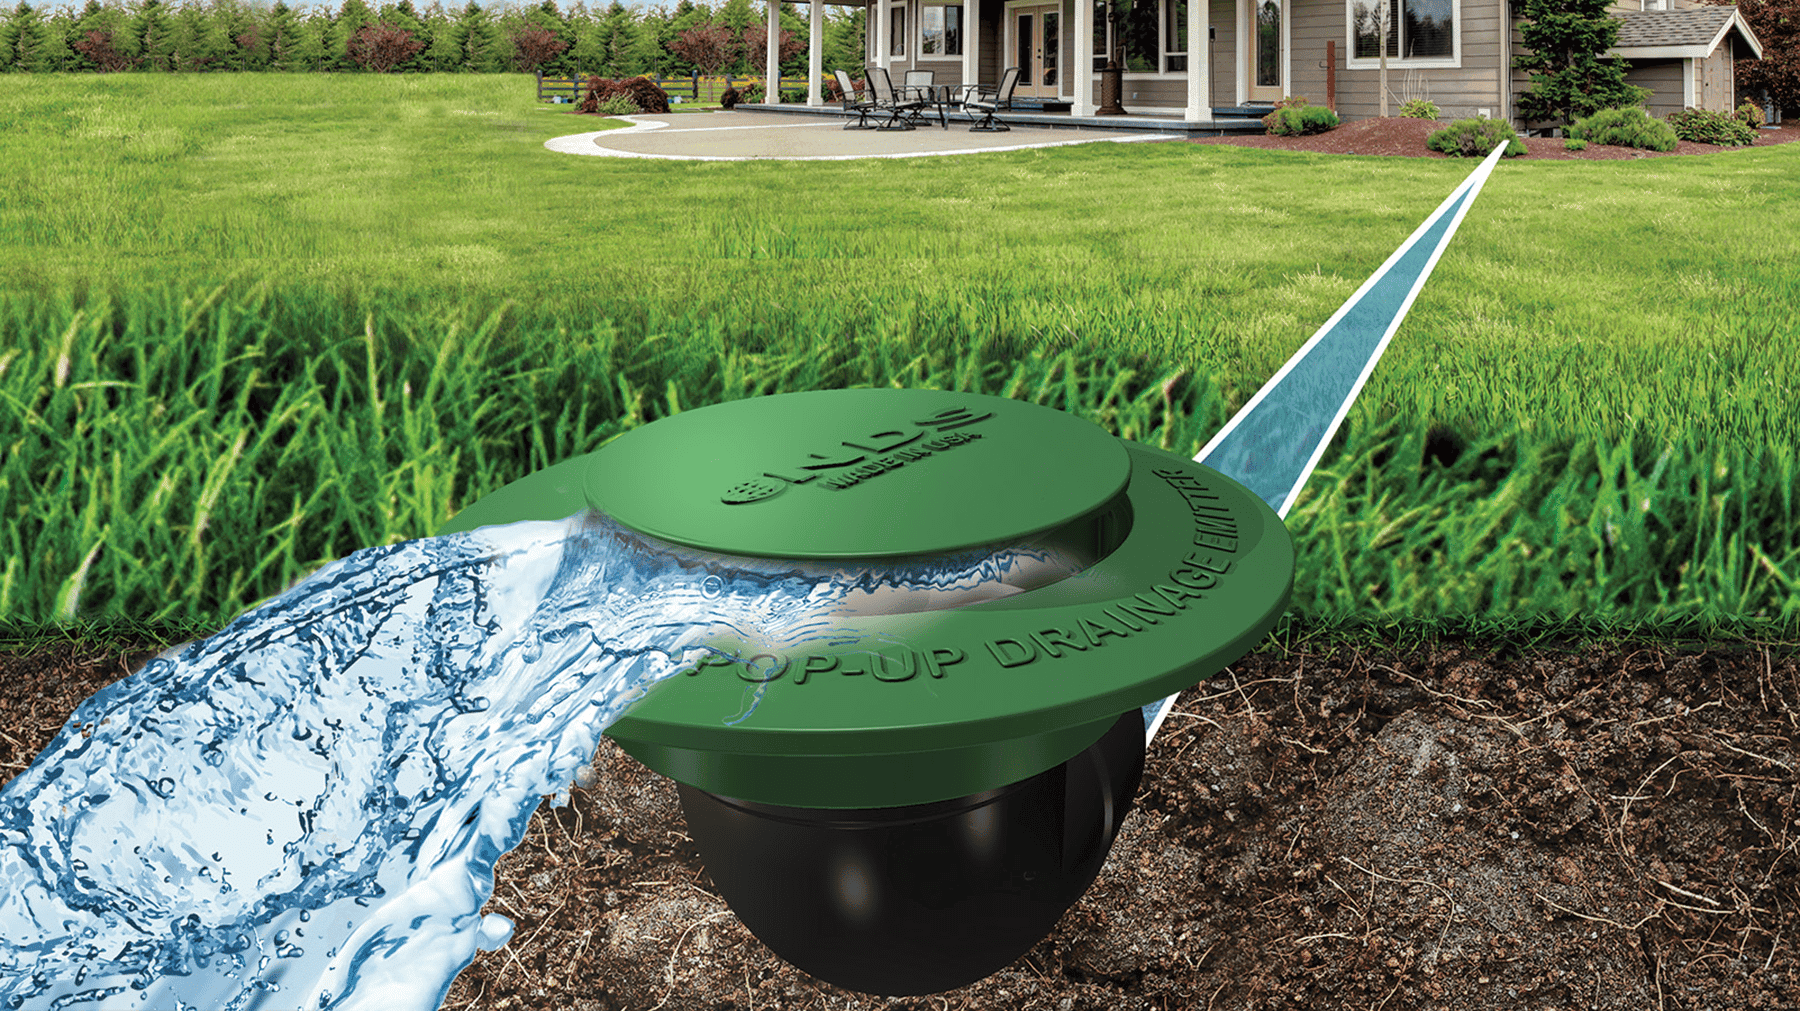
Plan for an overflow route in case of heavy rain. This can be achieved by connecting a pop-up emitter or extending pipe to a lower drainage point. If you’re working on a large area or have multiple downspouts, consider connecting two or more Flo-Well units for greater capacity.
Also, check local codes to confirm whether you need a permit or inspection. Some areas require minimum separation from groundwater or limits on installation depth.

Step-by-step installation guide
Installing a dry well is a straightforward process that can often be completed in a weekend with standard tools.
1. Mark and excavate the pit
Outline the installation area according to your design plan. Excavate a hole large enough for the Flo-Well unit and an additional space of a few inches around it for backfill. The bottom of the excavation should be level and free of rocks or debris.
2. Prepare the base
For infiltration systems, add a layer of clean gravel or coarse sand at the bottom to promote drainage and provide stability. Compact the base lightly for support.
3. Wrap the pit
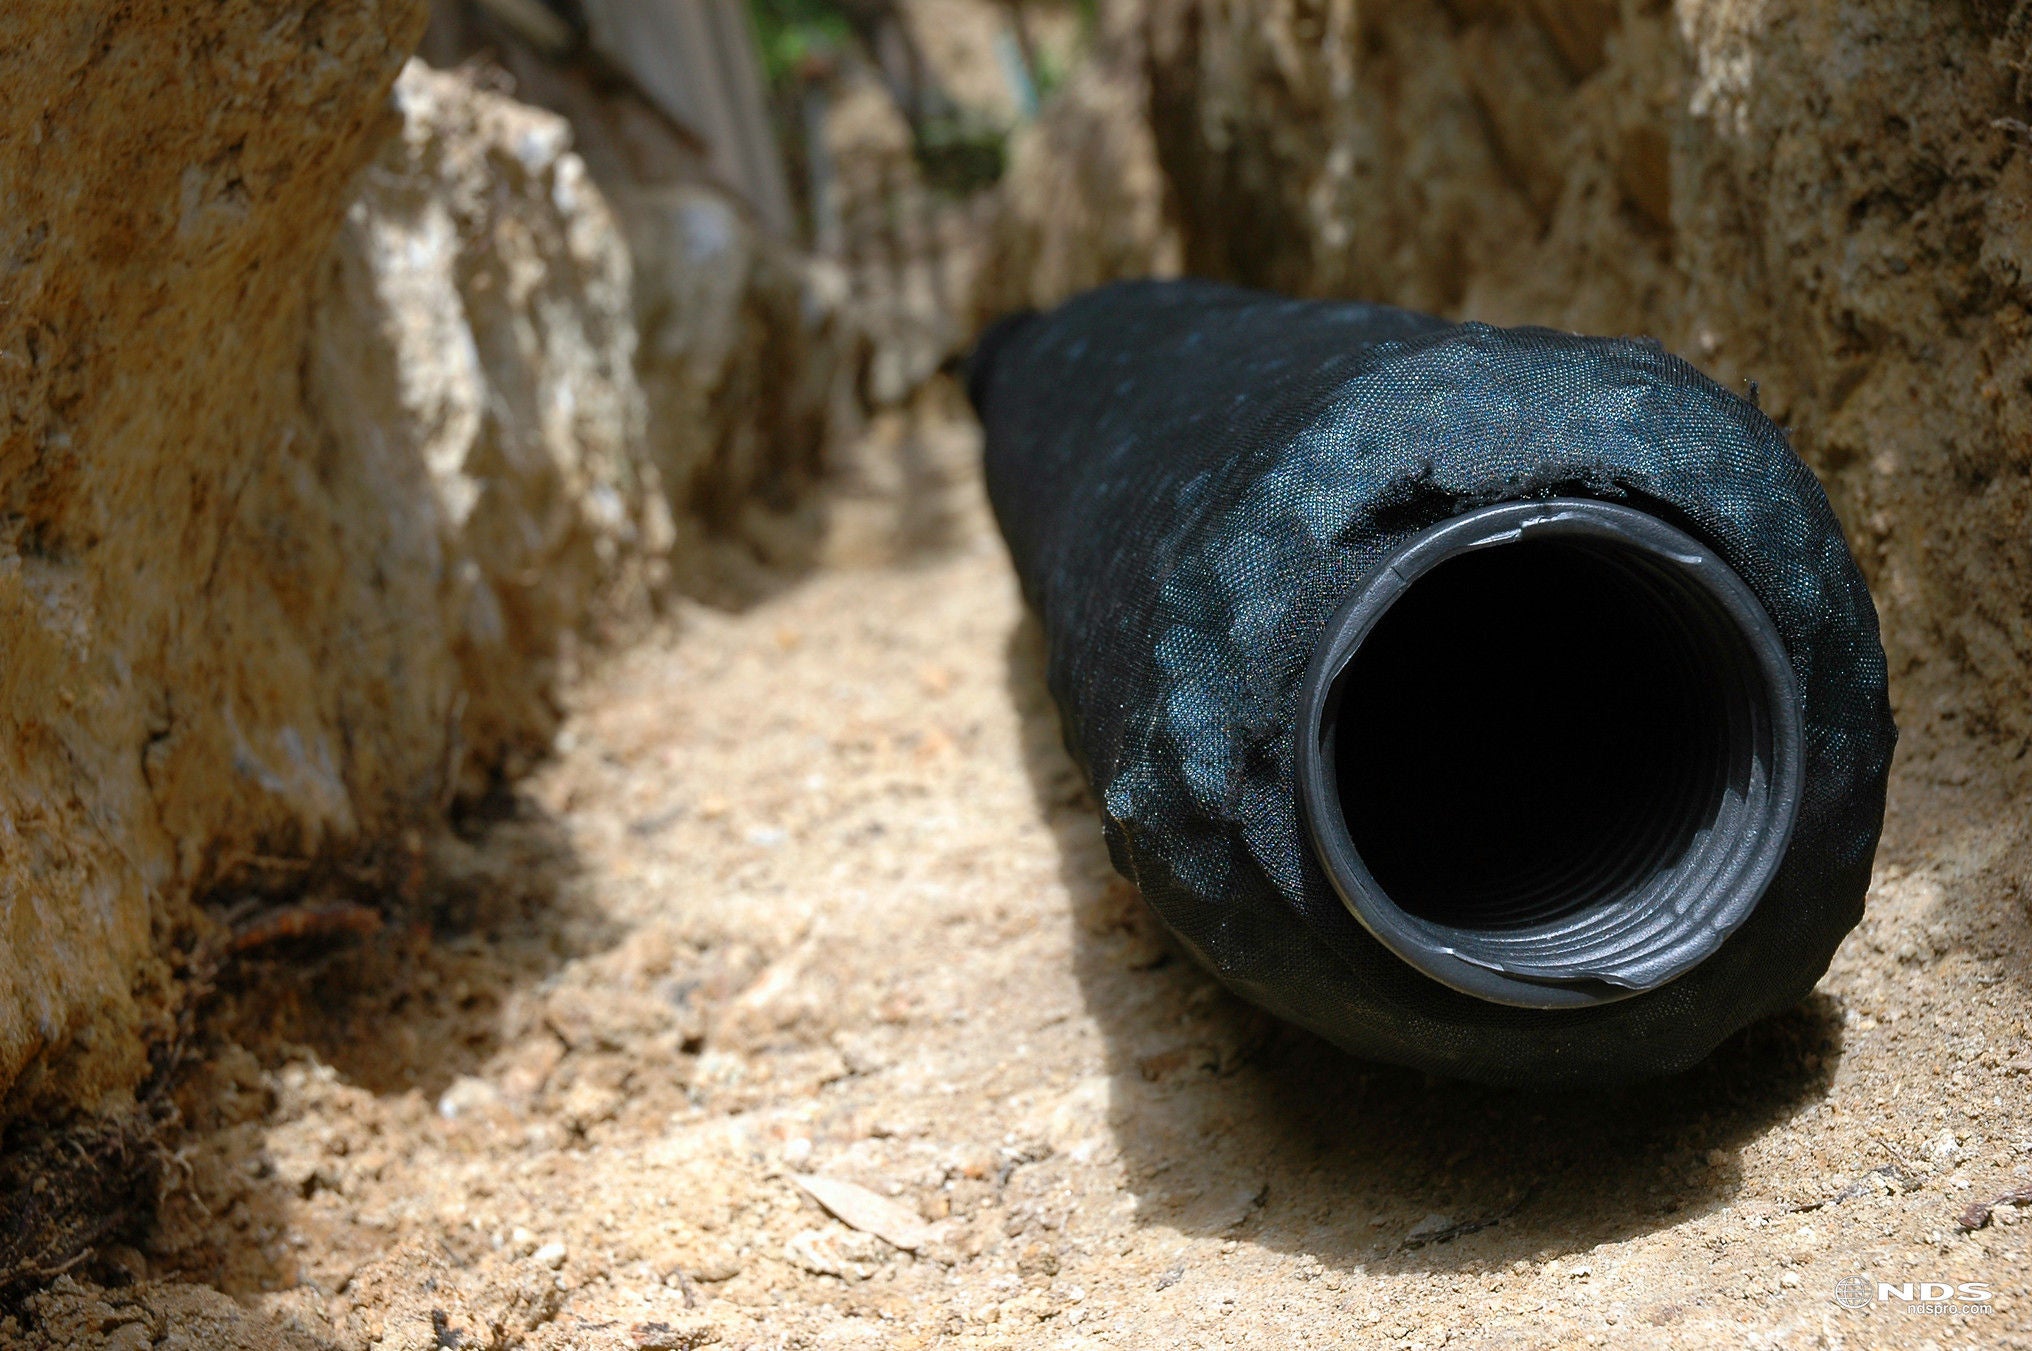
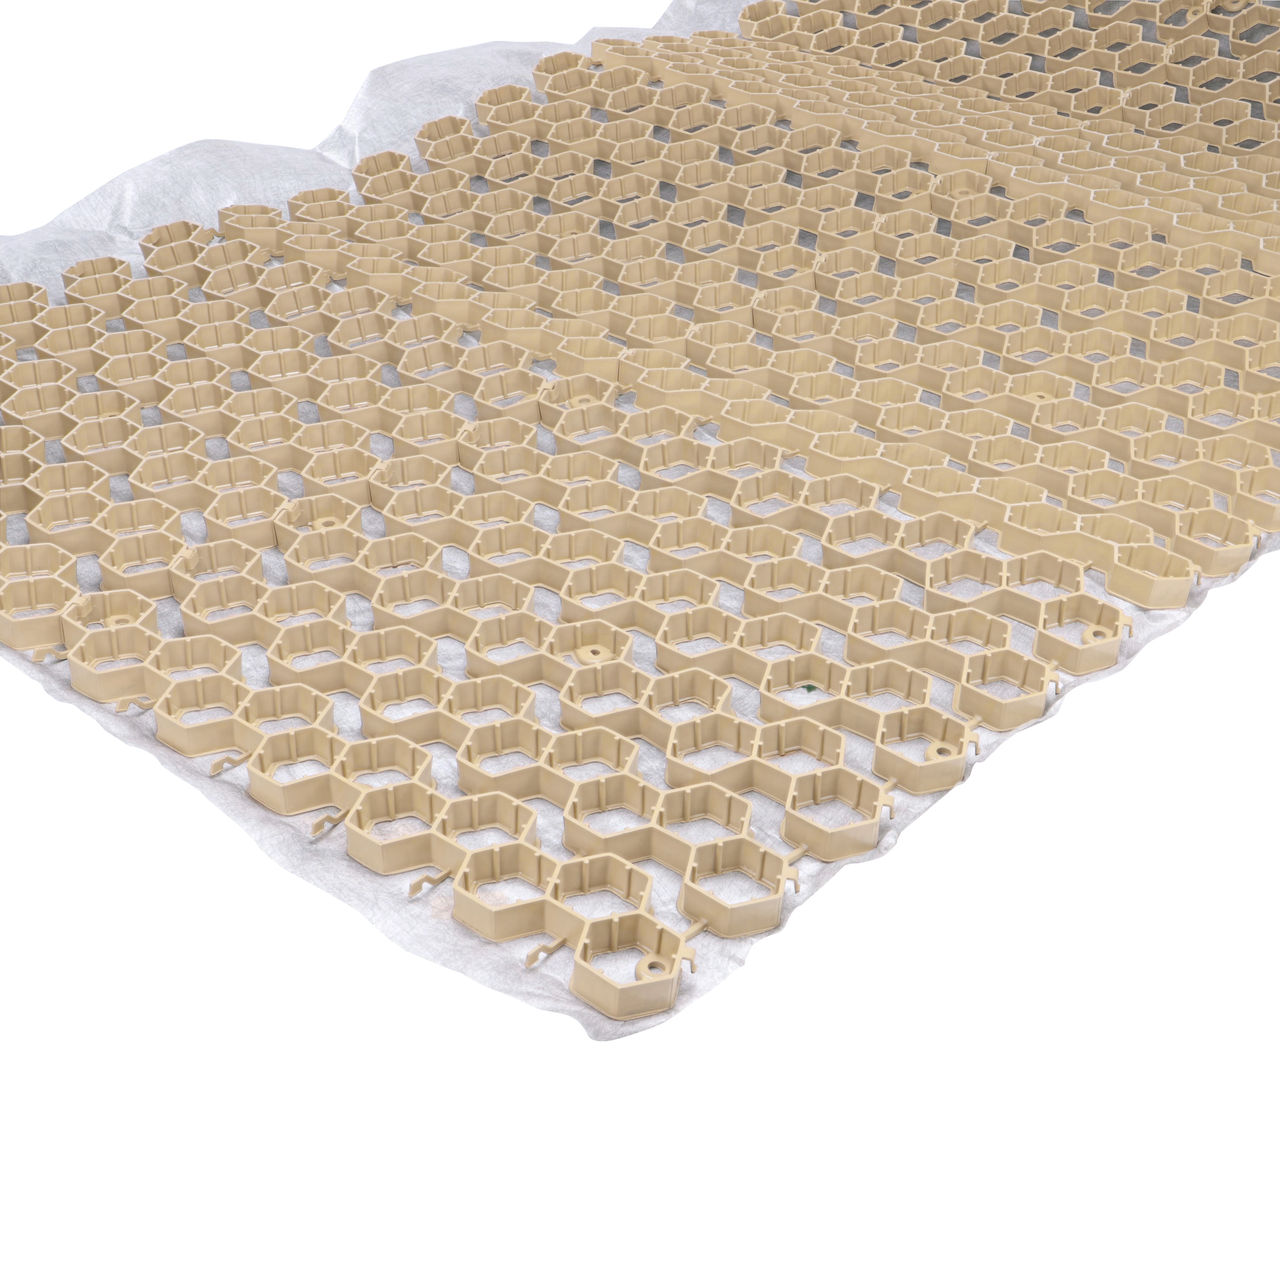
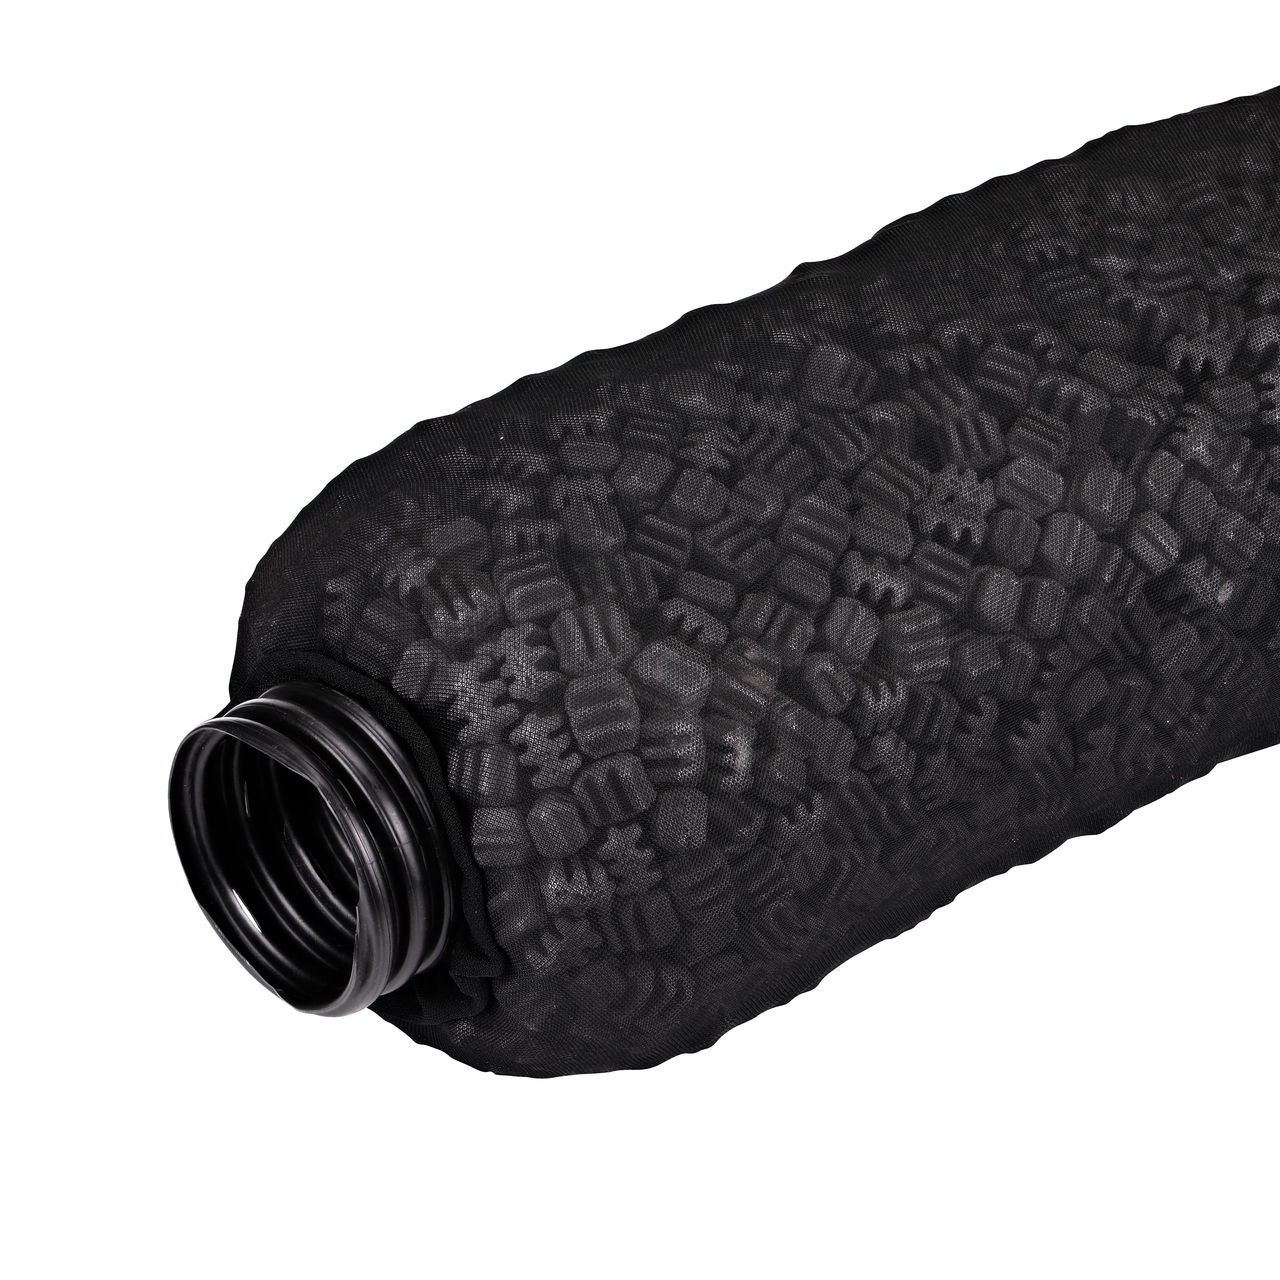
Line the sides and bottom of the excavation with geotextile filter fabric that allows water to pass through while helping to block unwanted debris from entering the system. This helps keep the gravel/stone reservoir from being invaded by soil or sediment washing in from above during storms and from root intrusion. Without the fabric, the void space in your dry well can fill with fine sediment over time and lose water storage capacity. See the Considerations for clay soil installations section for additional details.
4. Assemble the Flo-Well unit
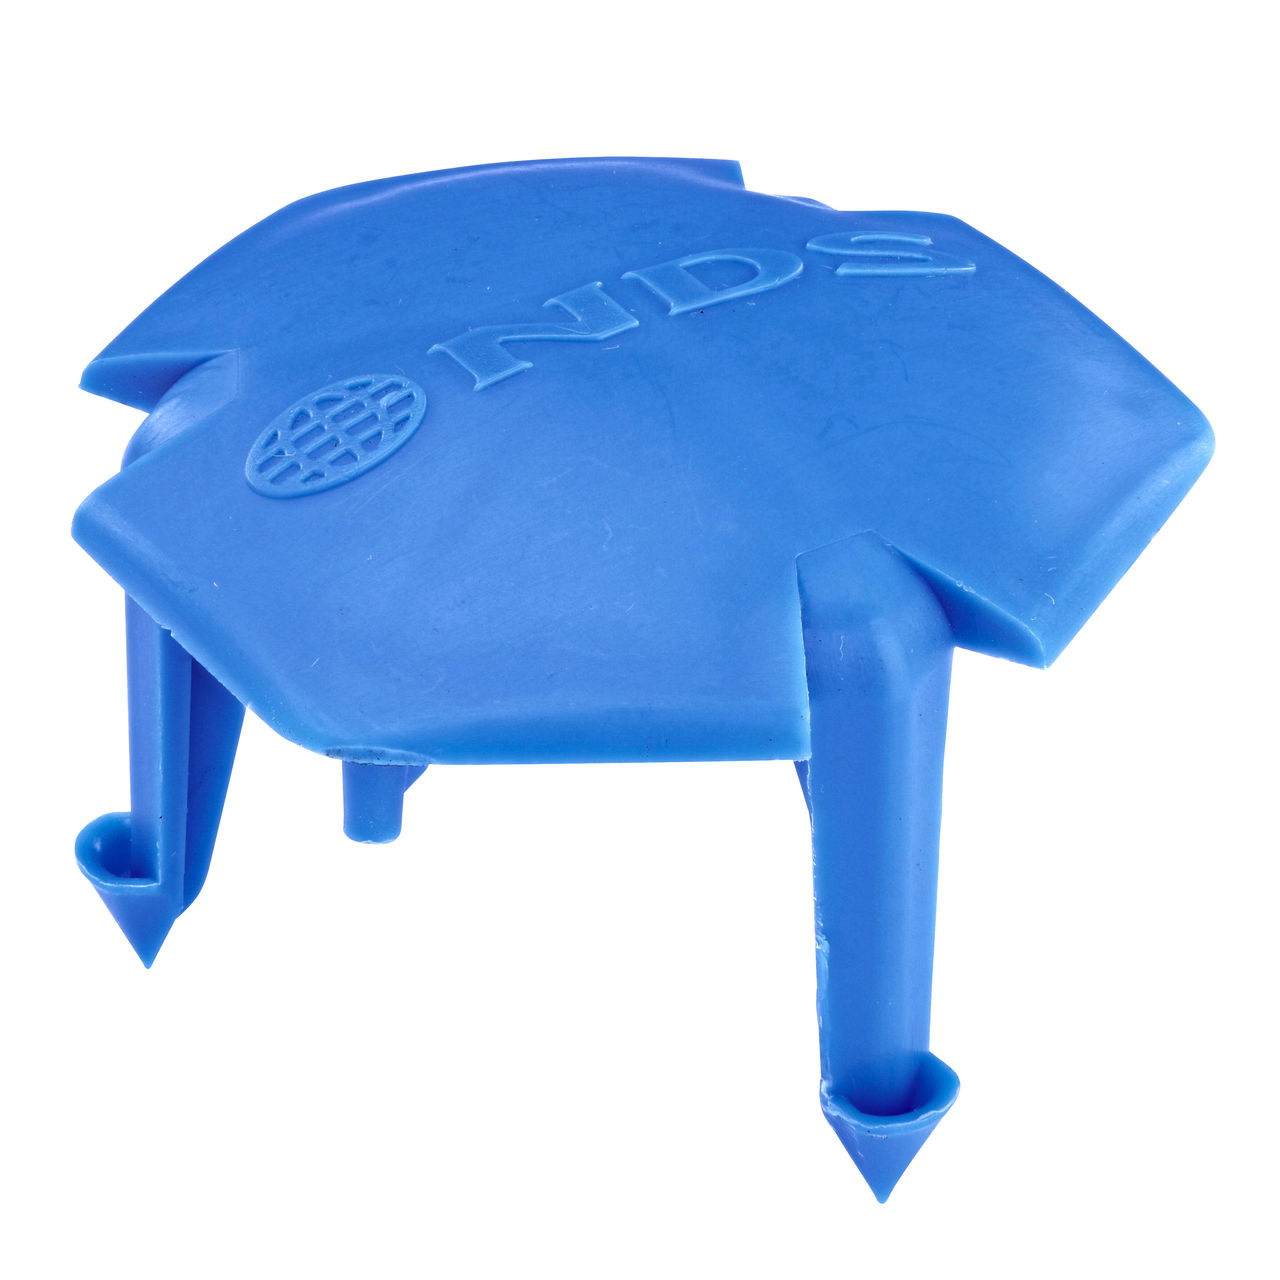
Snap together the Flo-Well panels and top cover according to the Flo-Well Installation Guide (PDF). If more capacity is needed, stack or connect additional modules.
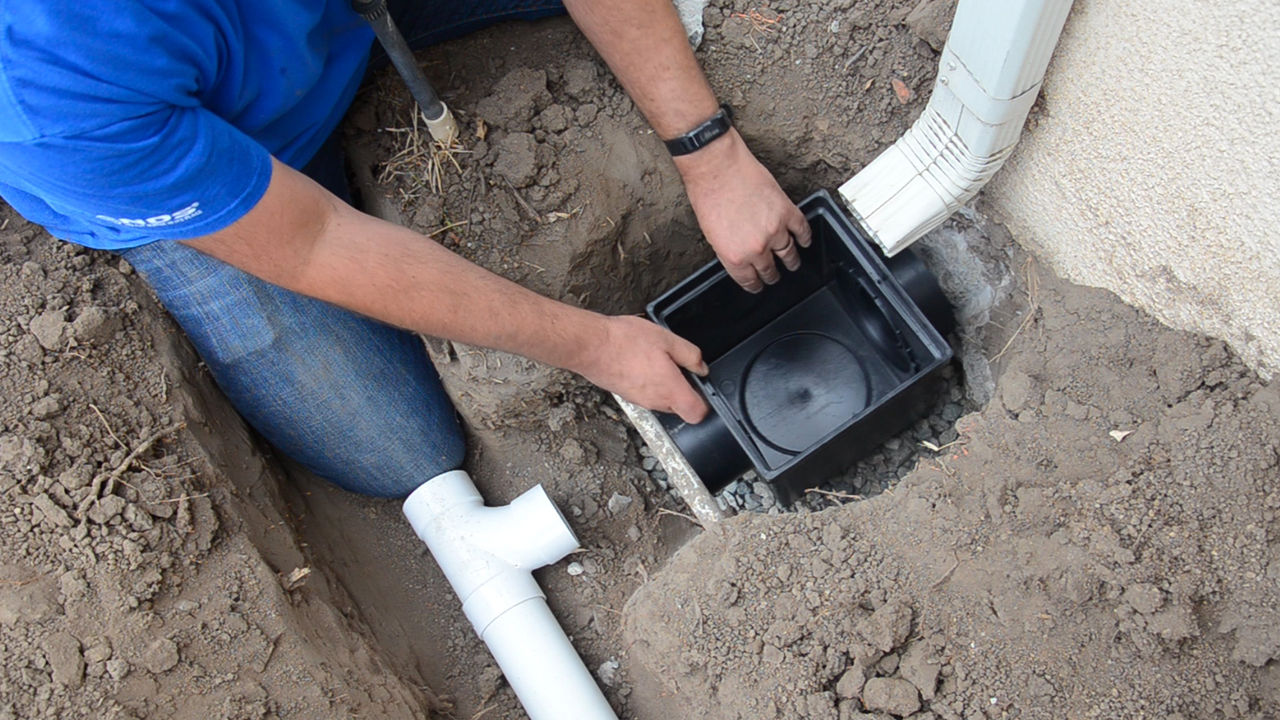
5. Connect inlets and overflow
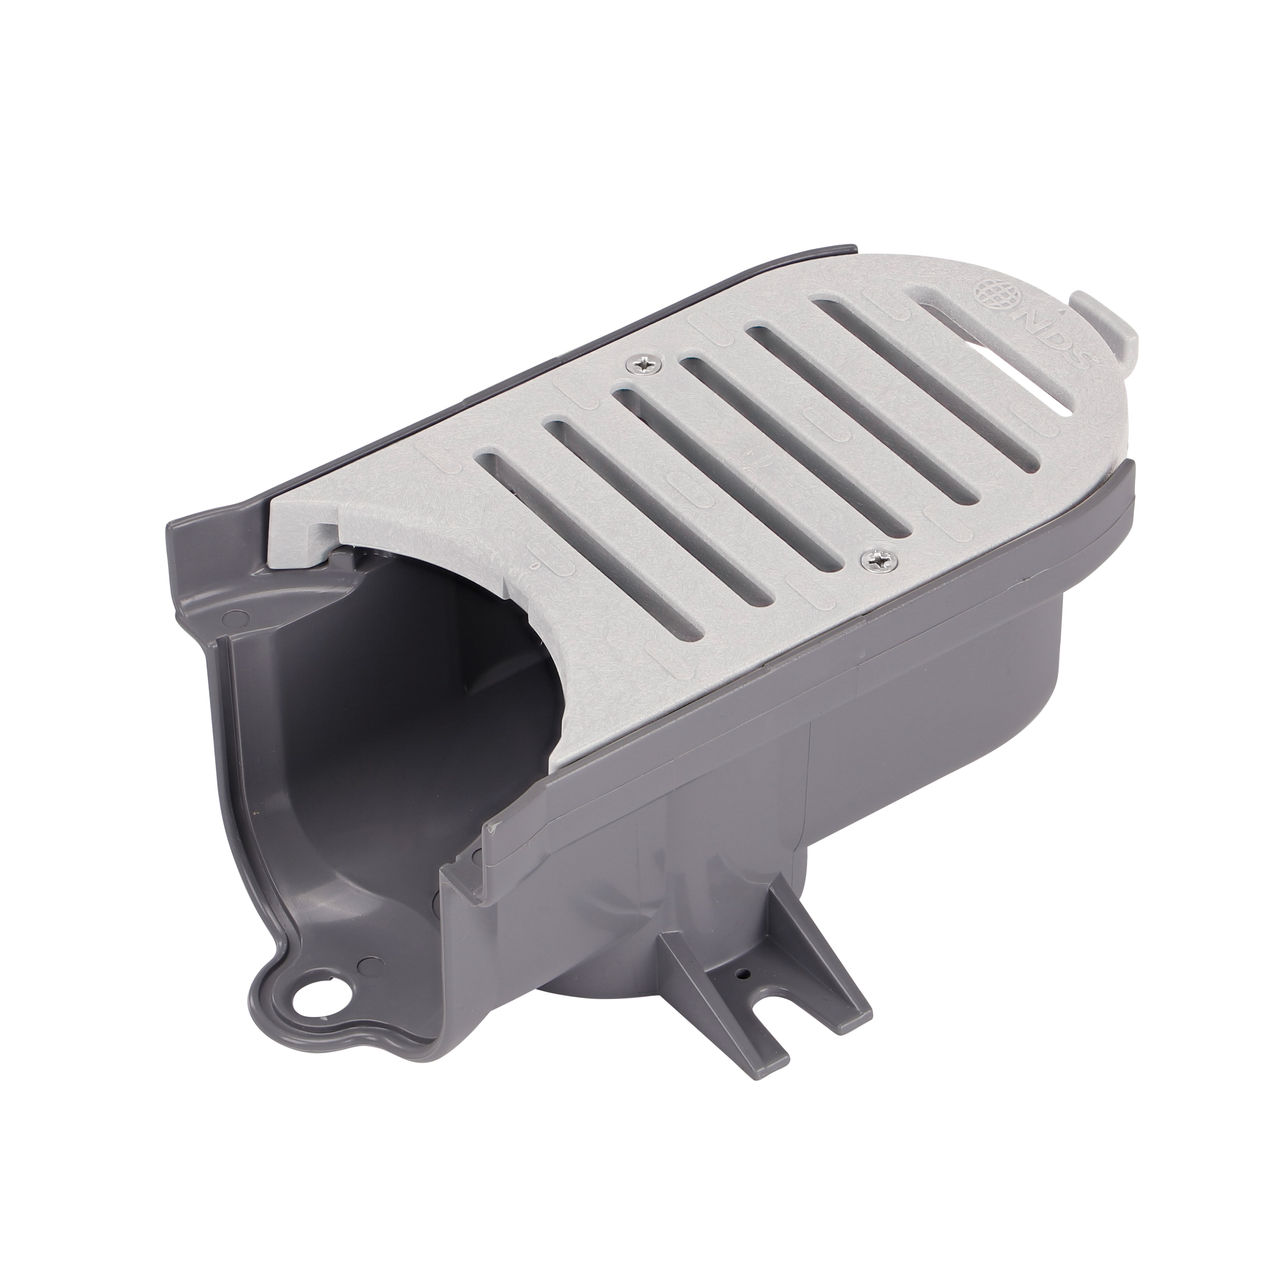
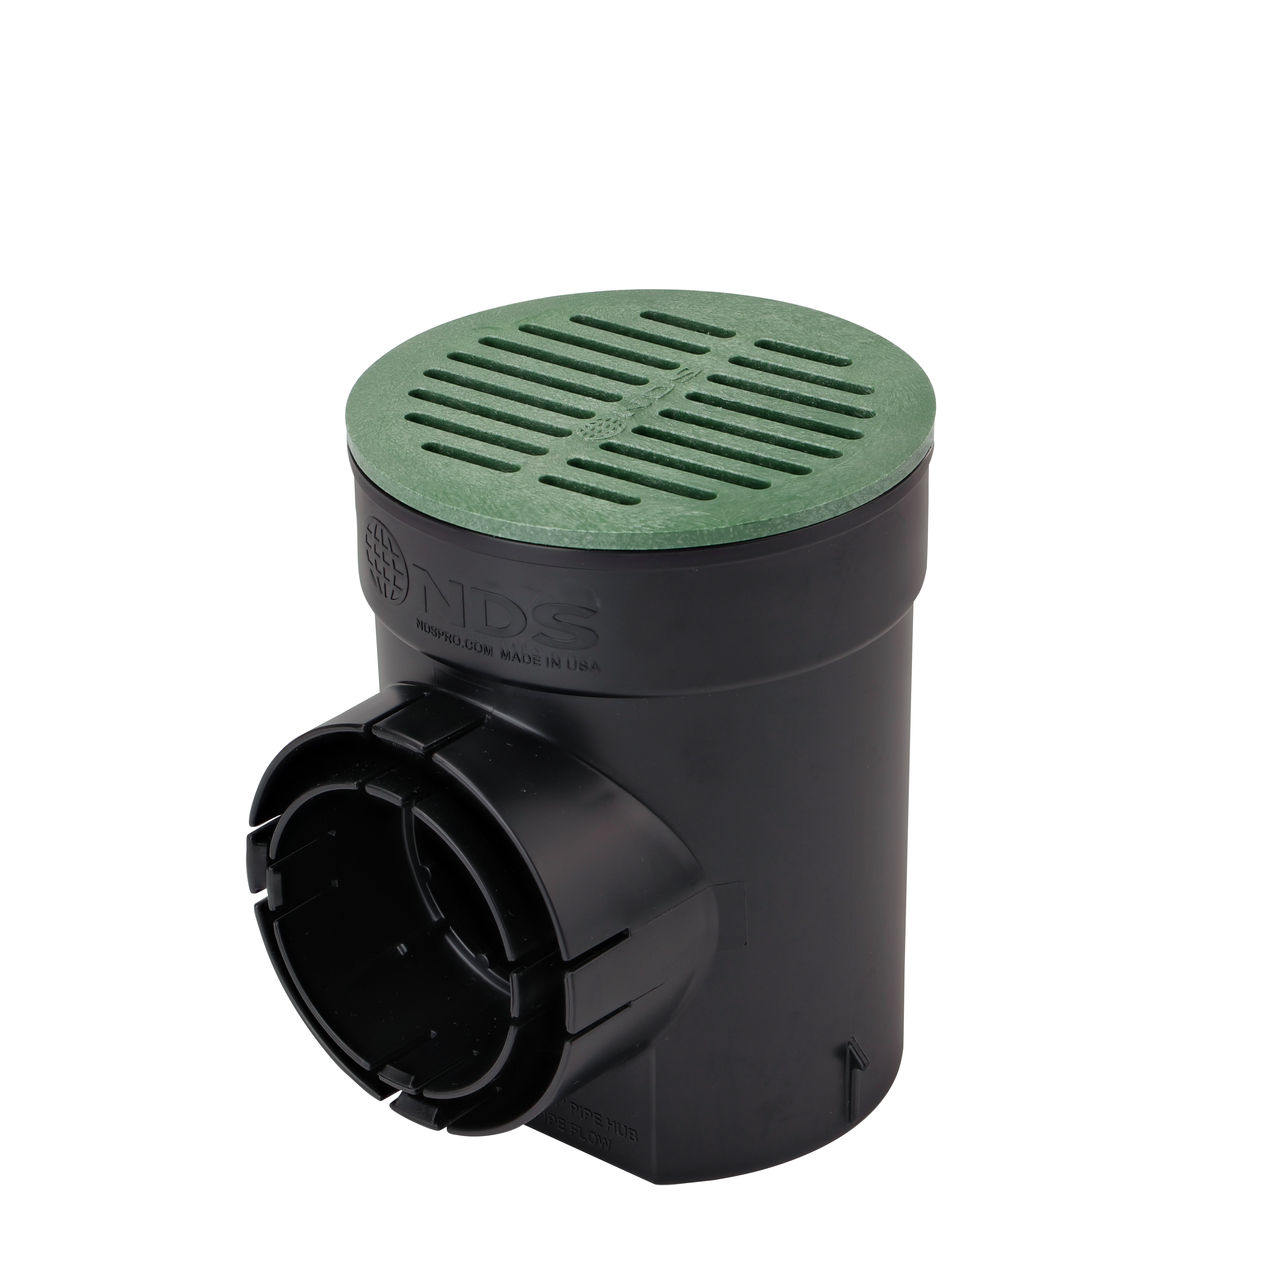
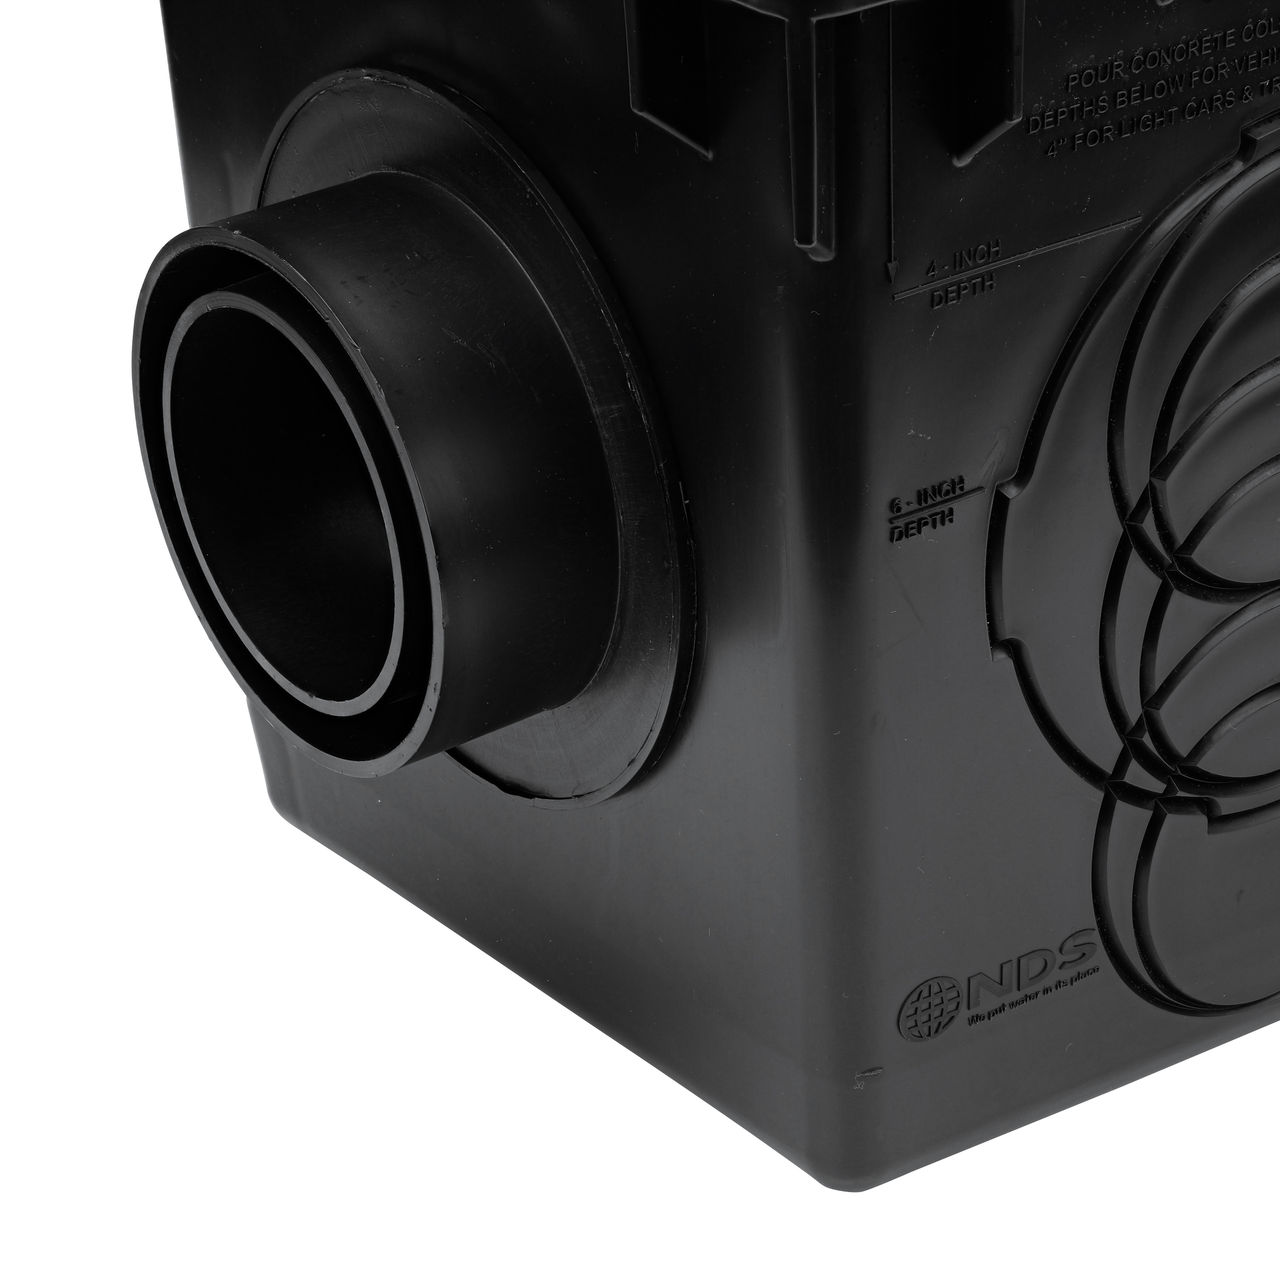
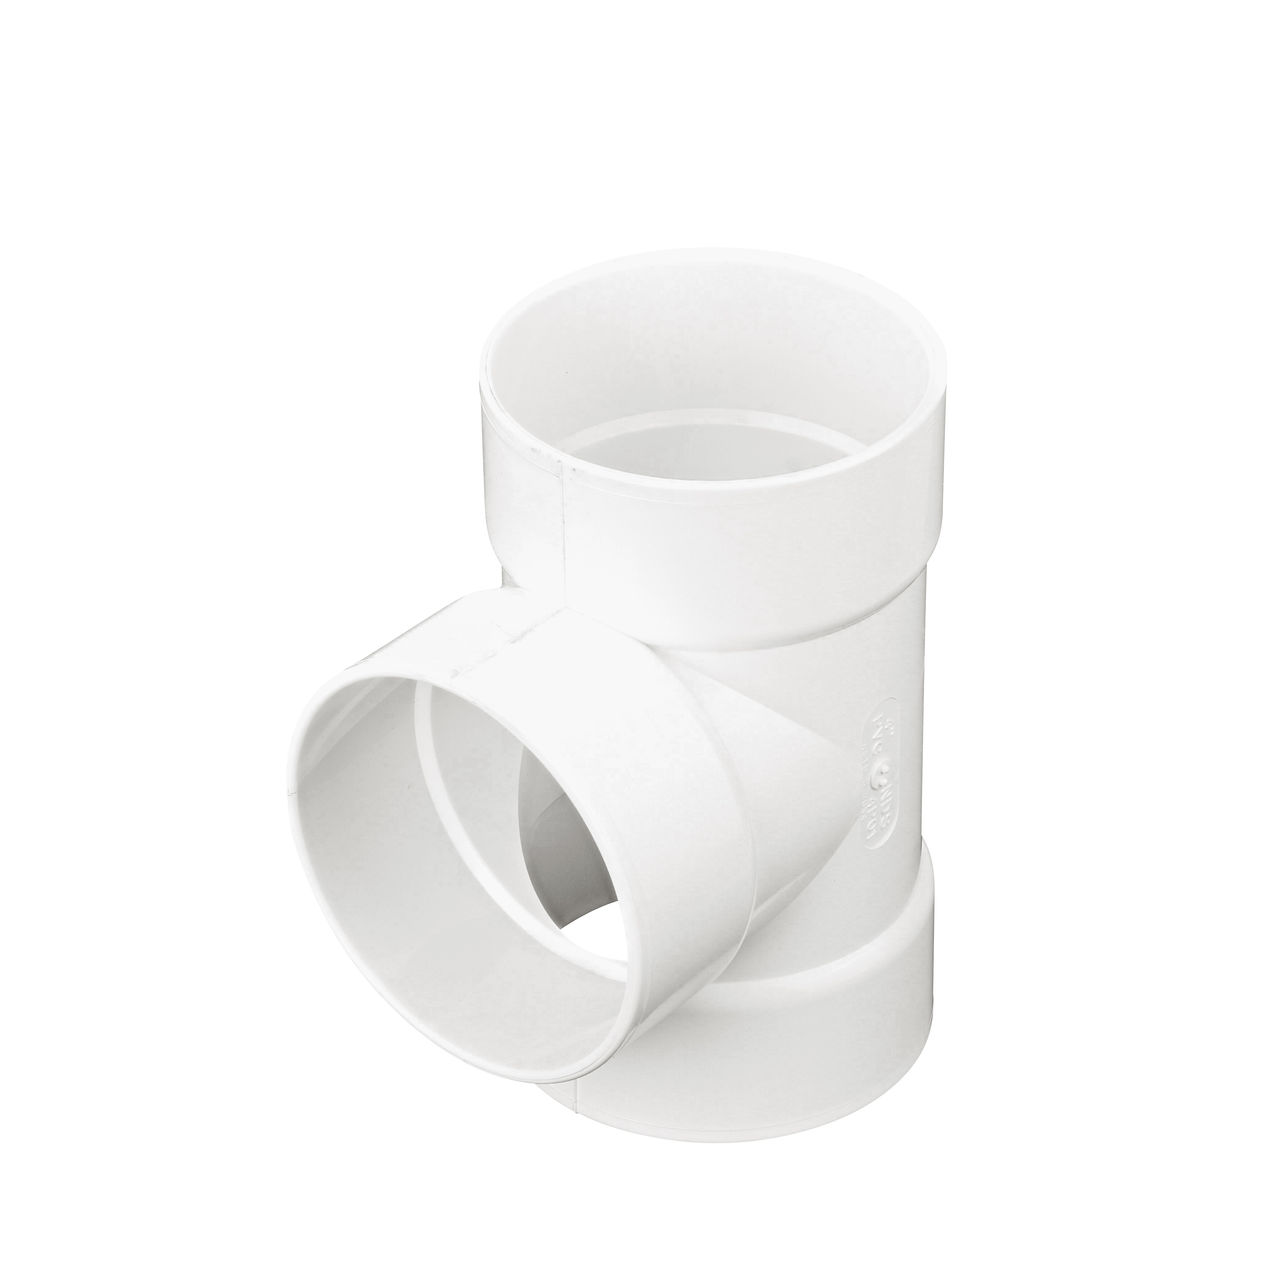
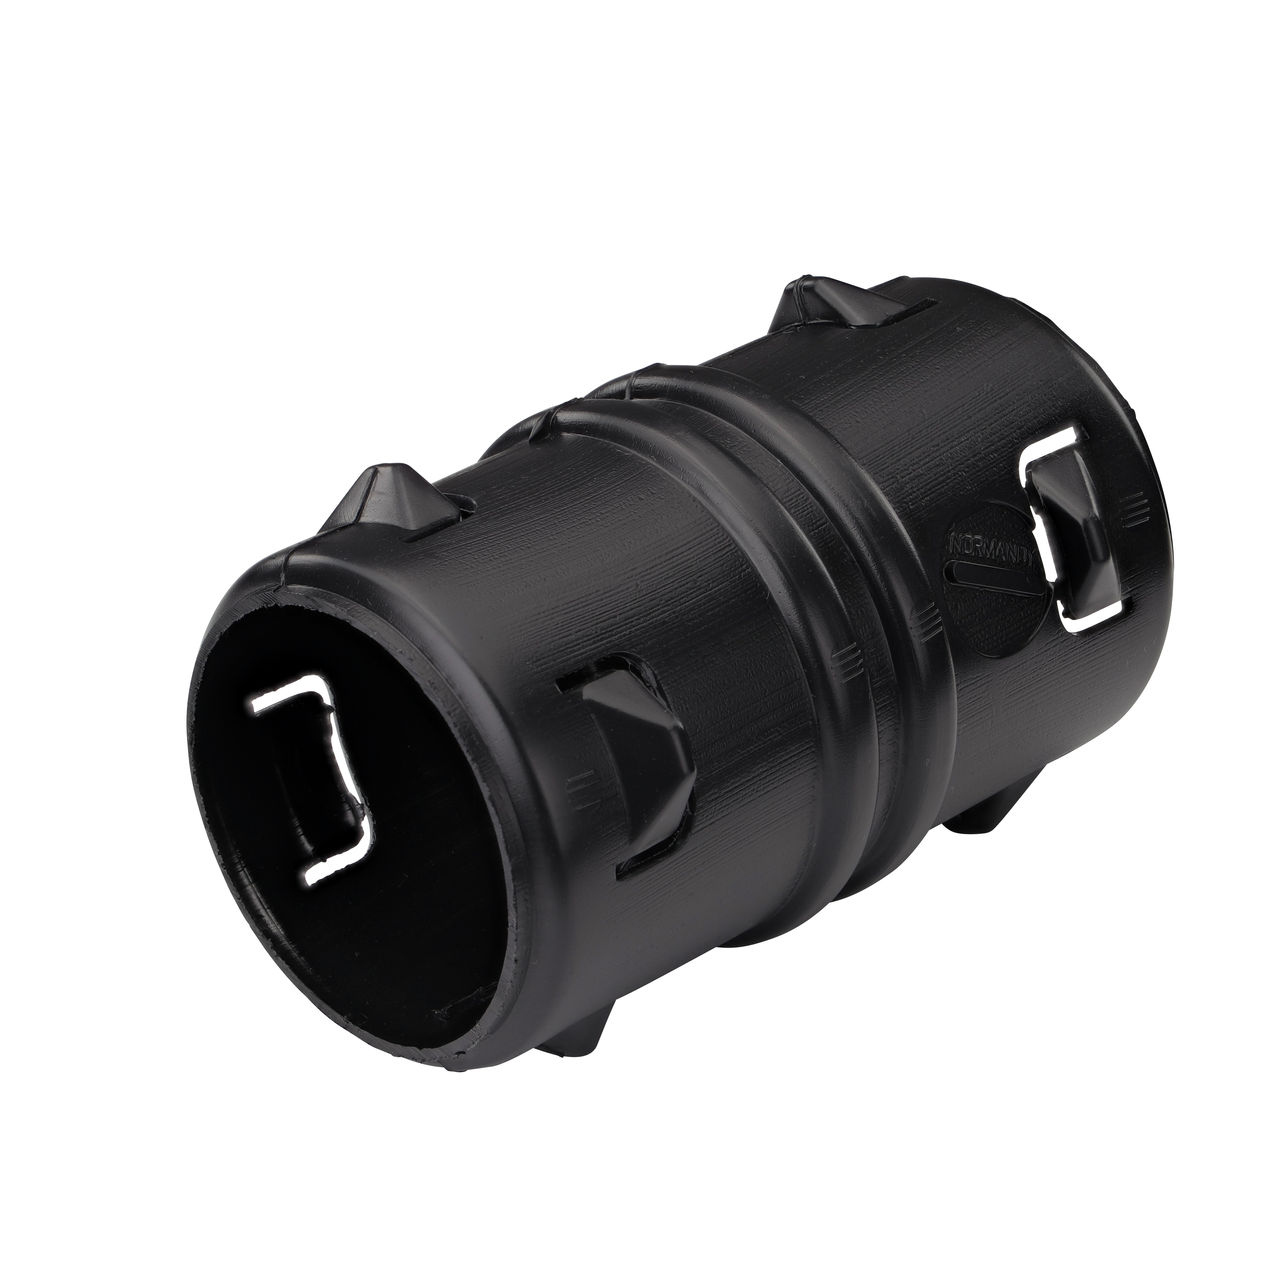
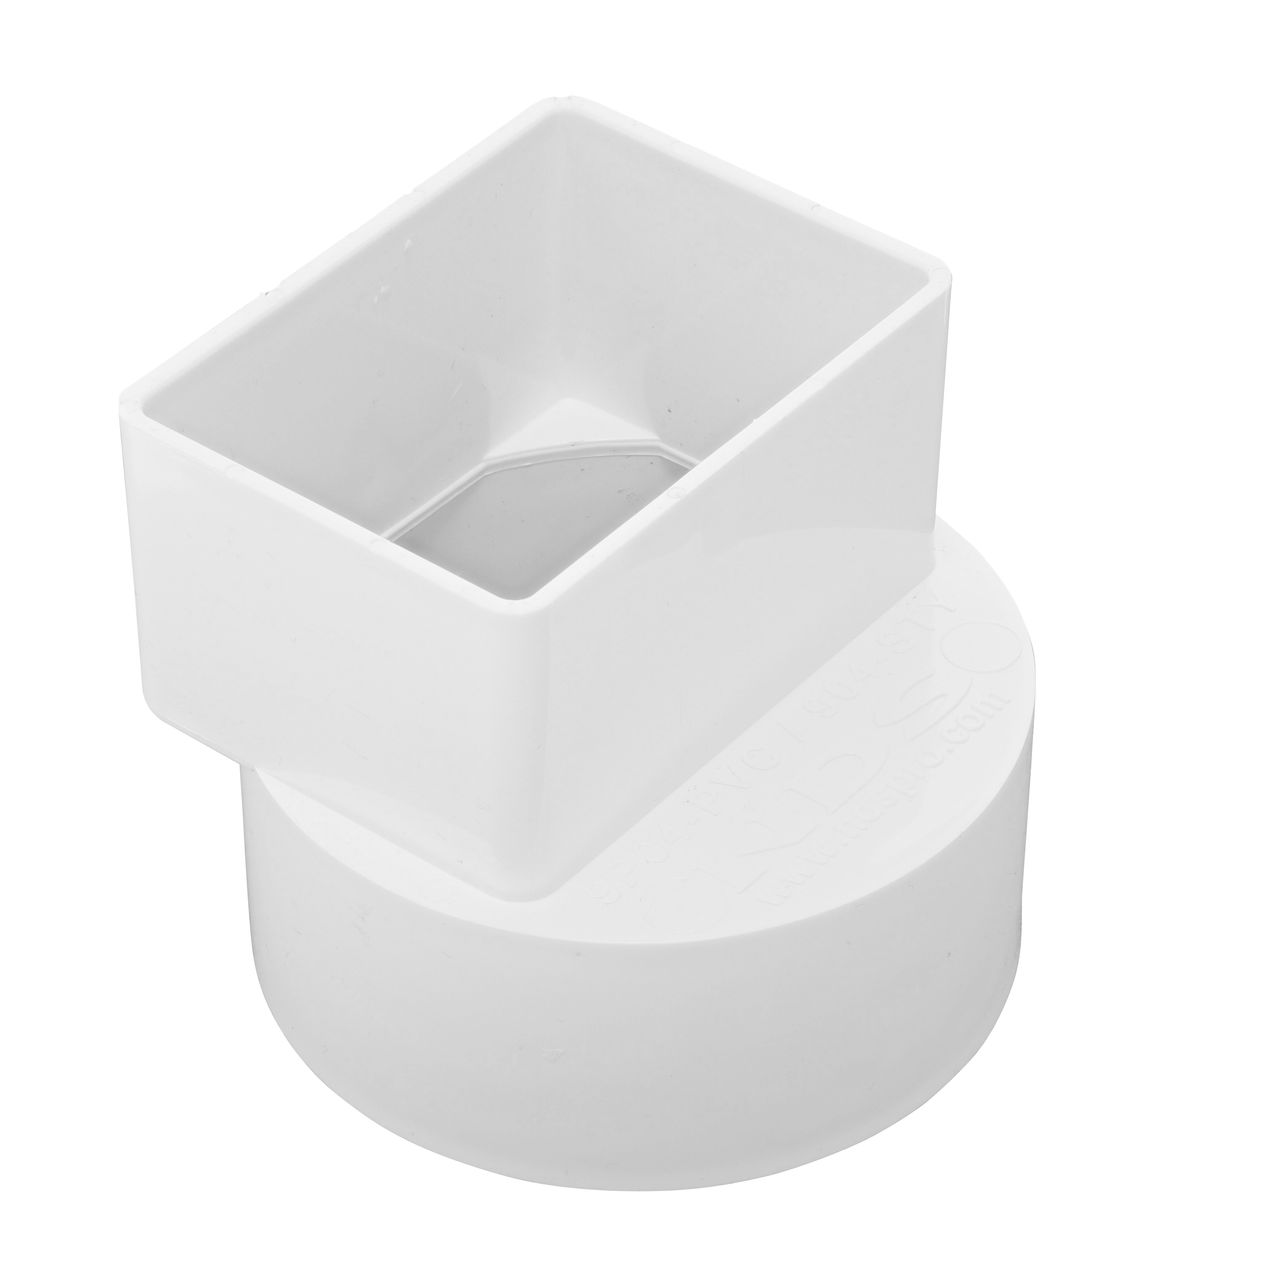
Attach 6 in. round surface drain inlet for the Flo-Well dry well (sold separately) or inlet pipe from your downspout, catch basin, or channel drain to the Flo-Well dry well. Add an overflow fitting or pop-up emitter downstream to provide an exit path for excess water during heavy rainfall.
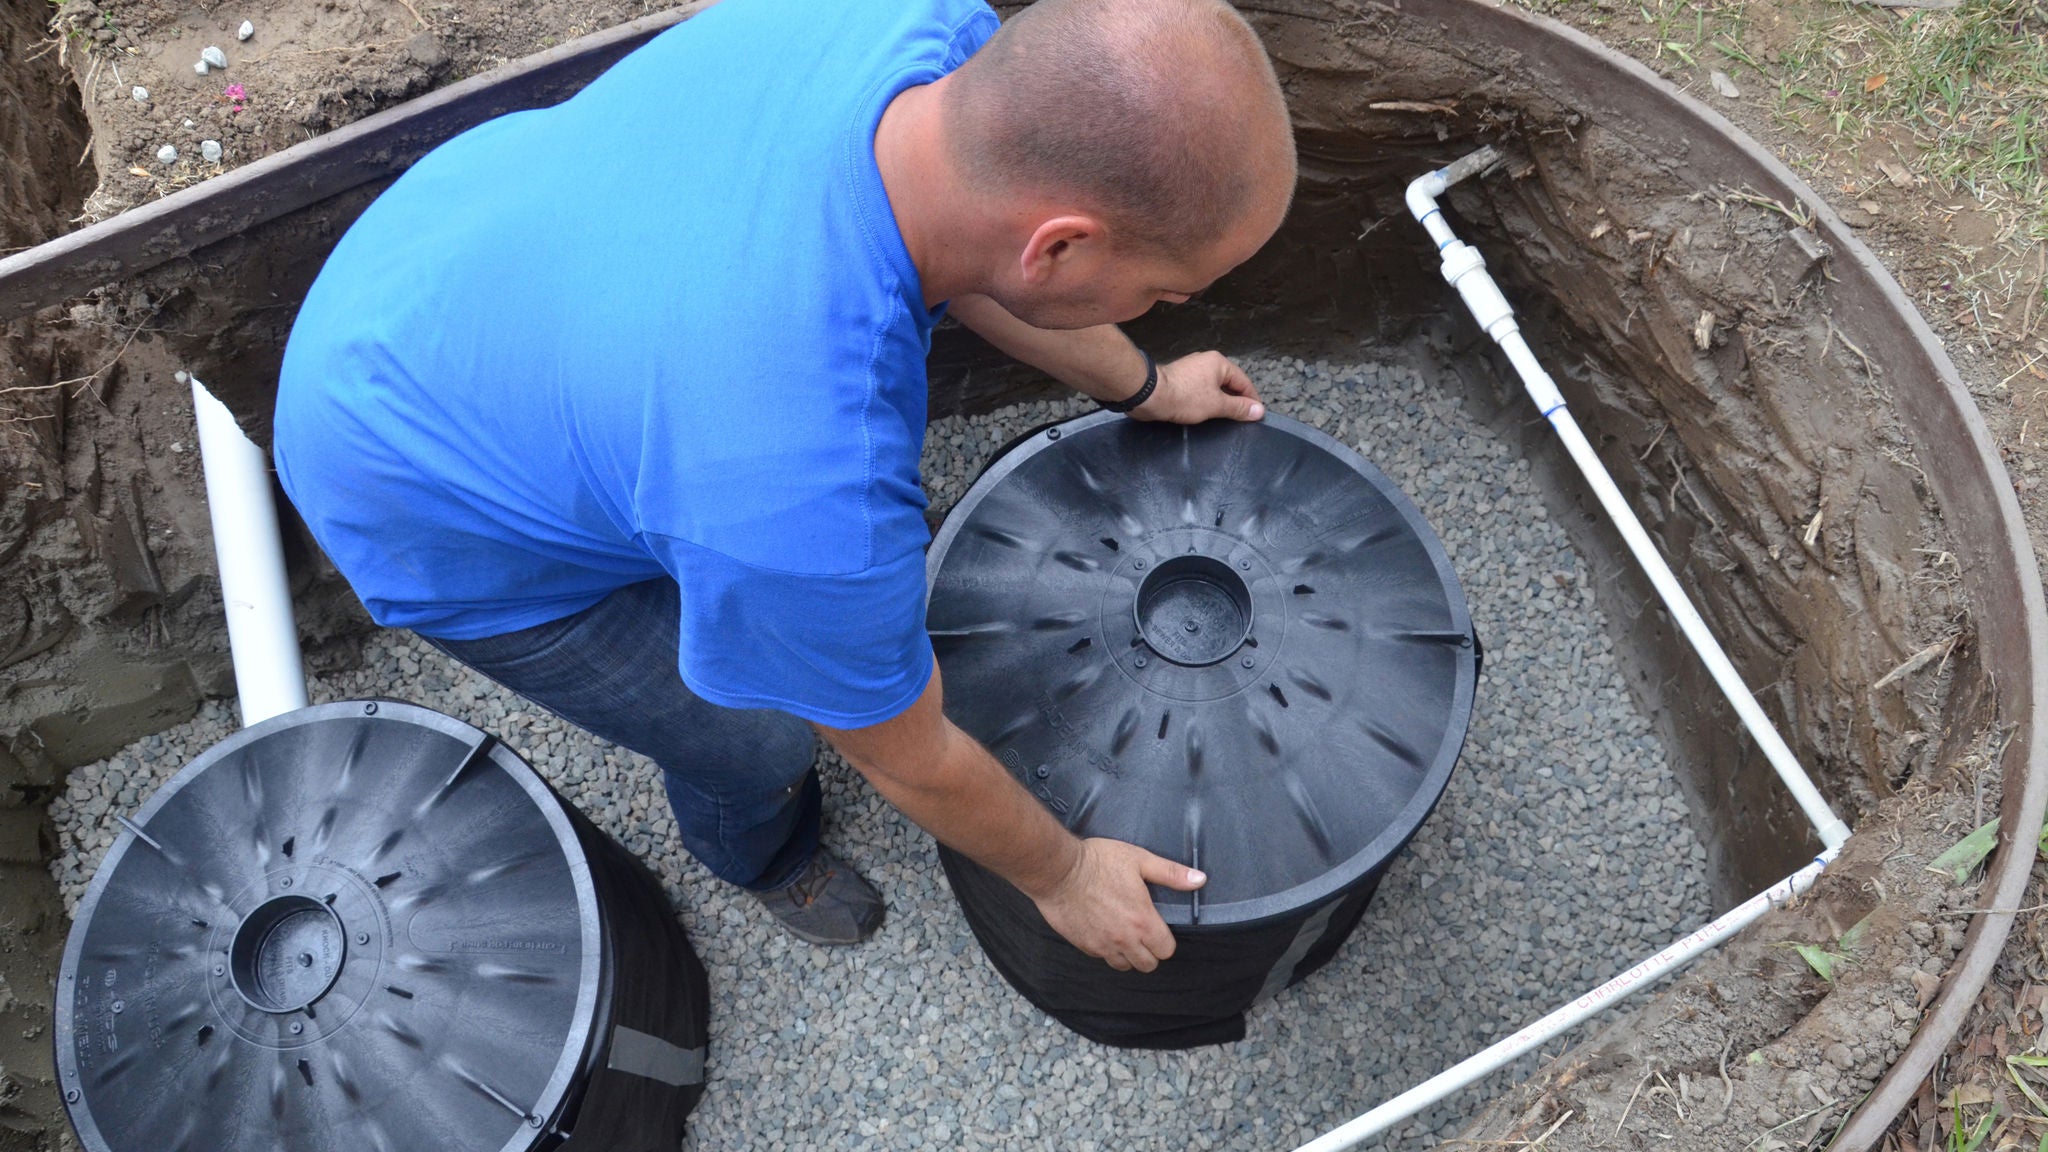
6. Place and wrap the units
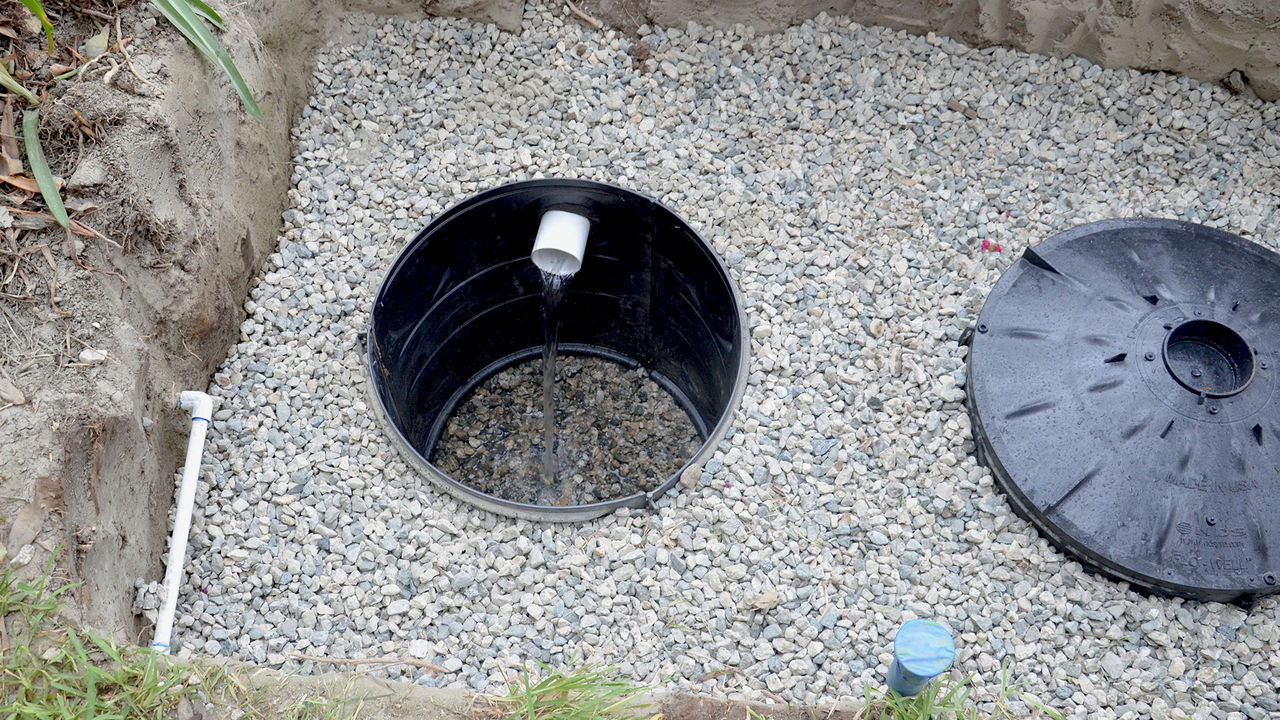
Lower the assembled unit into the pit, fold the filter fabric over the top, and secure it to protect against soil intrusion.
7. Backfill and test the system
Backfill around the sides with soil or gravel, compacting gently to prevent settling then time-test the system by following these steps:
- Locate the inspection port/cap on top of the Flo-Well. Most have one, or you can pull the downspout connection temporarily.
- Run a hose into it (or redirect roof runoff during rain) for several minutes to fill the chamber.
- Time how long it takes for the water level to drop. A functioning unit in reasonably permeable soil should show visible drainage within 15–30 minutes and be fully drained within a few hours. In clay soil, expect this to be much slower. If it's still holding water after 24–48 hours, that's a sign that infiltration is limited and the surrounding clay isn't accepting water fast enough—not necessarily that the unit is "broken.”
Percolation cross-check
If results seem consistently poor, it's worth doing a simple perc test in the soil near (not in) the Flo-Well: dig a small hole, fill with water, and time how long it takes to drain. This tells you whether the bottleneck is the unit itself or just the site's clay having very low infiltration capacity—important since no amount of Flo-Well maintenance fixes soil that fundamentally won't accept water quickly.
8. Restore the surface
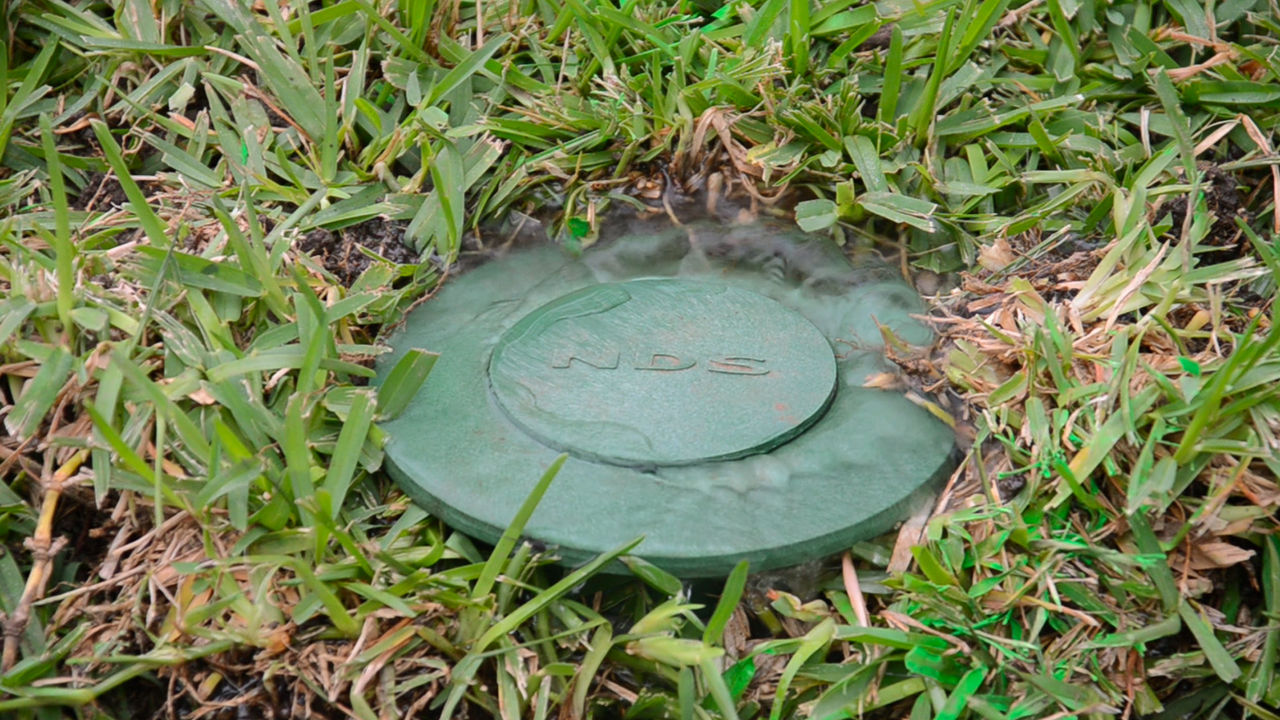
Restore the surface with grass, mulch, or decorative stone to blend with the surrounding landscape.
Considerations for clay soil installations
For installations in clay soil, special considerations should be taken when wrapping the pit with filter fabric. Fine clay particles can migrate into and clog the fabric's pores, forming a "blinding" layer that reduces infiltration right at the soil-fabric interface—which is exactly where you need water to pass through. This is a known issue in drainage design, and it's part of why dry wells in clay-heavy soil don't drain well in the first place. Clay has very low permeability regardless of the fabric.
Practical approach
Wrap the fabric around the stone/gravel fill, not directly against undisturbed clay walls if you can avoid it. Some dry well system designs use a buffer of coarser washed gravel or sand between the clay and the fabric to reduce direct clogging contact.
Use a woven monofilament or non-woven needle-punched geotextile rated for the soil type. Non-woven material tends to be less prone to clogging than some woven fabrics. Check manufacturer specifications for use with clay/fine-grained soils.
System design options
If your soil is predominantly clay with a slow infiltration rate, a standard dry well may not be an ideal drainage solution. Many homeowners with clay soils either oversize the well significantly, add an overflow/daylight drain, or switch to a different system (like a French drain to daylight, or a raised/surface solution) because a dry well relies on water soaking into the surrounding soil
Post-installation care
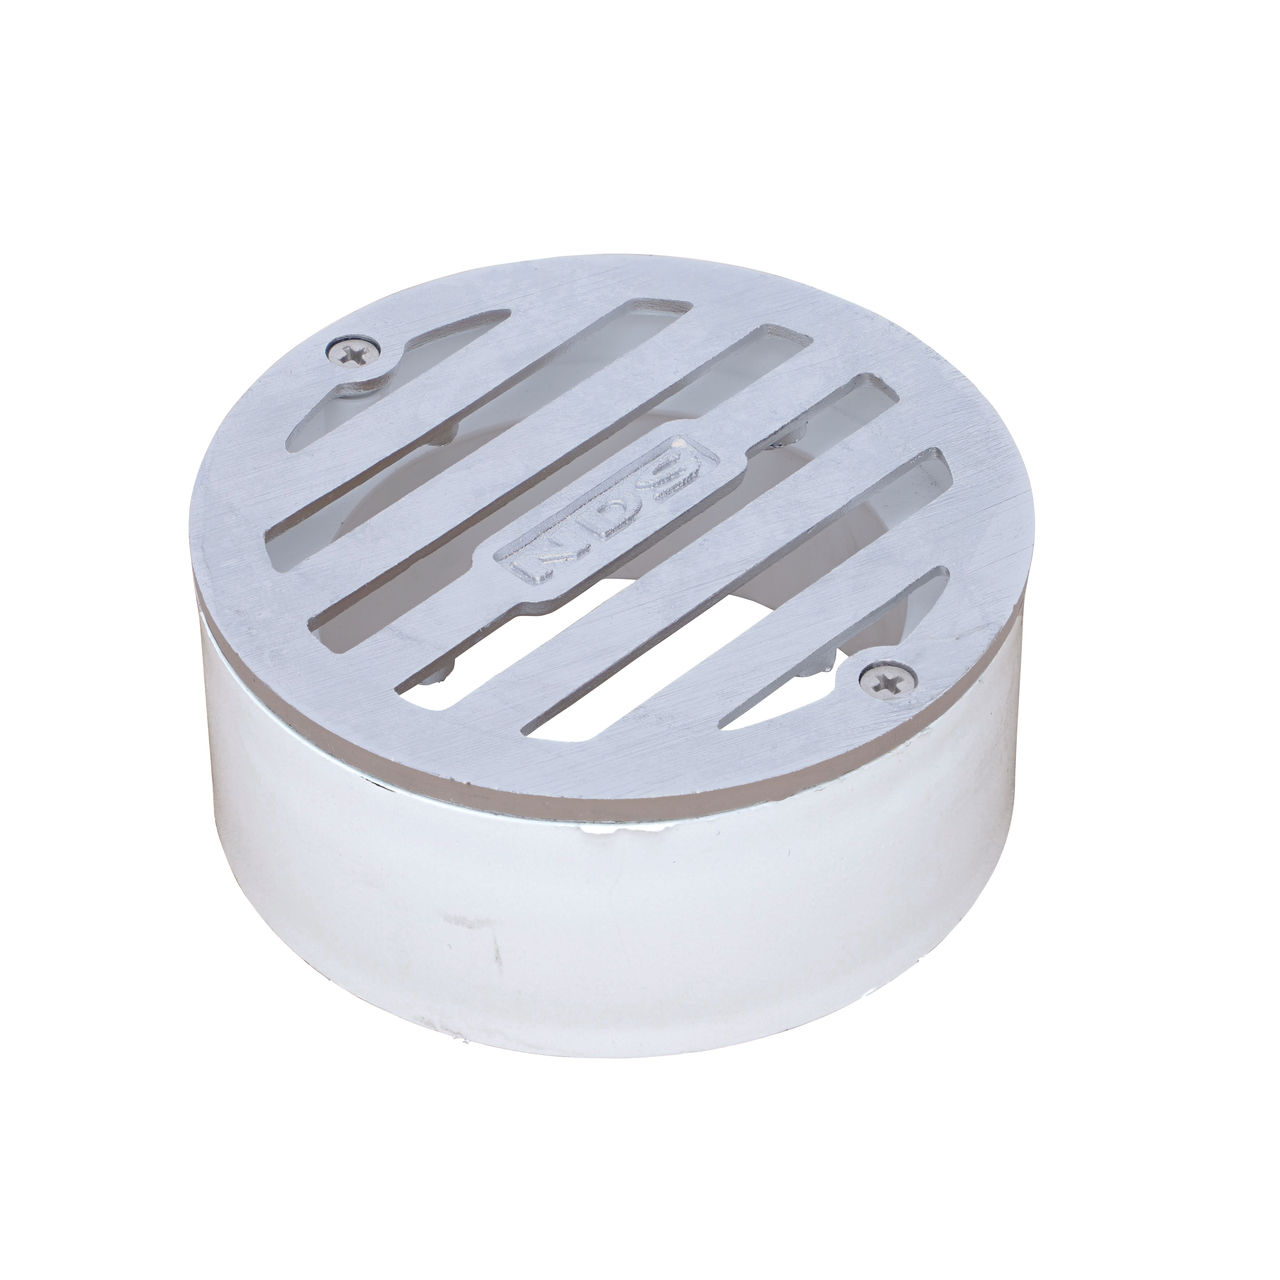
A properly installed dry well requires little maintenance, but annual checks help ensure continued performance. Inspect inlet pipes and surface drains for debris, verify that the overflow outlet is clear, and clean grates on catch basins or channel drains as needed. Avoid compacting soil directly above the dry well or driving heavy equipment across the area unless the system is specifically designed for load-bearing use.
FAQs about installing a dry well
How far from the house should a dry well be installed?
Many experts recommend 15-20 ft. or more away from your home’s foundation to prevent water from seeping toward the structure.
Do I need a percolation test?
Yes. A simple backyard test helps confirm that your soil drains properly and is suitable for infiltration.
Can I connect multiple downspouts to one dry well?
Yes, if the system is sized correctly. Large areas may require connecting multiple Flo-Well units.
Does the NDS Flo-Well dry well require gravel?
Gravel is not needed inside the chamber, though a gravel base may improve infiltration in certain soils
Do I need an overflow outlet?
Yes. Always include an overflow path such as a pop-up emitter or secondary drain line to handle heavy rainfall.
Conclusion
Installing a dry well is a practical, sustainable way to help control stormwater and protect your property from pooling or erosion. With modular systems like the NDS Flo-Well dry well, homeowners can complete the installation quickly without heavy equipment or complicated assembly.
For more drainage resources, explore the NDS dry well system and the Flo-Well dry well calculator or reach out to our dedicated support team. With the right planning, materials, and installation steps, your dry well can provide reliable, low-maintenance protection for your home and landscape.