




















How to Install a Trench or Channel Drain: Guide for Homeowners and Professionals
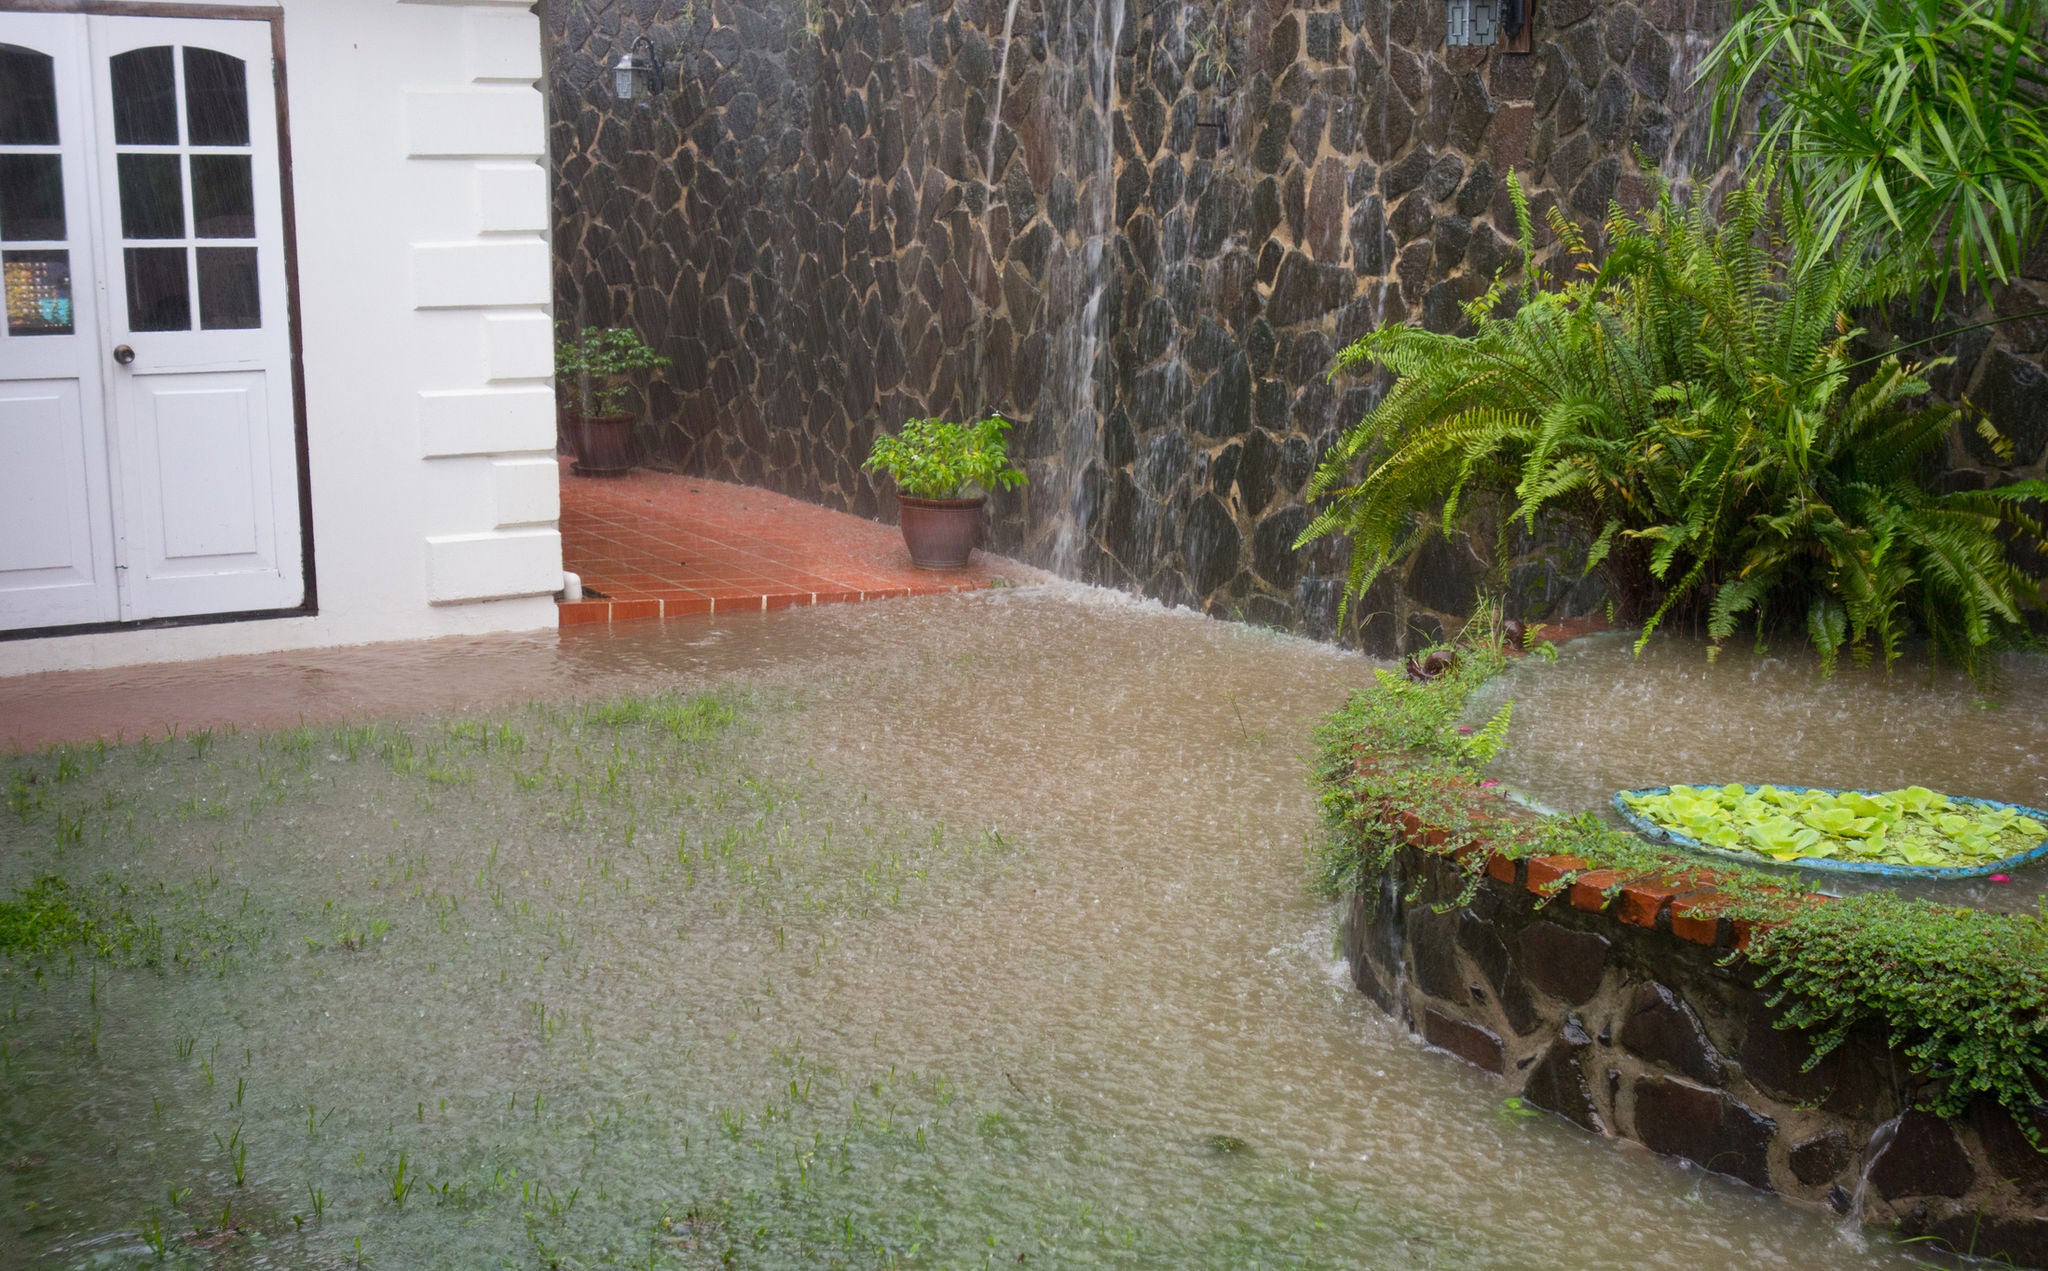
Standing water on your driveway, pooling around walkways, or persistent flooding on your property can cause a constant headache. According to drainage professionals, improper surface water management causes over 60% of foundation issues and landscape damage in residential properties. The solution? A properly designed trench drain installation that helps intercept and redirect water before it becomes a problem.
Trench drains and channel drains offer an effective approach to managing surface runoff, preventing water damage that can lead to expensive repairs and a decreased property value. Whether you're dealing with downspout runoff, sheet flow across driveways, or standing water on hardscapes, understanding proper trench or channel drain installation techniques can save thousands in future repairs and dramatically improve your property's functionality.
This guide will walk you through the fundamentals of trench and channel drain installation, from selecting the right system to completing a professional-quality installation. You'll learn when to choose traditional methods versus modern engineered solutions and how to understand specific requirements such as load ratings for driveway applications so that you can tackle your project with confidence or work effectively with drainage professionals.
Understanding trench drains vs. channel drains: choosing the right solution
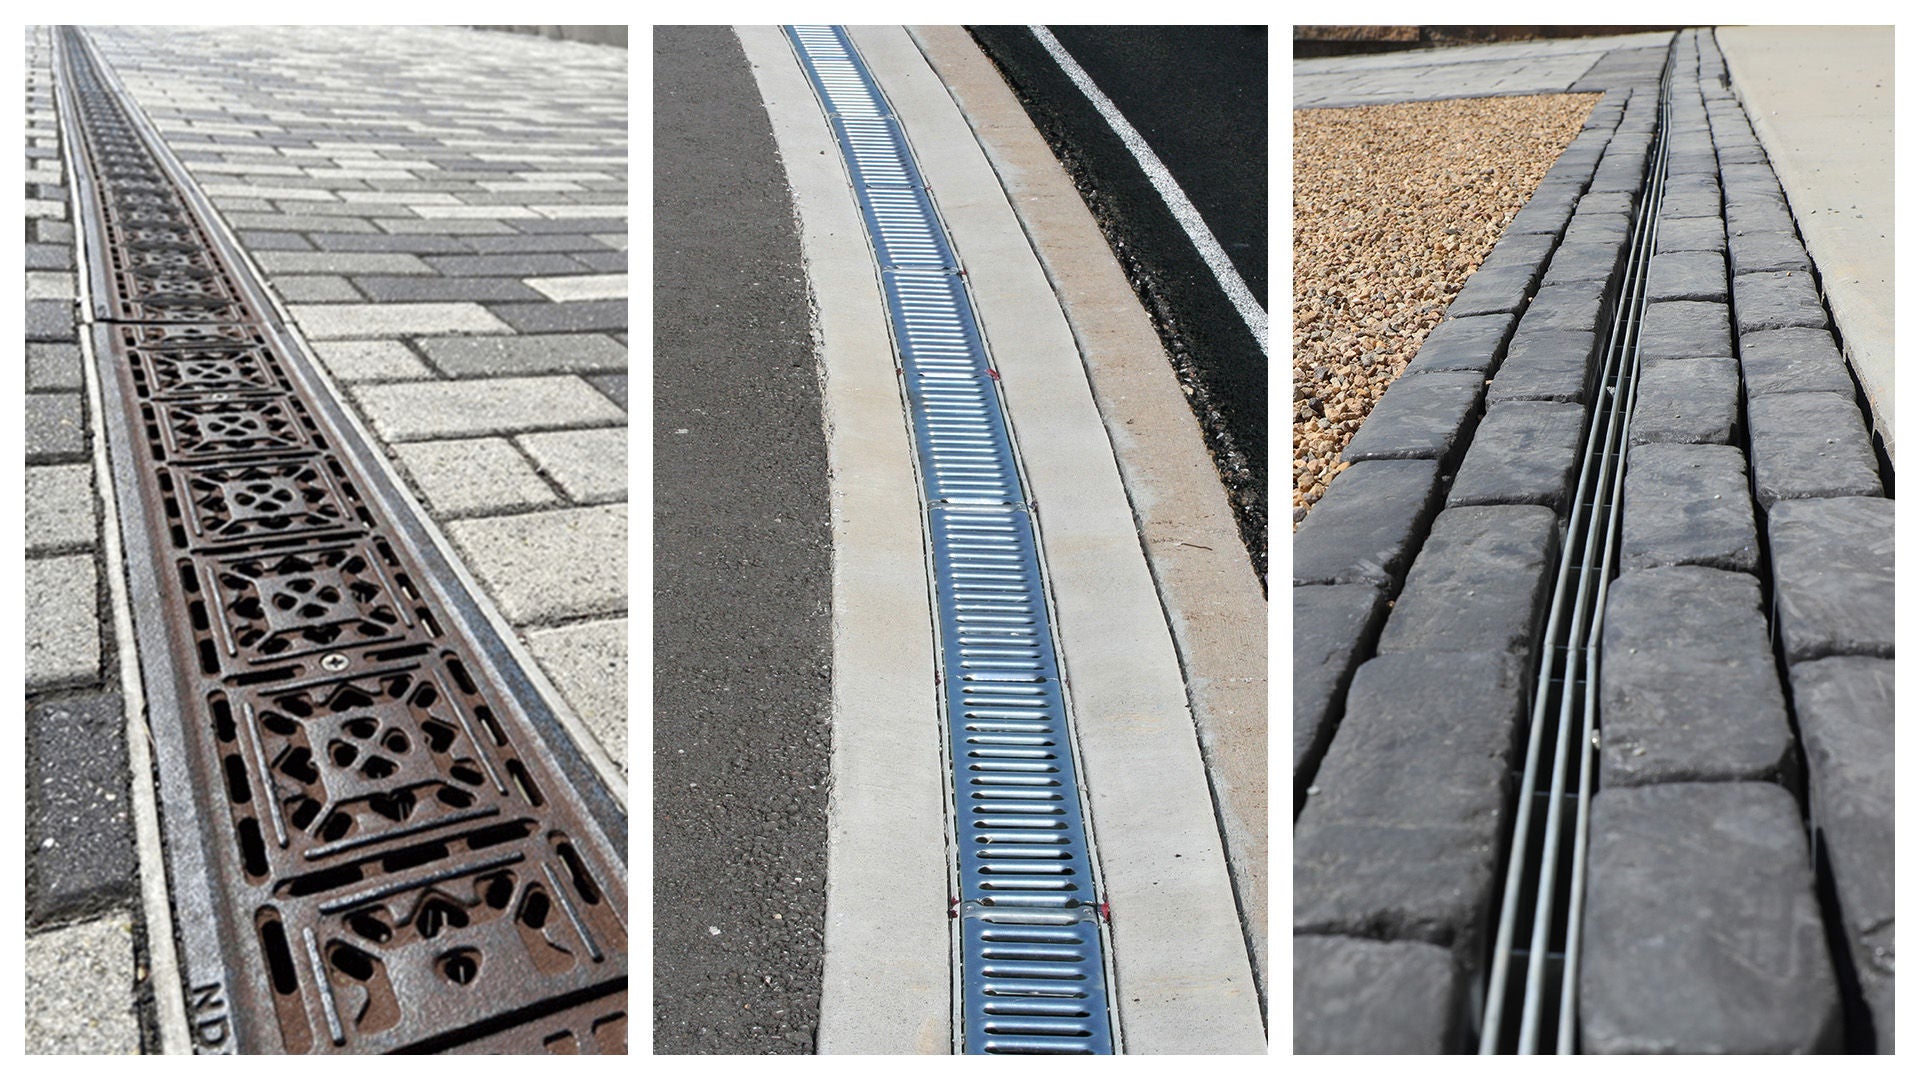
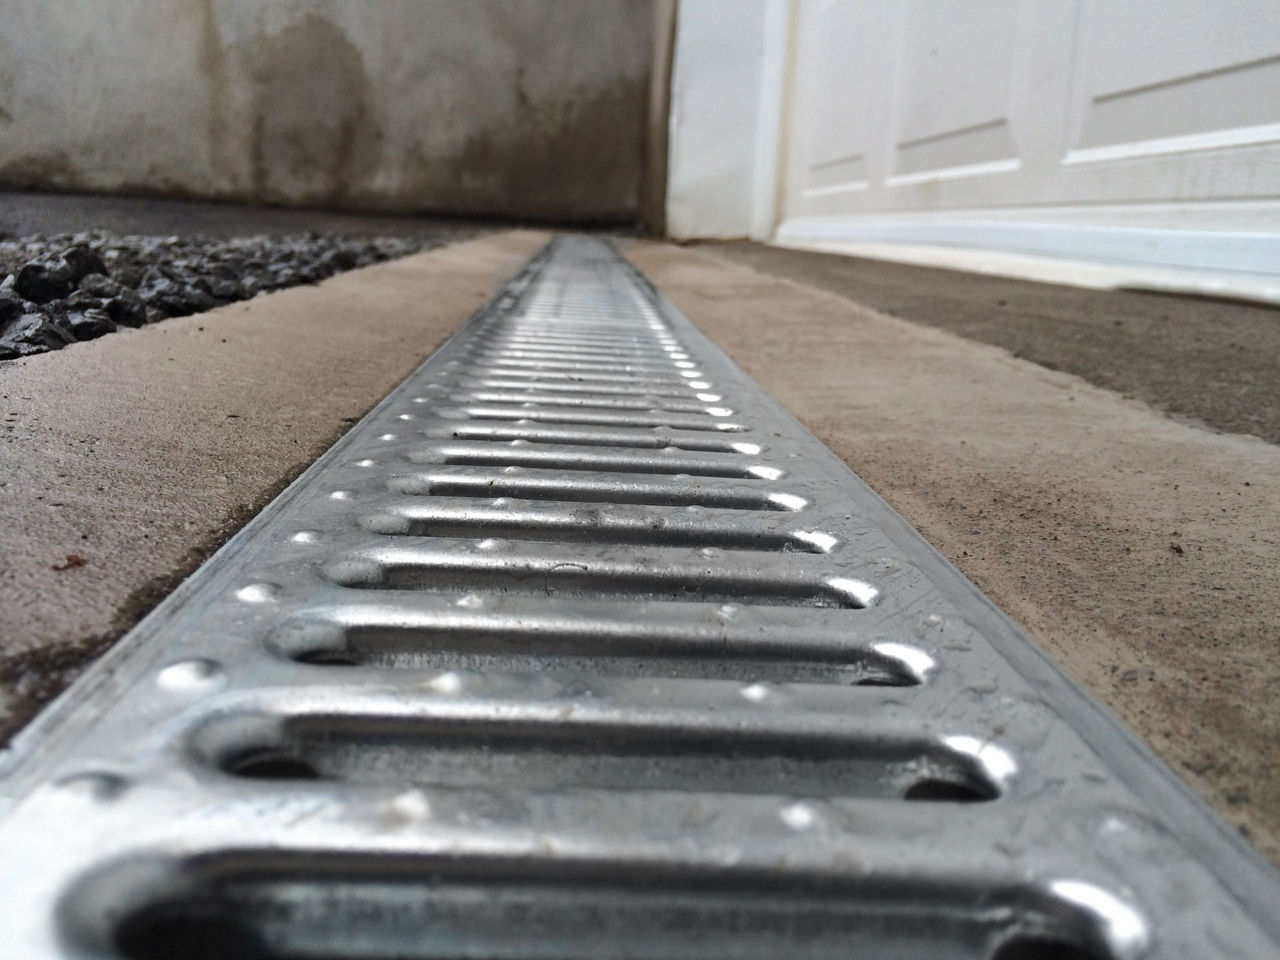
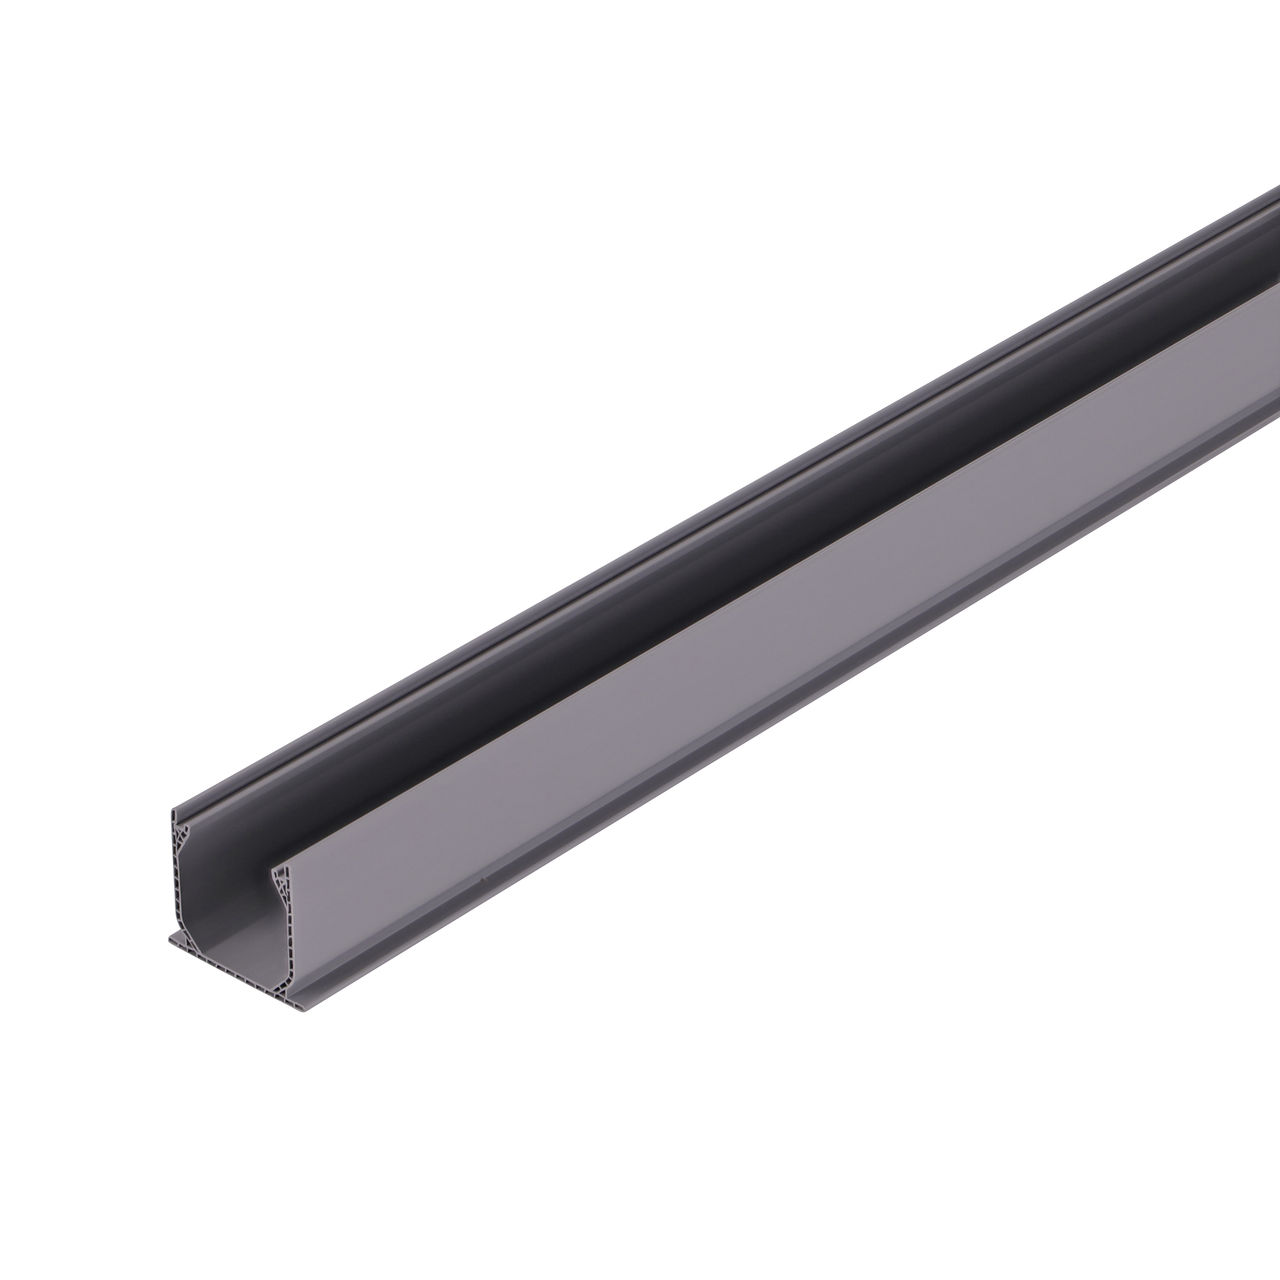
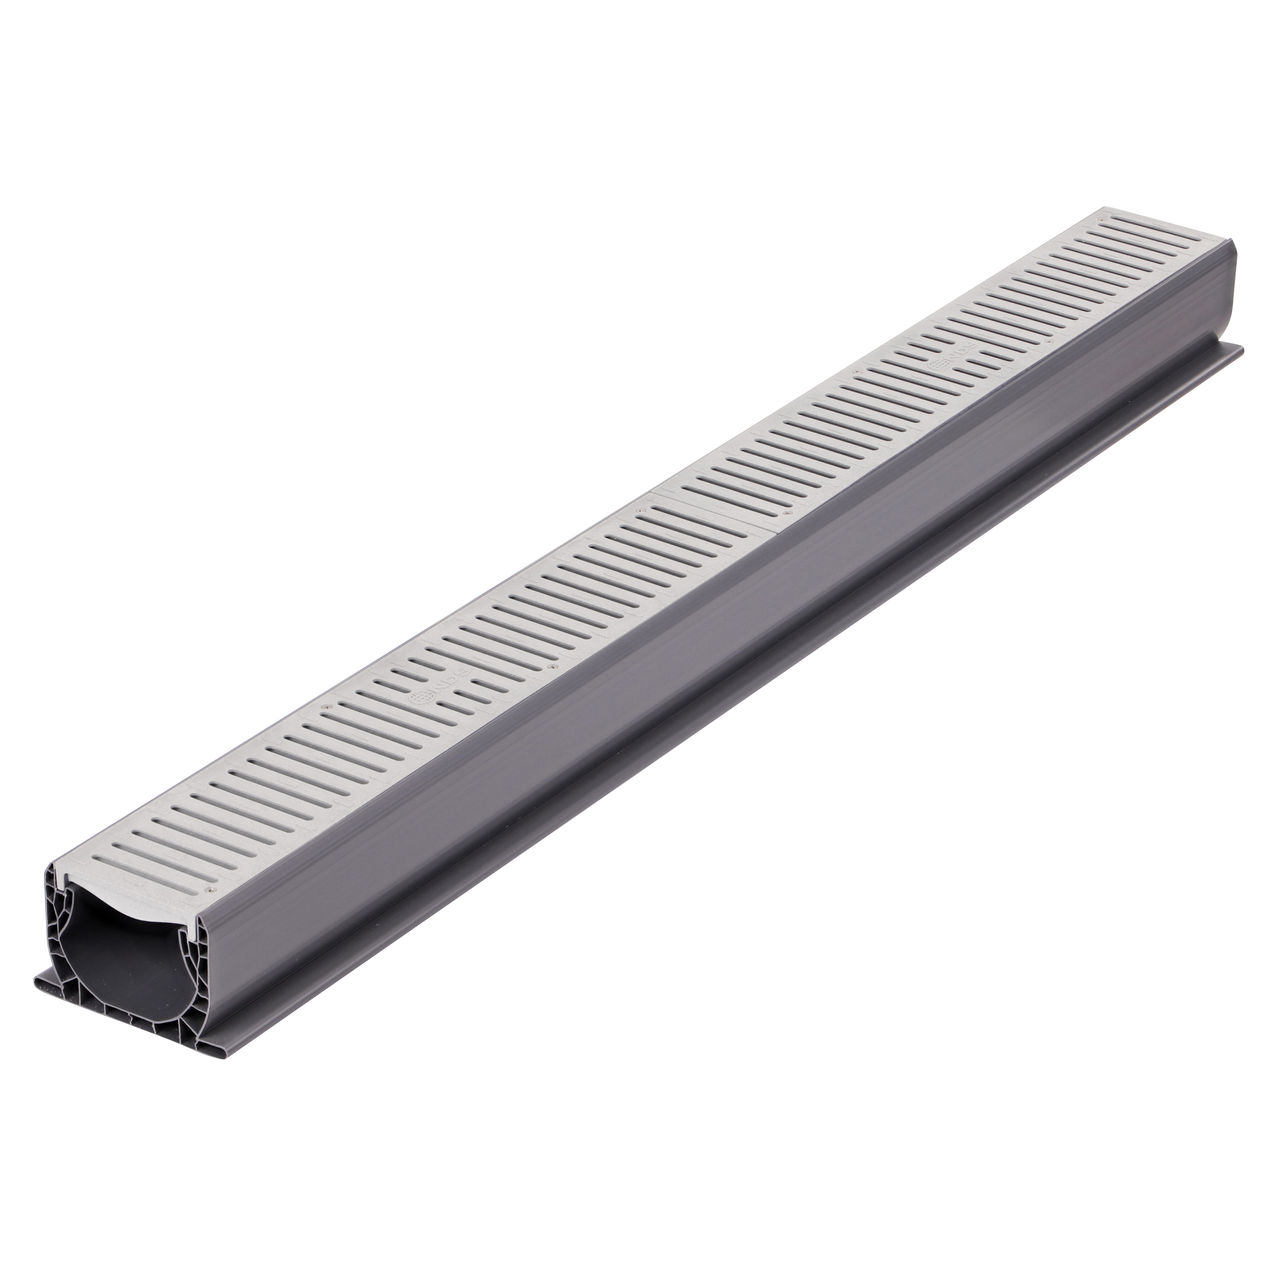
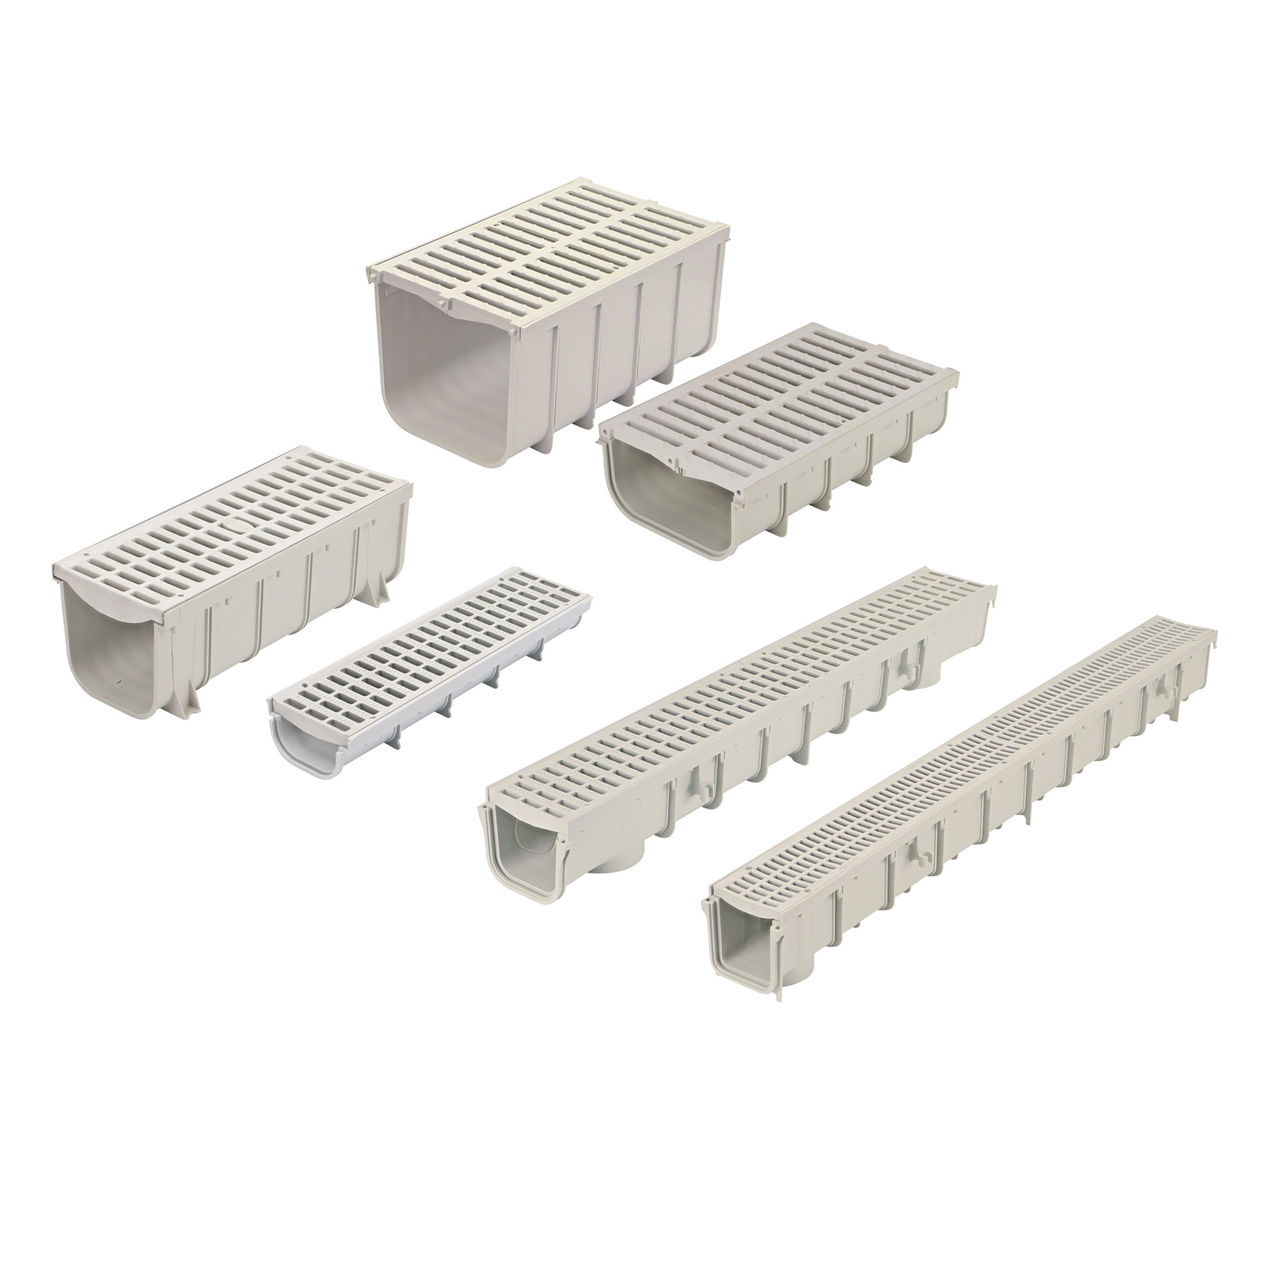
Though both channel drains and trench drains feature long, narrow channels integrated directly into hardscape surfaces, they suit different applications in surface water management. A trench drain system is typically made of polymer concrete, fiberglass, or precast concrete and includes heavy-duty grate options to handle heavier loads such as commercial trucks. Channel drain systems are commonly made of durable, yet lighter-weight materials and are ideal for driveways, patios, and walkways.
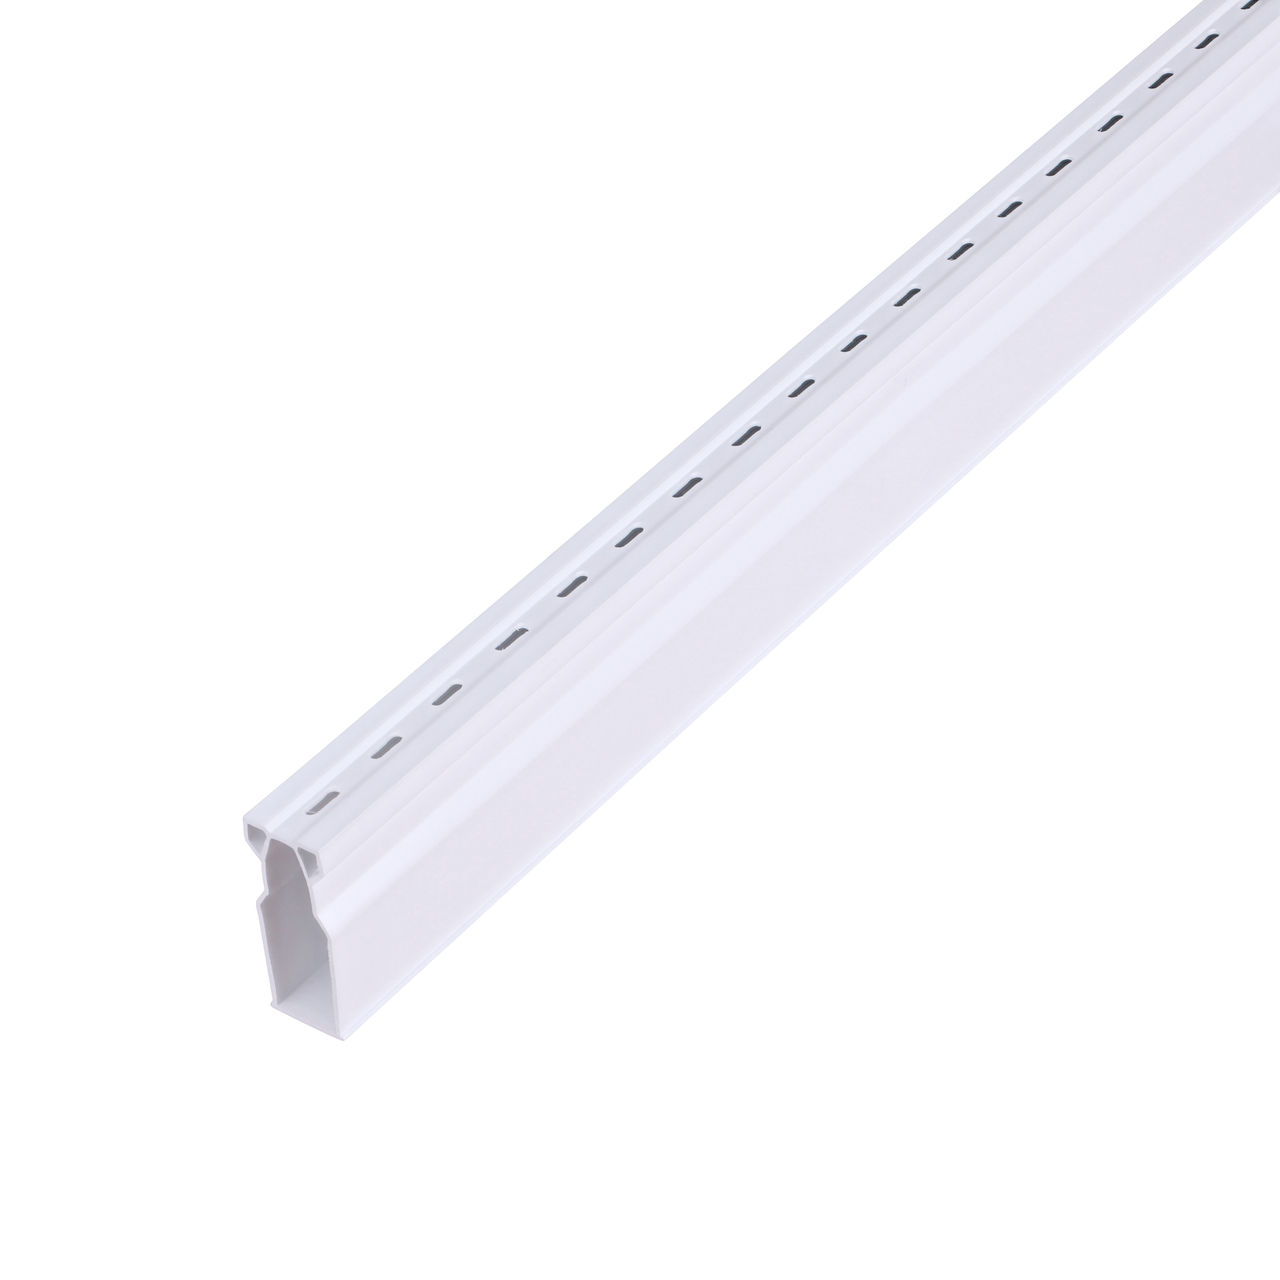
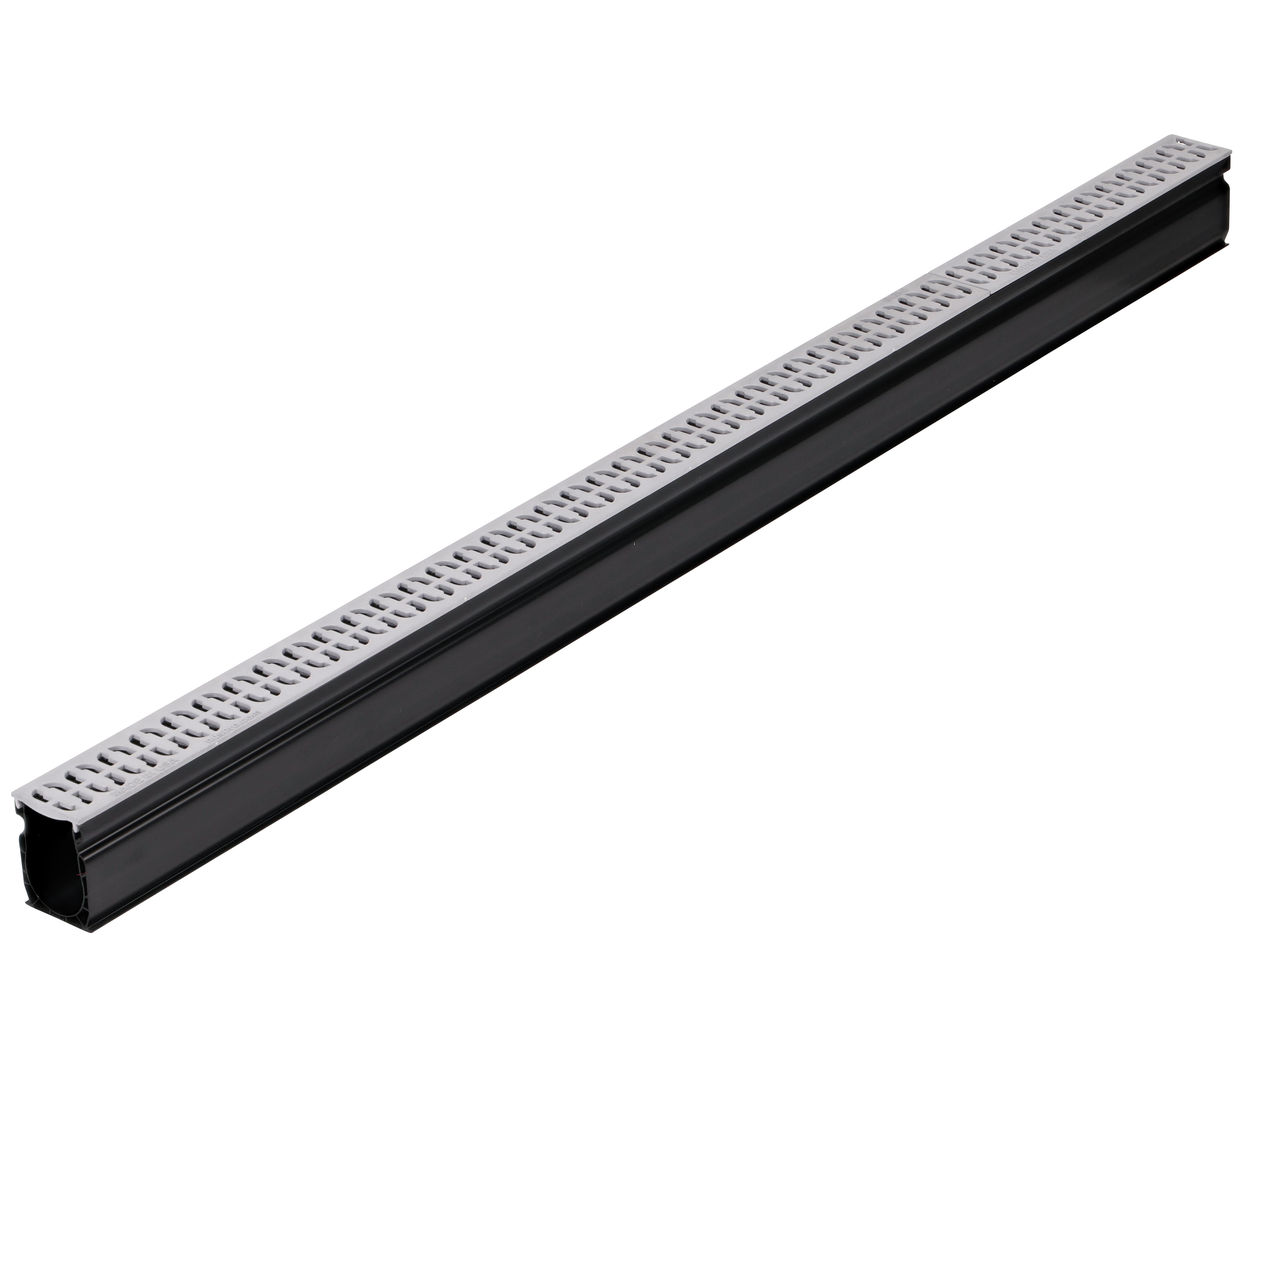
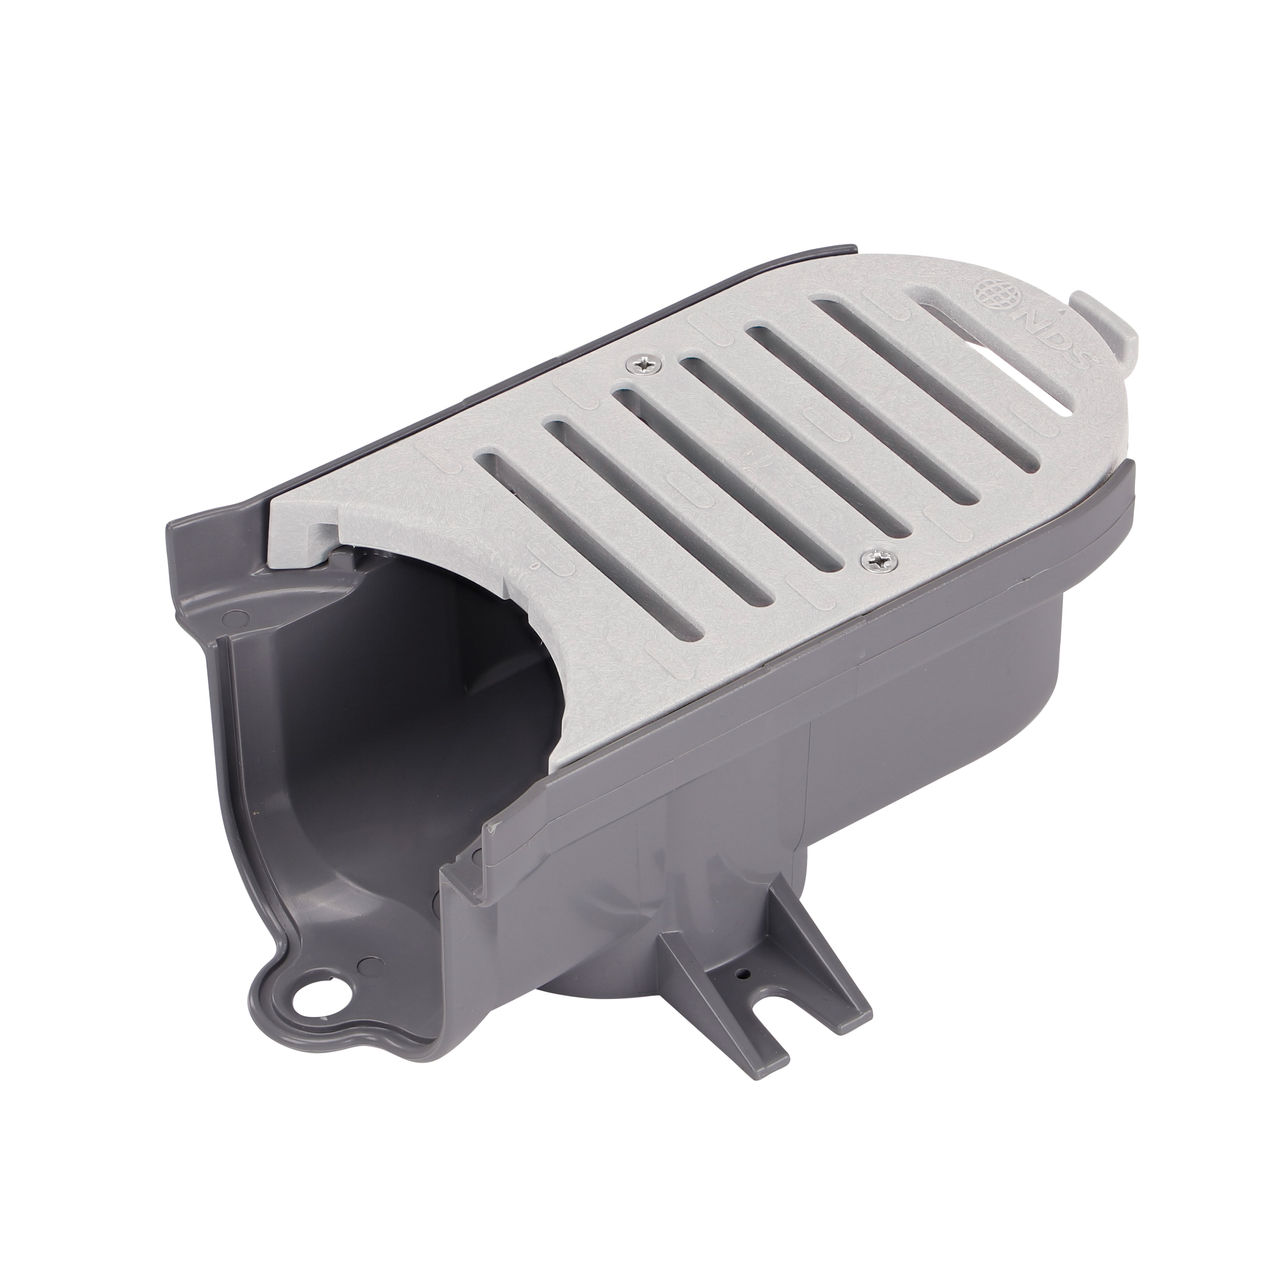
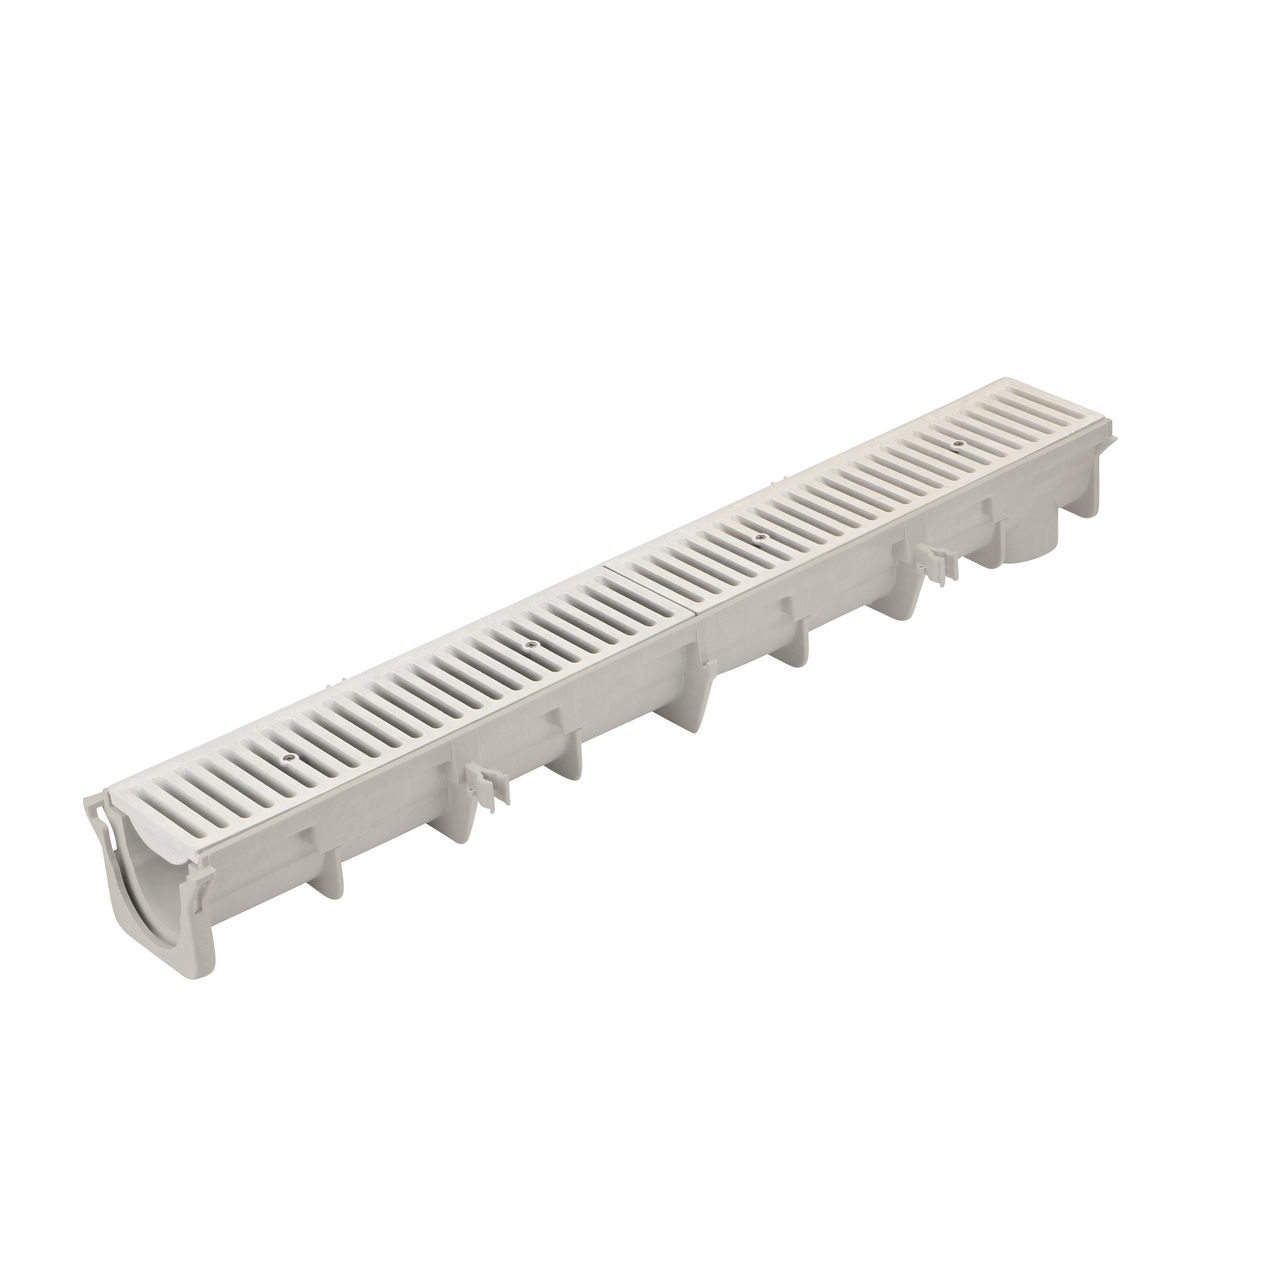
Modern channel drain systems from NDS offer superior performance compared to traditional concrete alternatives. The options range from sleek Micro™, Slim, and Mini channel drains to the innovative Spee-D® channel drain solution for linear and curved layouts, the lightweight Pro Series™ channel drain, and the versatile Dura Slope® drain system.
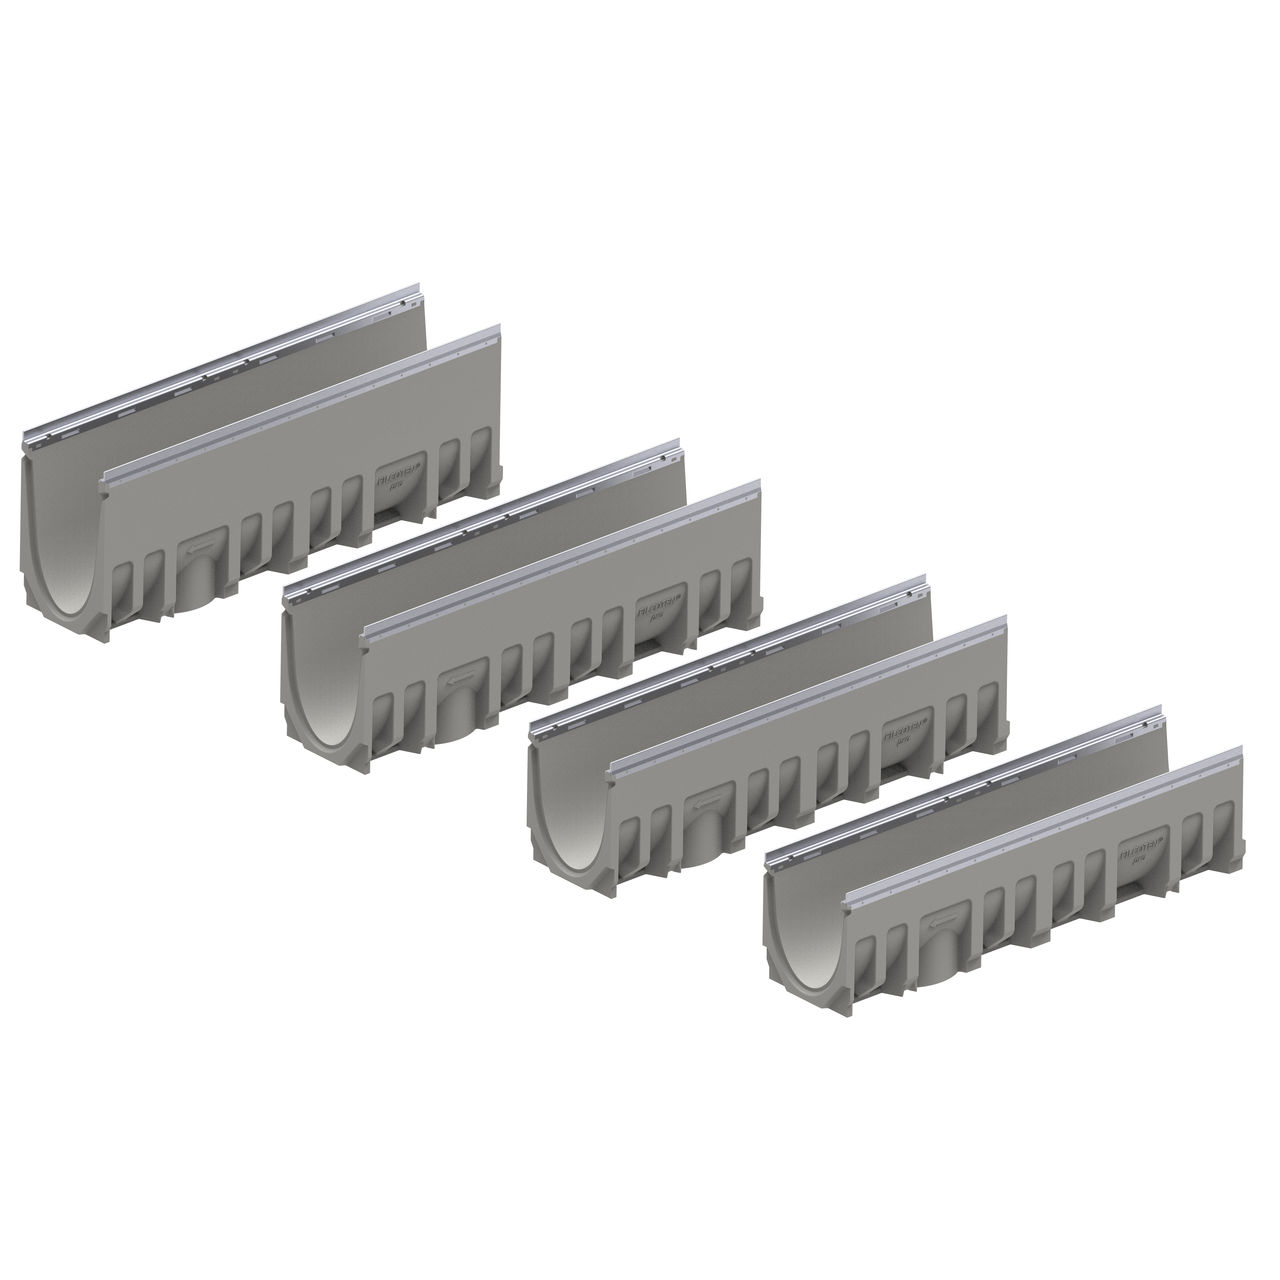
Made of high-performance concrete, the BG-FILCOTEN® trench drain is available with neutral and pre-sloped channels as well as a wide range of grate options to handle heavy-duty project requirements.
Explore the full range of NDS channel and trench drains to find the appropriate system for your application.

When to use channel drains
● Driveways: Intercepting sheet flow before it reaches garage doors or foundation walls
● Pool and spa decks and patios: Managing water runoff from hardscape areas
● Walkways: Handling high-volume surface drainage in pedestrian areas
● Parking areas: Preventing standing water that can lead to ice formation and erosion
Additional applications include paver hardscapes, tennis courts, sports fields, and running tracks.
The key advantages of modern channel drain systems lie in their modular design which simplifies installation and their variety of options to accommodate different site conditions and water management needs. Engineered channels eliminate the need for the precise forming and curing required by traditional concrete systems.
Essential tools and materials for channel drain installation
For a video overview, check out How to Install the Pro Series Channel Drain | NDS Drainage Systems.
Success in any channel drain installation begins with proper preparation and having specific supplies on hand. Professional-grade results require the right tools and materials, though many straightforward installations remain within the capability of experienced DIY homeowners. Always contact local utility services to mark utility lines before digging.
Required tools
● Concrete saw or masonry blade angle grinder
● Excavation tools (shovel, mattock, trenching spade)
● Level (4-foot minimum) and string line
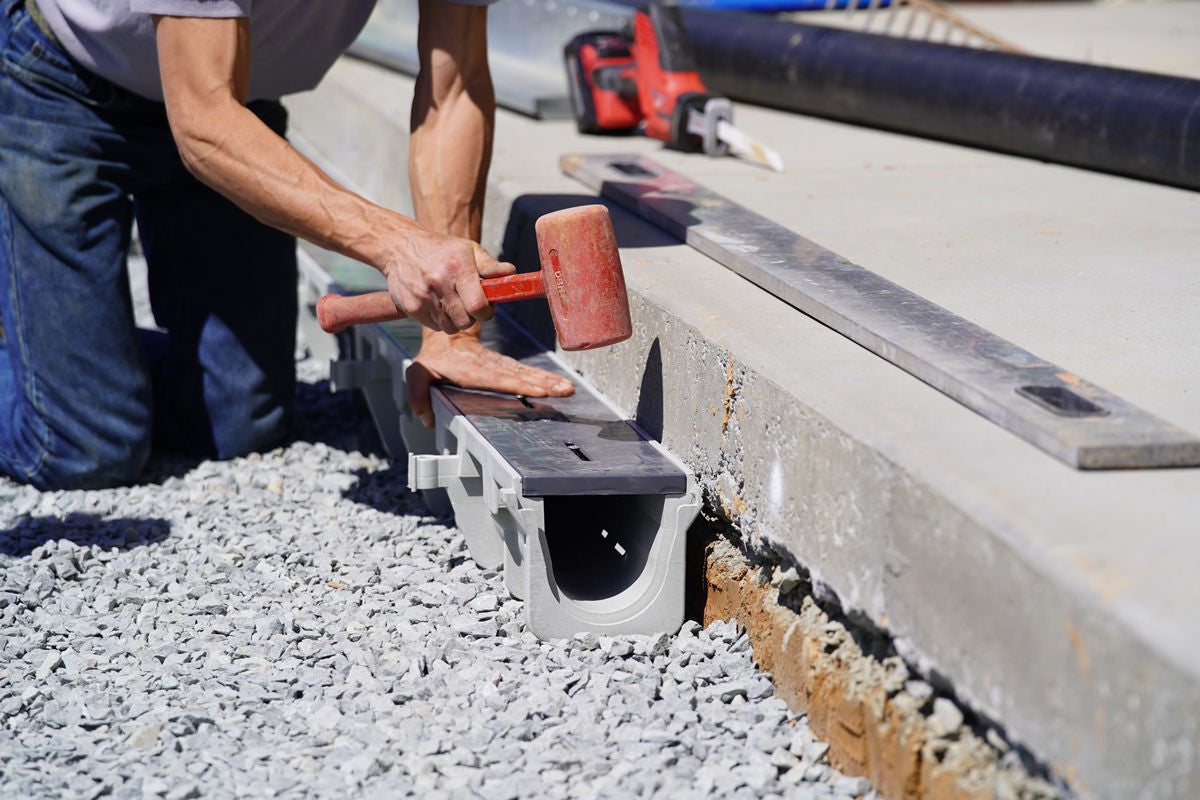
● Rubber mallet and hand tamper
● Measuring tape and marking chalk
● Safety equipment (eye protection, hearing protection, dust mask)
Materials for professional installation
● Channel drain system: Choose a proven NDS solution based on your property layout and needs. Check out Where to Buy to find a supplier near you.
● Appropriate grates: Use grates with a load rating suitable for the expected traffic.
● Concrete: Concrete mix appropriate for anchoring the selected channel drain system.
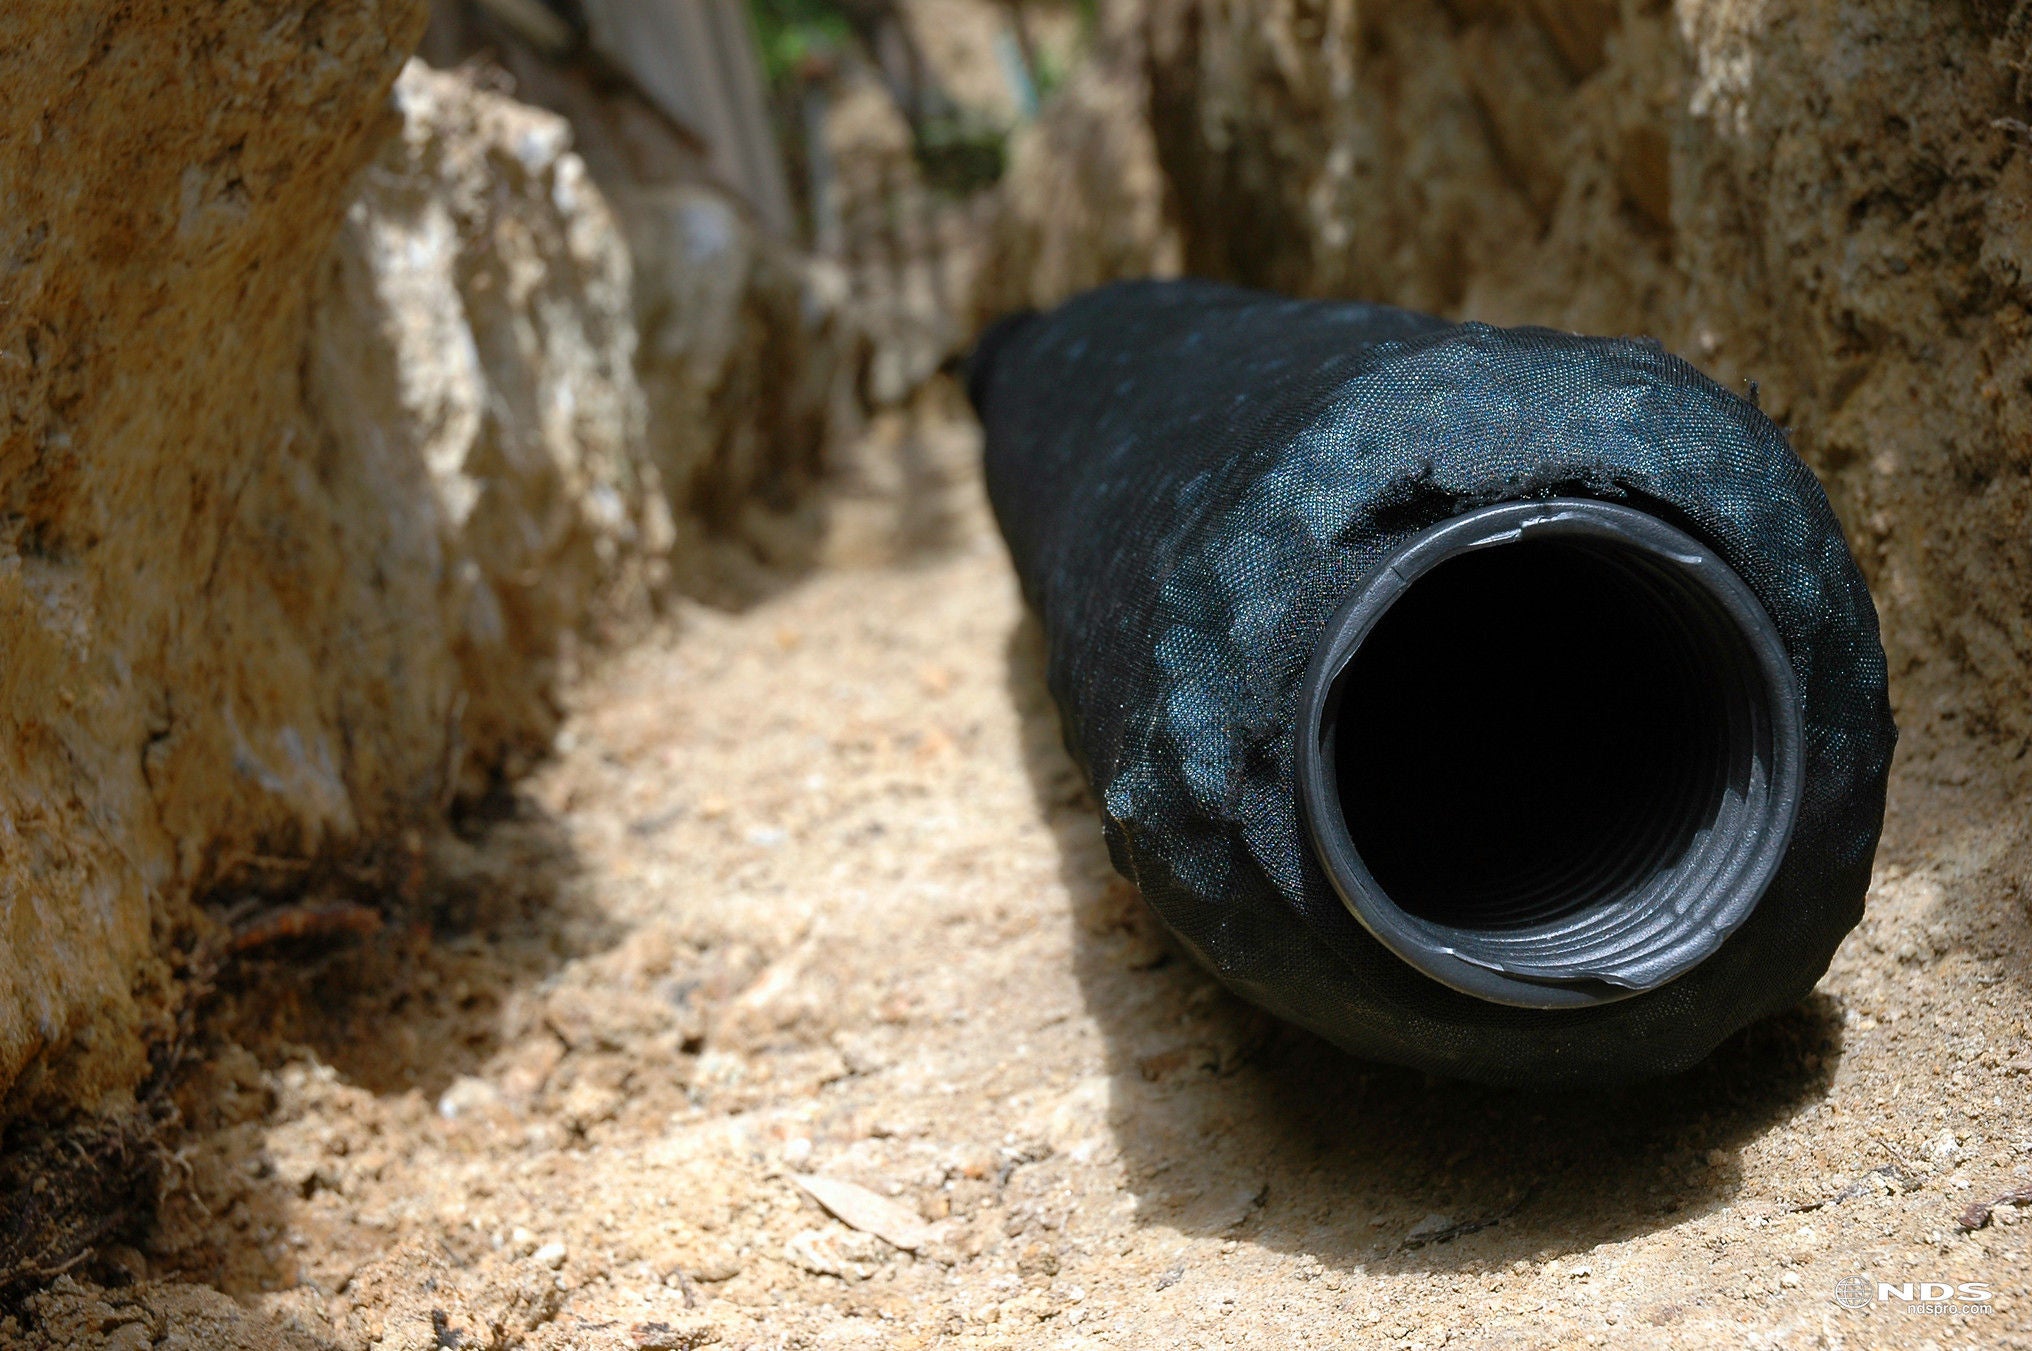
● Drainage pipe: PVC or corrugated pipe sized appropriately for the channel outlet and drainage system.
● Gravel: Crushed stone, when required for the specific installation.
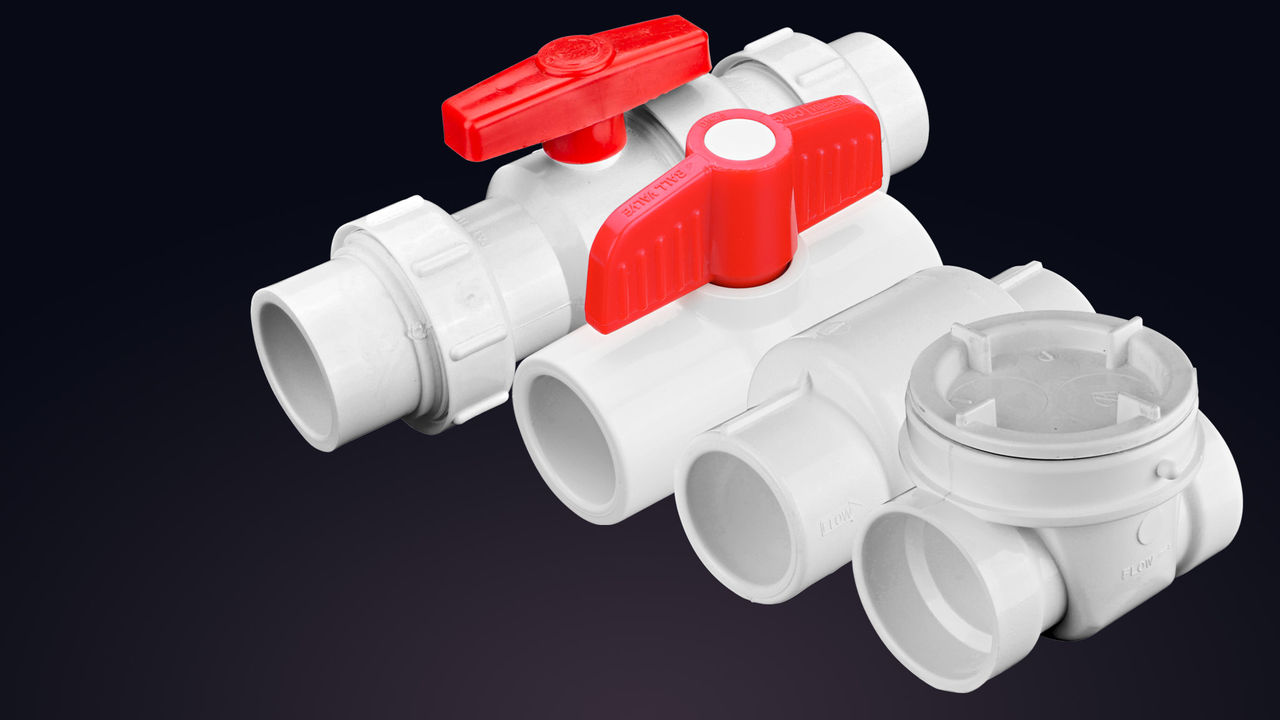
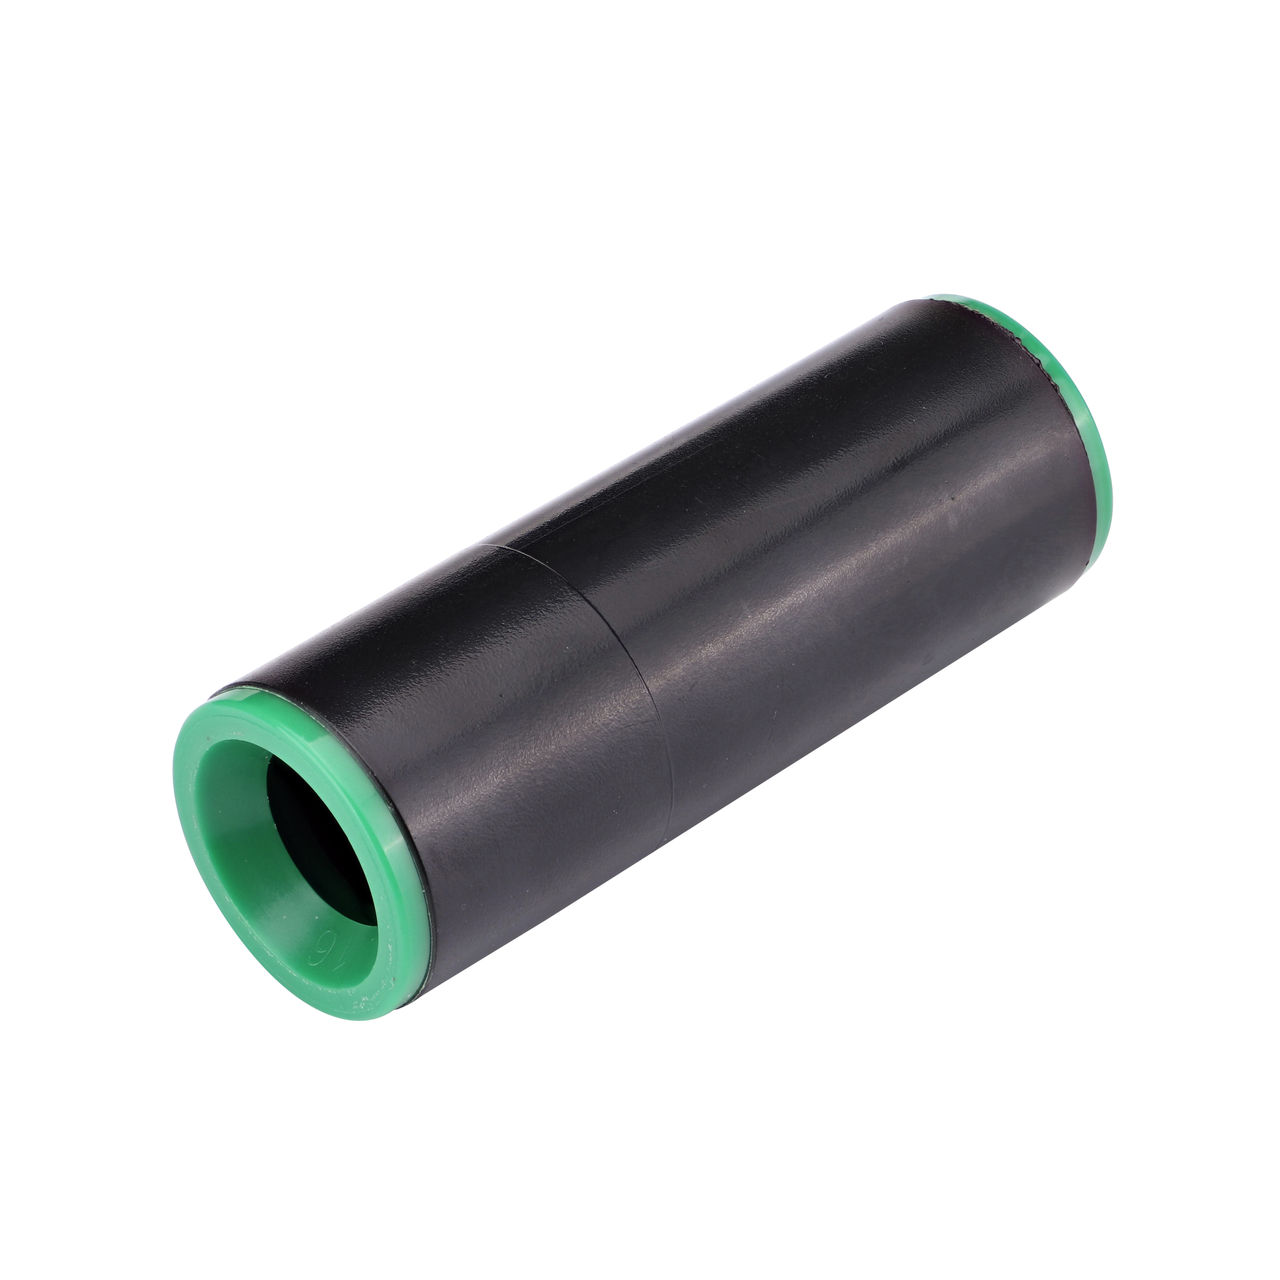
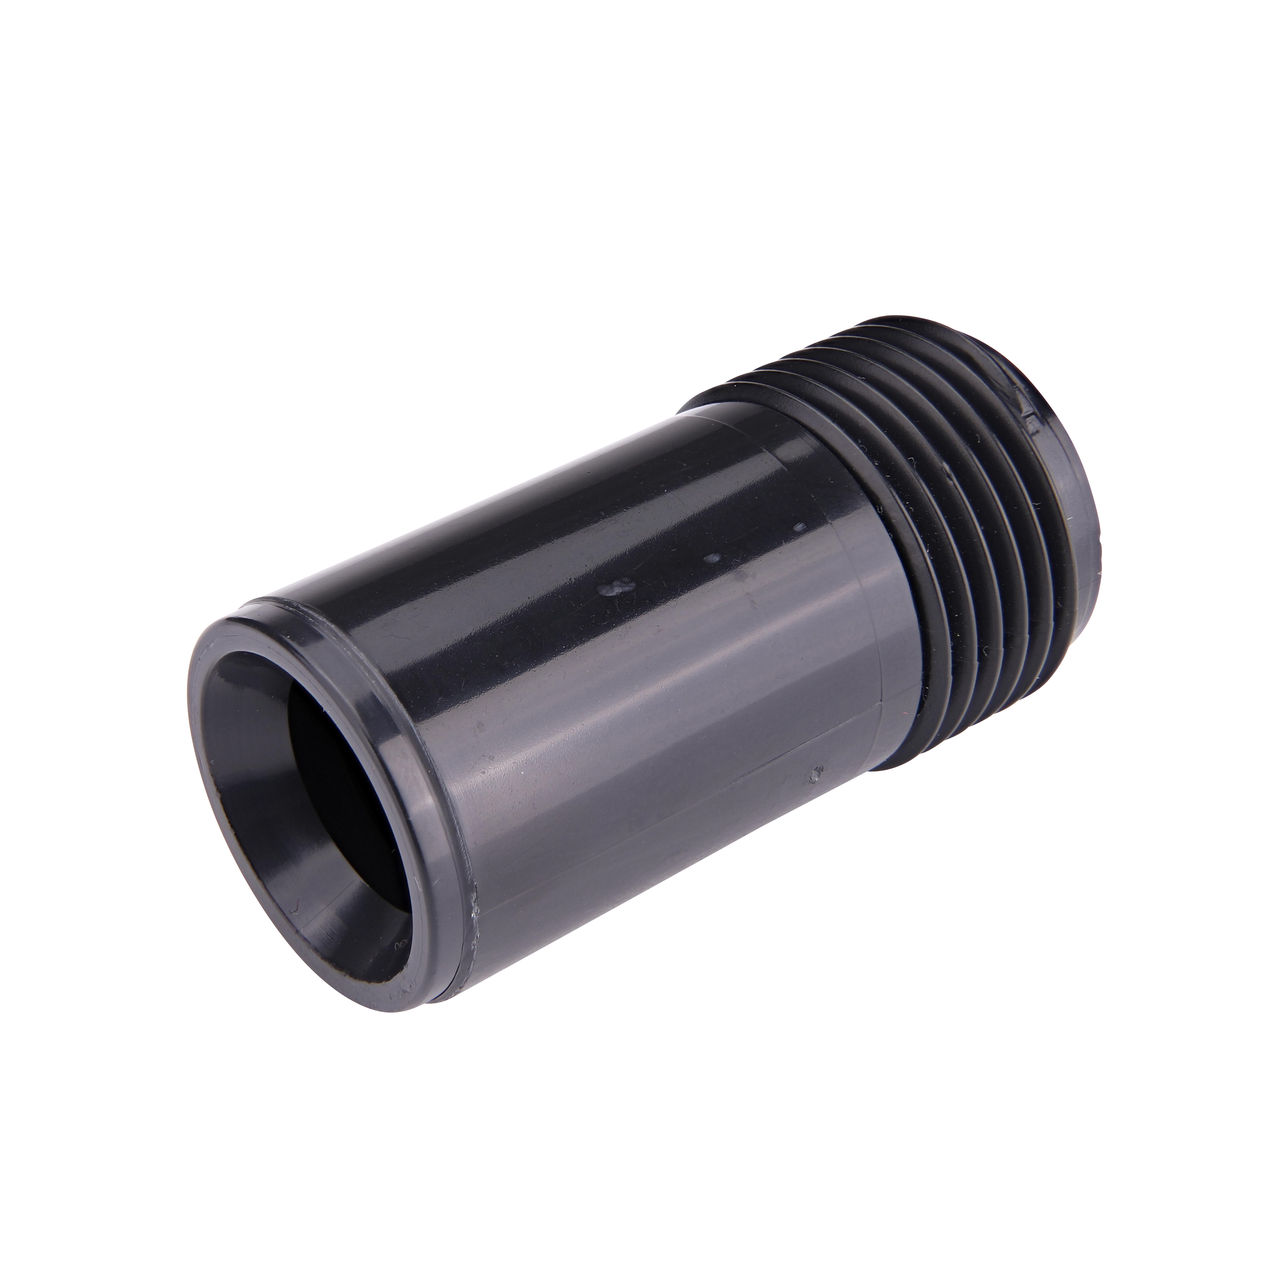
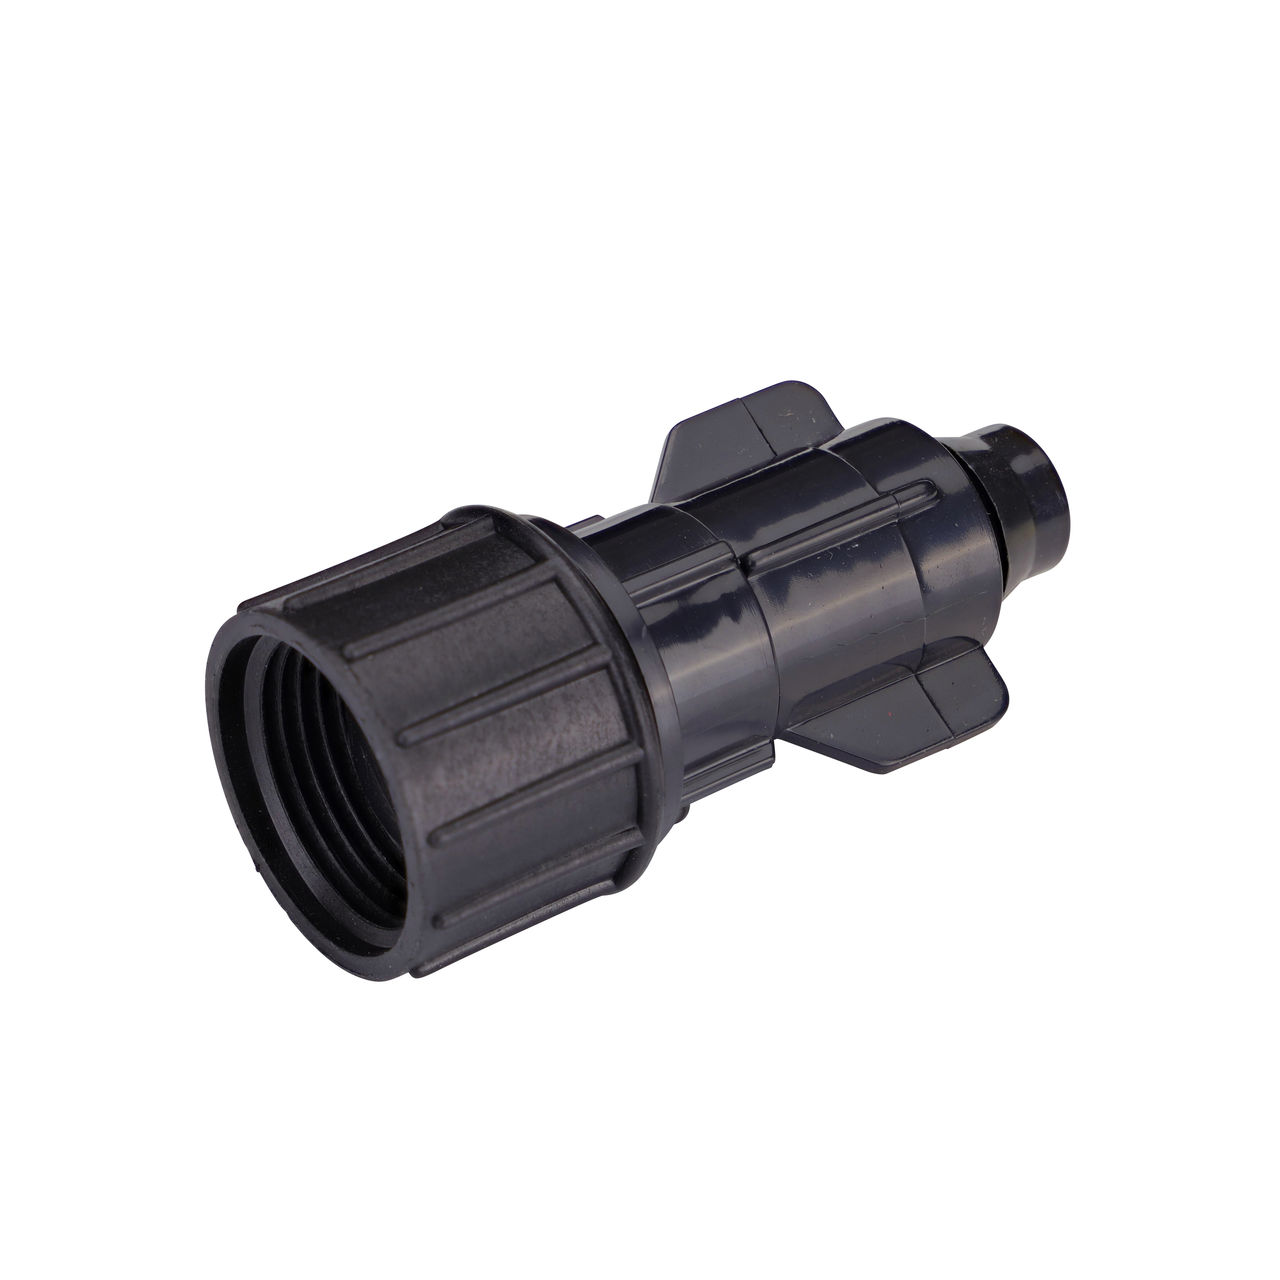
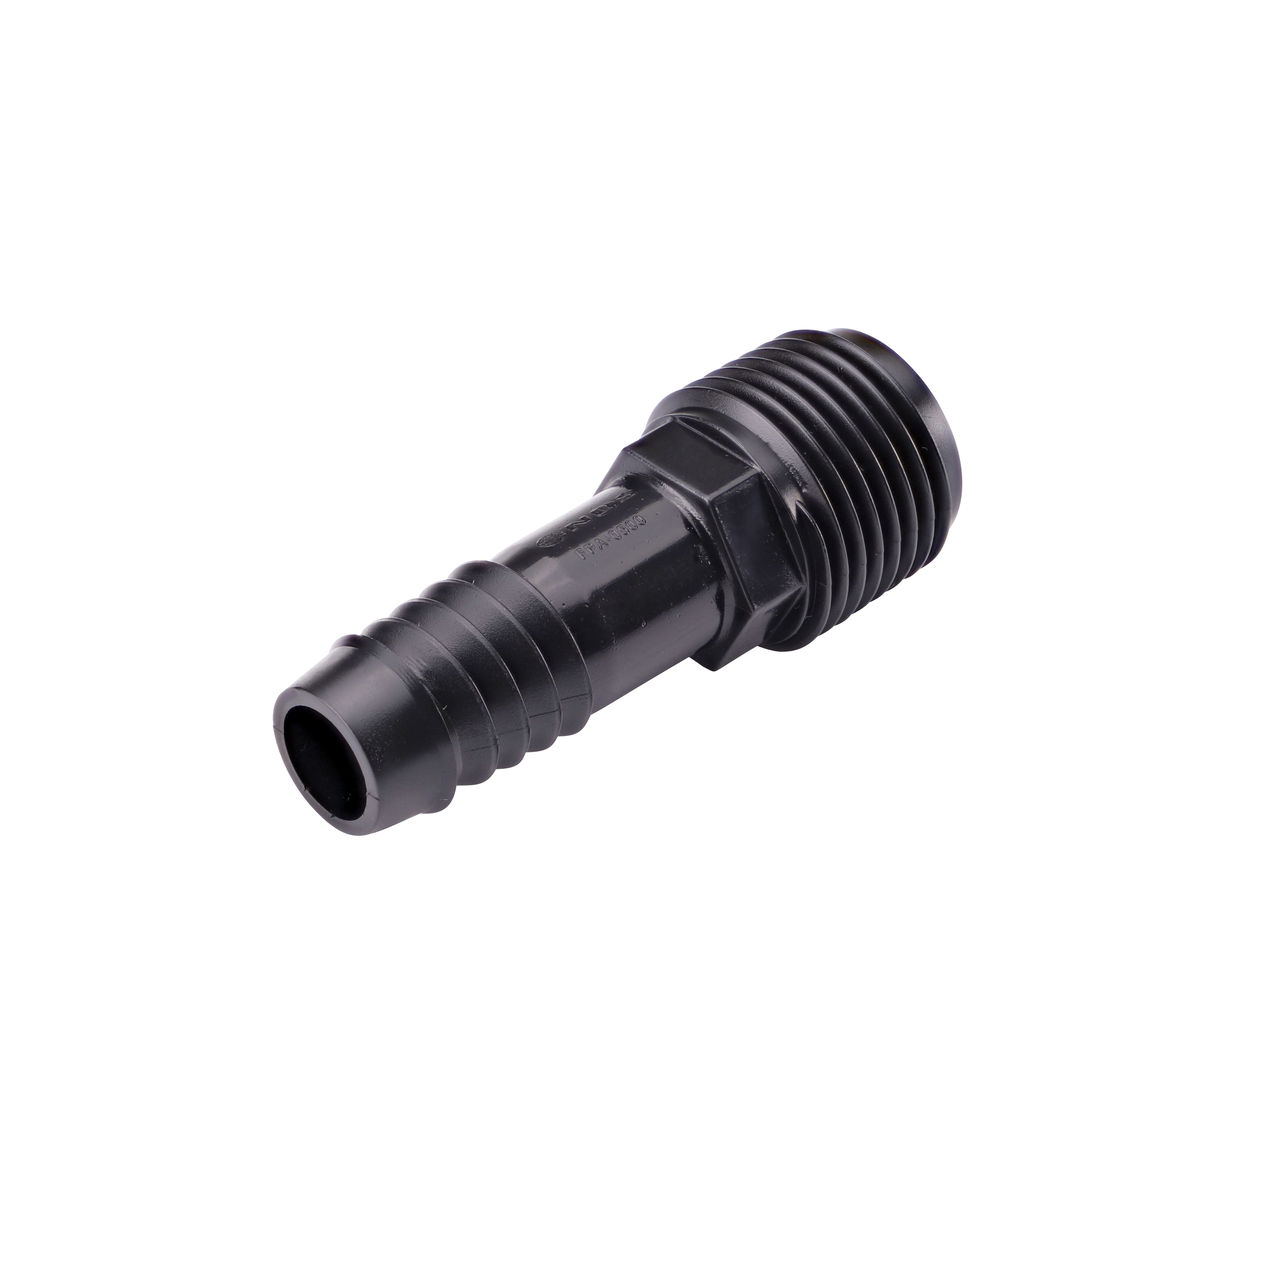
● End caps and outlet adapters: Select components compatible with the channel drain system for proper termination and outlet connections.
When selecting a channel drain system, consider the application, anticipated traffic and load requirements, drainage capacity, outlet configuration, and installation conditions. Not every channel drain is designed for every application. For example, Micro channel drains, which allow for easy extensions and feature grates rated for pedestrian traffic, are typically better suited to patios and sidewalks rather than driveways.
Proper channel drain installation requires careful planning, precise execution, and attention to the manufacturer's installation requirements. Following the instructions for the specific NDS system you select is important for reliable, long-term drainage performance.
Planning and layout
Begin by marking the exact location of your hardscape or driveway trench drain installation using spray paint or chalk. The drain should be positioned to intercept water flow at the most effective point, typically where sheet flow naturally accumulates or just before water would reach vulnerable areas like garage doors or foundation walls.
Determine the outlet location and verify you have adequate fall for proper drainage. Channel drains require a minimum slope of 1% (1 in. of drop every 8 ft.) for effective water flow, though 2% slope provides better performance in most residential applications.
Excavation and base preparation
Cut the hardscape material (concrete, asphalt, or pavers) using a concrete saw, creating clean, straight edges. For driveway installations where car traffic is a factor, the trench should be slightly wider than the channel drain system to allow room for the concrete surround, and deep enough to accommodate the drain body plus a 4 in. concrete base. Additionally, the grate should be recessed approximately 1/16 to 1/8 in. below the surrounding surface.
Excavate the trench, maintaining consistent depth and checking frequently with a level. Install a layer of crushed gravel, compacting thoroughly to create a stable base for your concrete foundation.
Setting the drain system
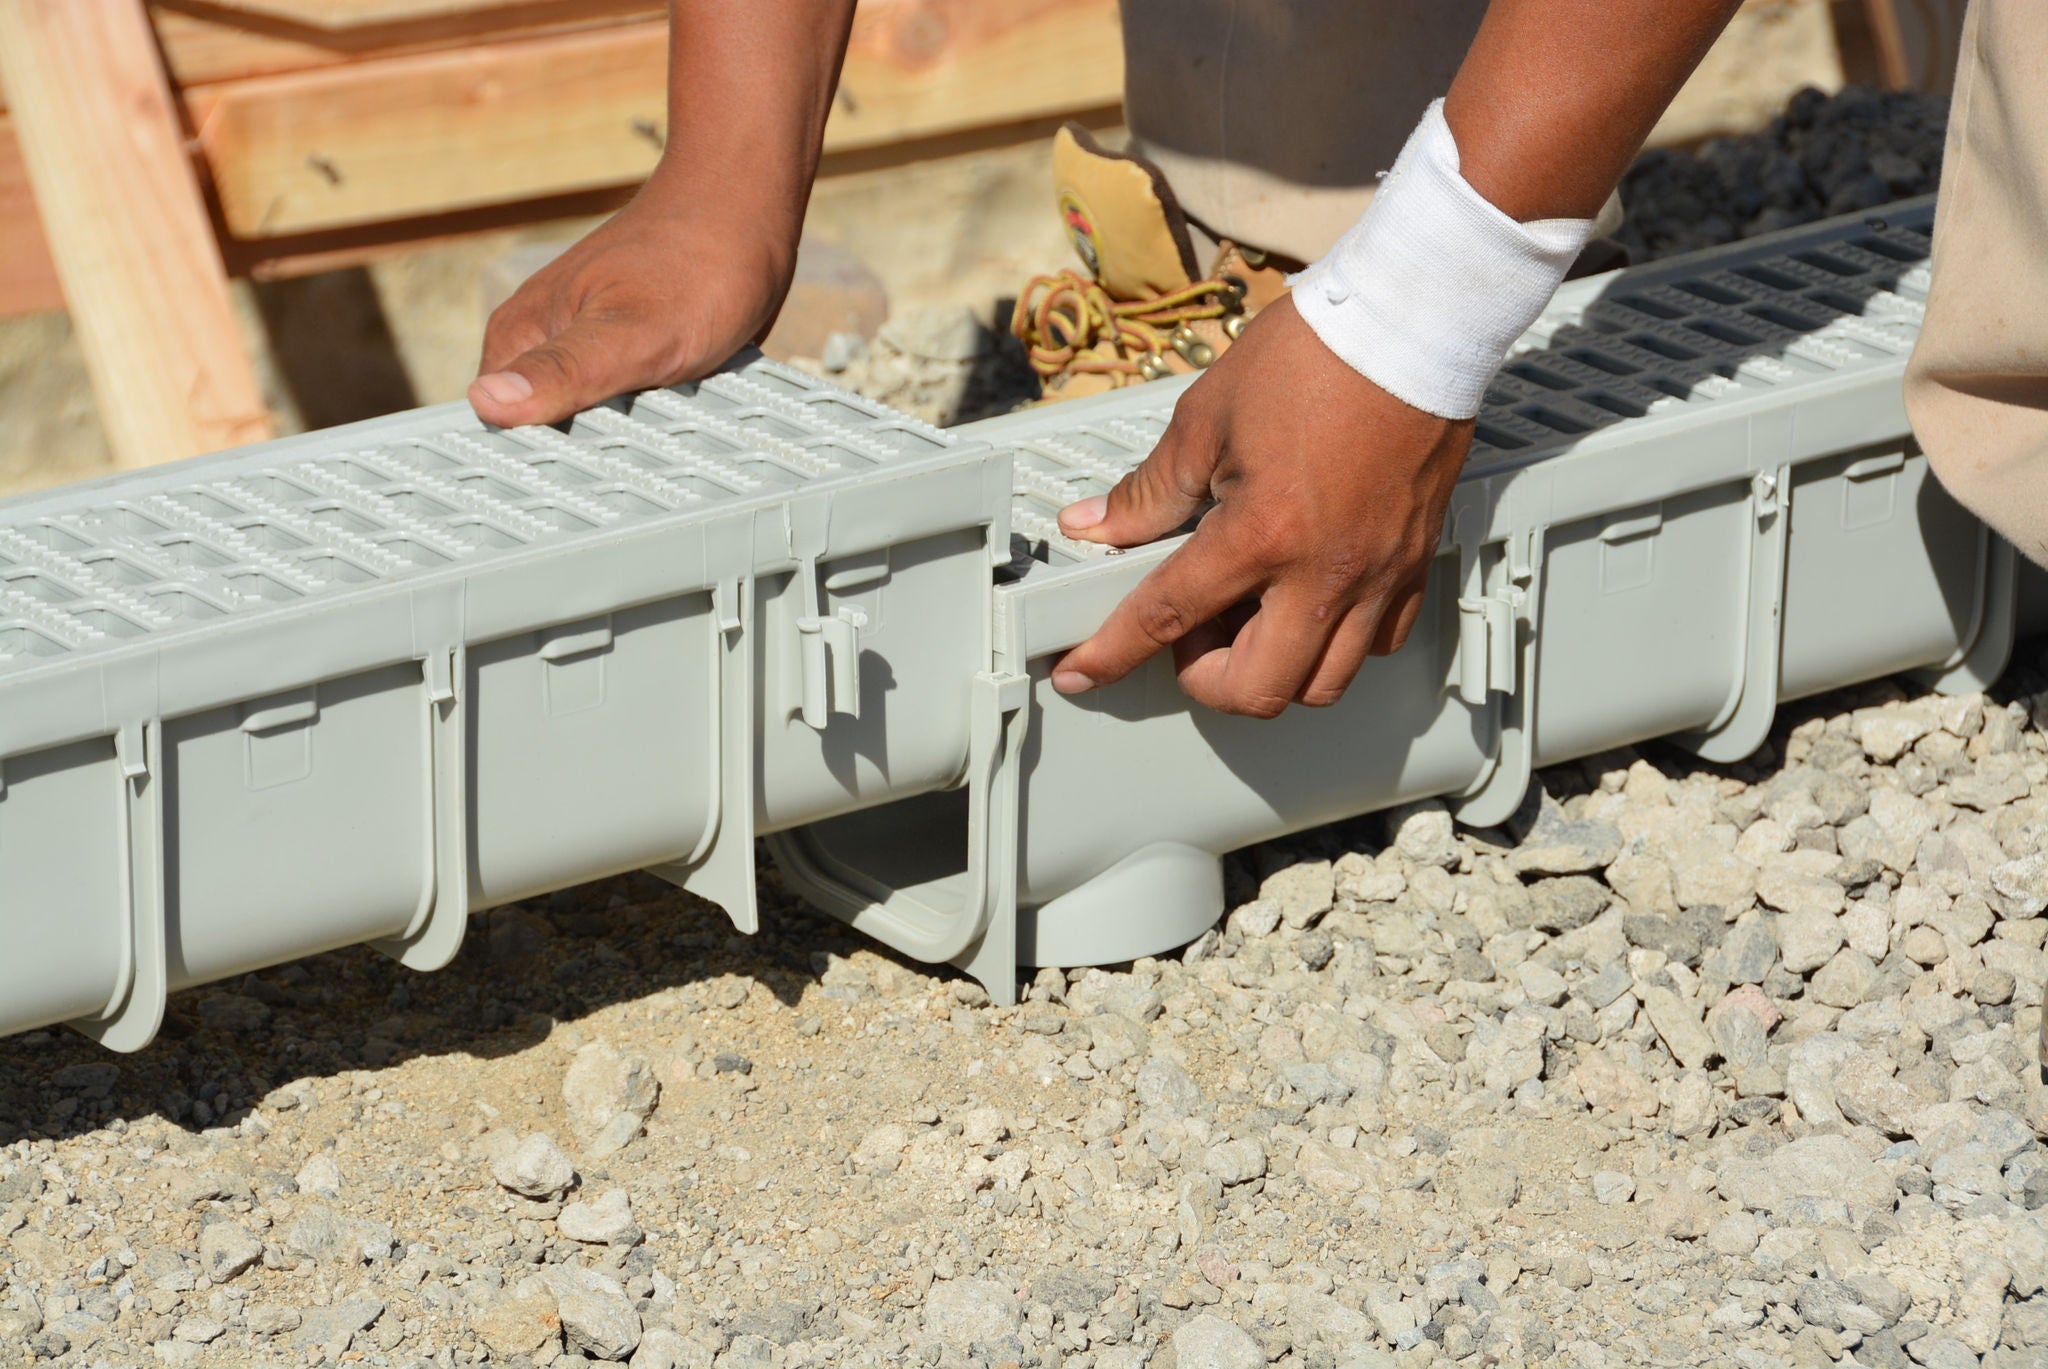
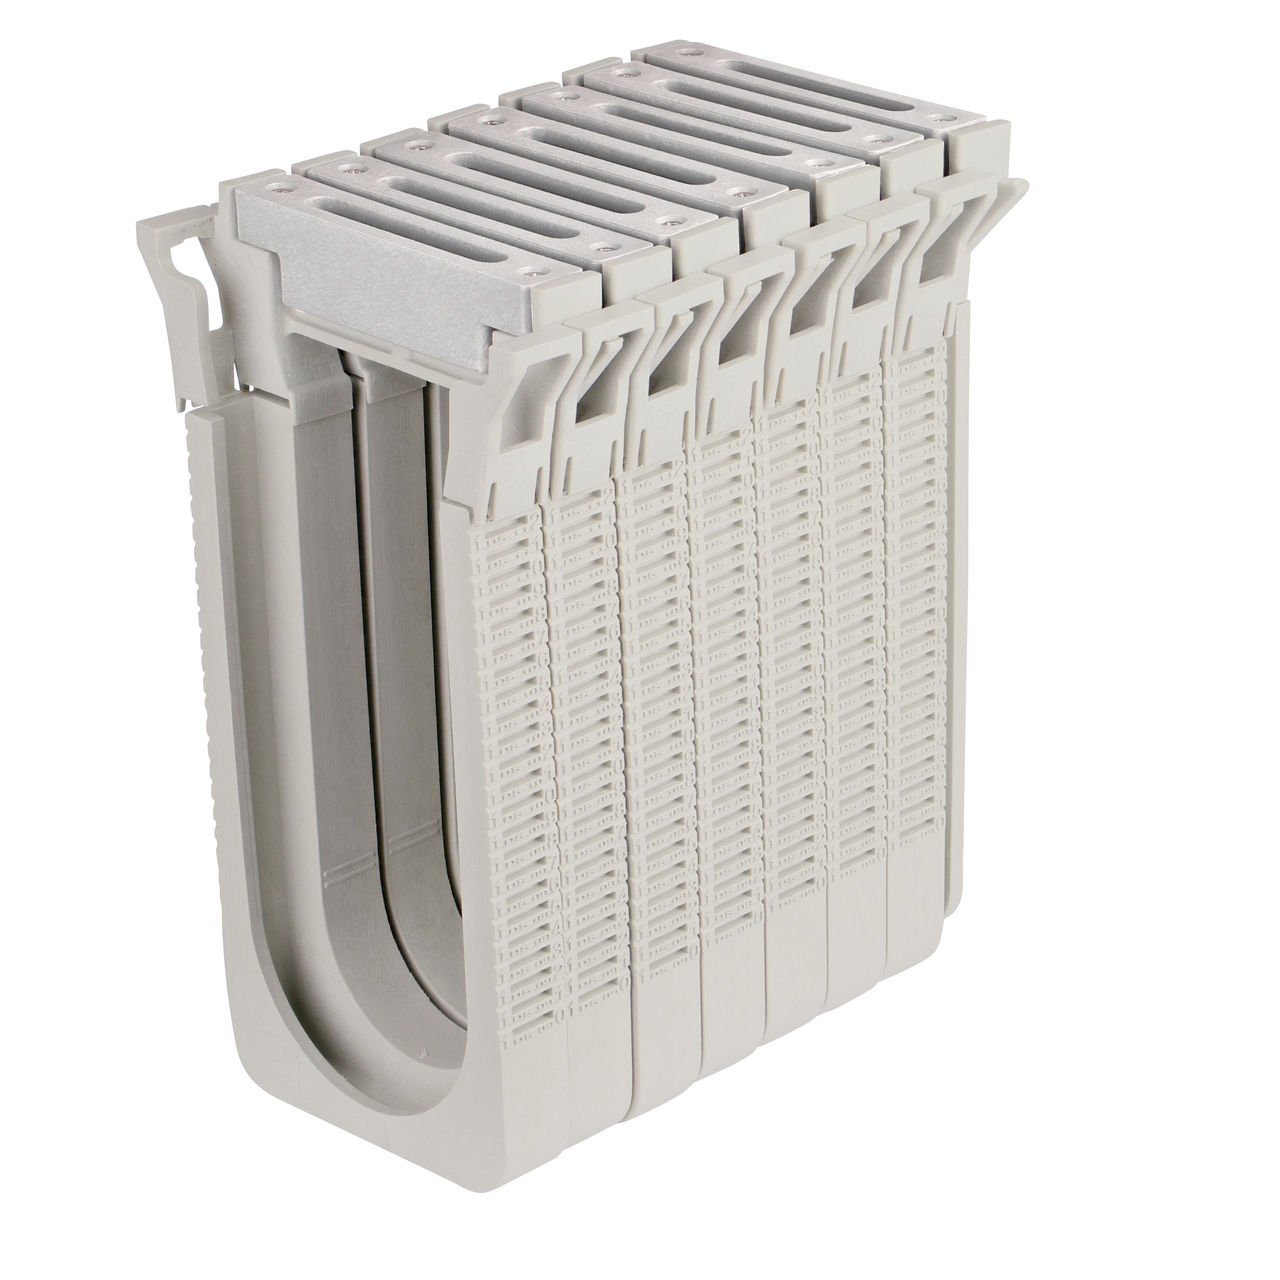
Mix fast-setting concrete according to manufacturer specifications and pour into the prepared trench. Position your first channel drain section, ensuring correct slope and alignment. The beauty of engineered solutions like the Dura Slope channel drain lies in their pre-sloped channel sections, which can simply be connected end to end to achieve the proper slope.
Continue installing sections, checking alignment and slope continuously. Connect outlet fittings and end caps as needed, confirming all joints are properly sealed according to system specifications.
Concrete anchoring and backfilling
Covering the grates with tape or wood helps to keep debris out of the channel during this step of the installation process.
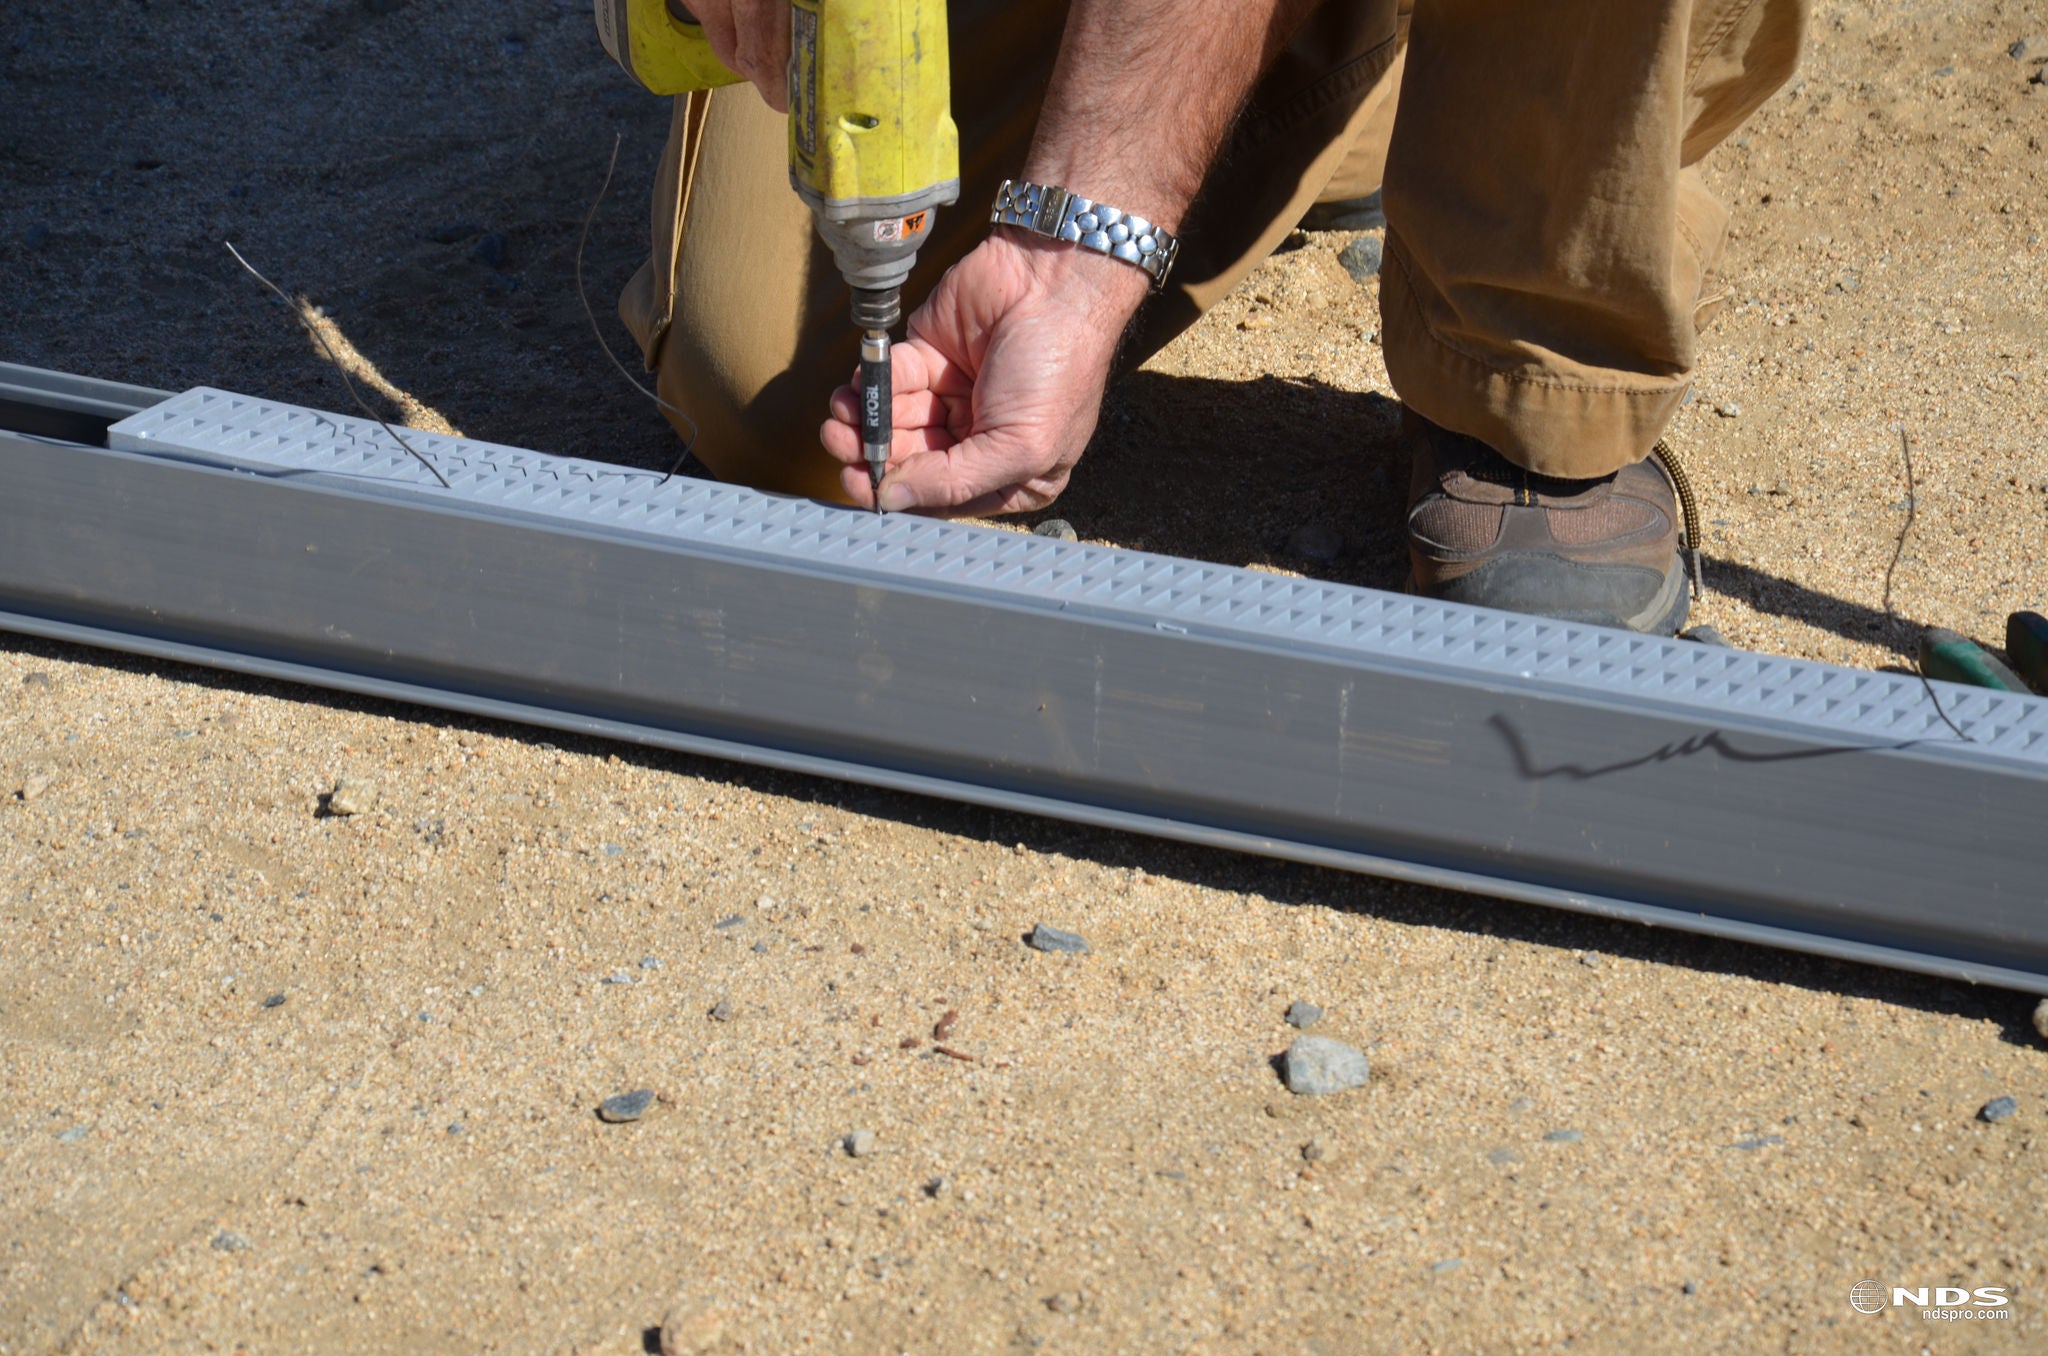
Pour concrete around the channel drain body, leaving the top edge exposed. The concrete should completely encapsulate the drain body while maintaining access to the drainage channel. Use a rubber mallet to make minor adjustments during the concrete setting process.
Allow concrete to cure according to manufacturer recommendations before installing grates or subjecting the system to traffic loads. Most fast-setting concrete mixes achieve sufficient strength within 24 hours for residential applications.
Considerations
Driveway channel drain installation presents unique challenges that require careful attention to load ratings, integration with existing surfaces, and long-term durability under vehicle traffic.
Load rating requirements
The BG-FILCOTEN trench drain system offers solutions for various load classes, with Class C ratings suitable for most residential driveways and Class E ratings for commercial installations expecting heavier vehicle traffic.
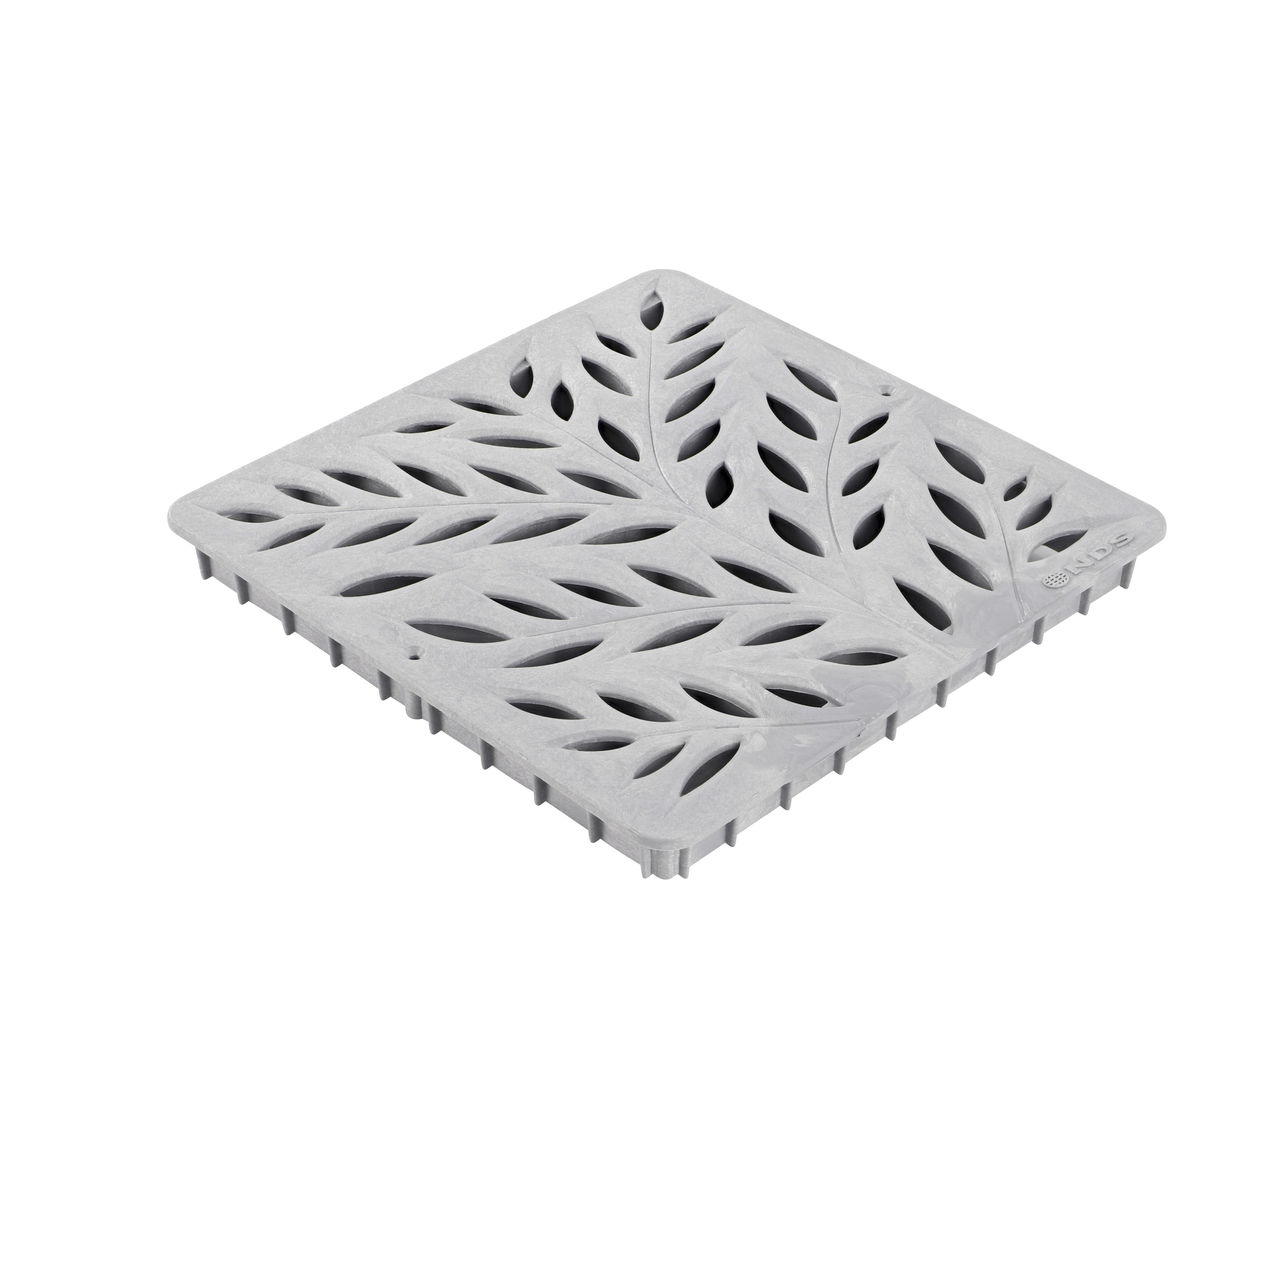
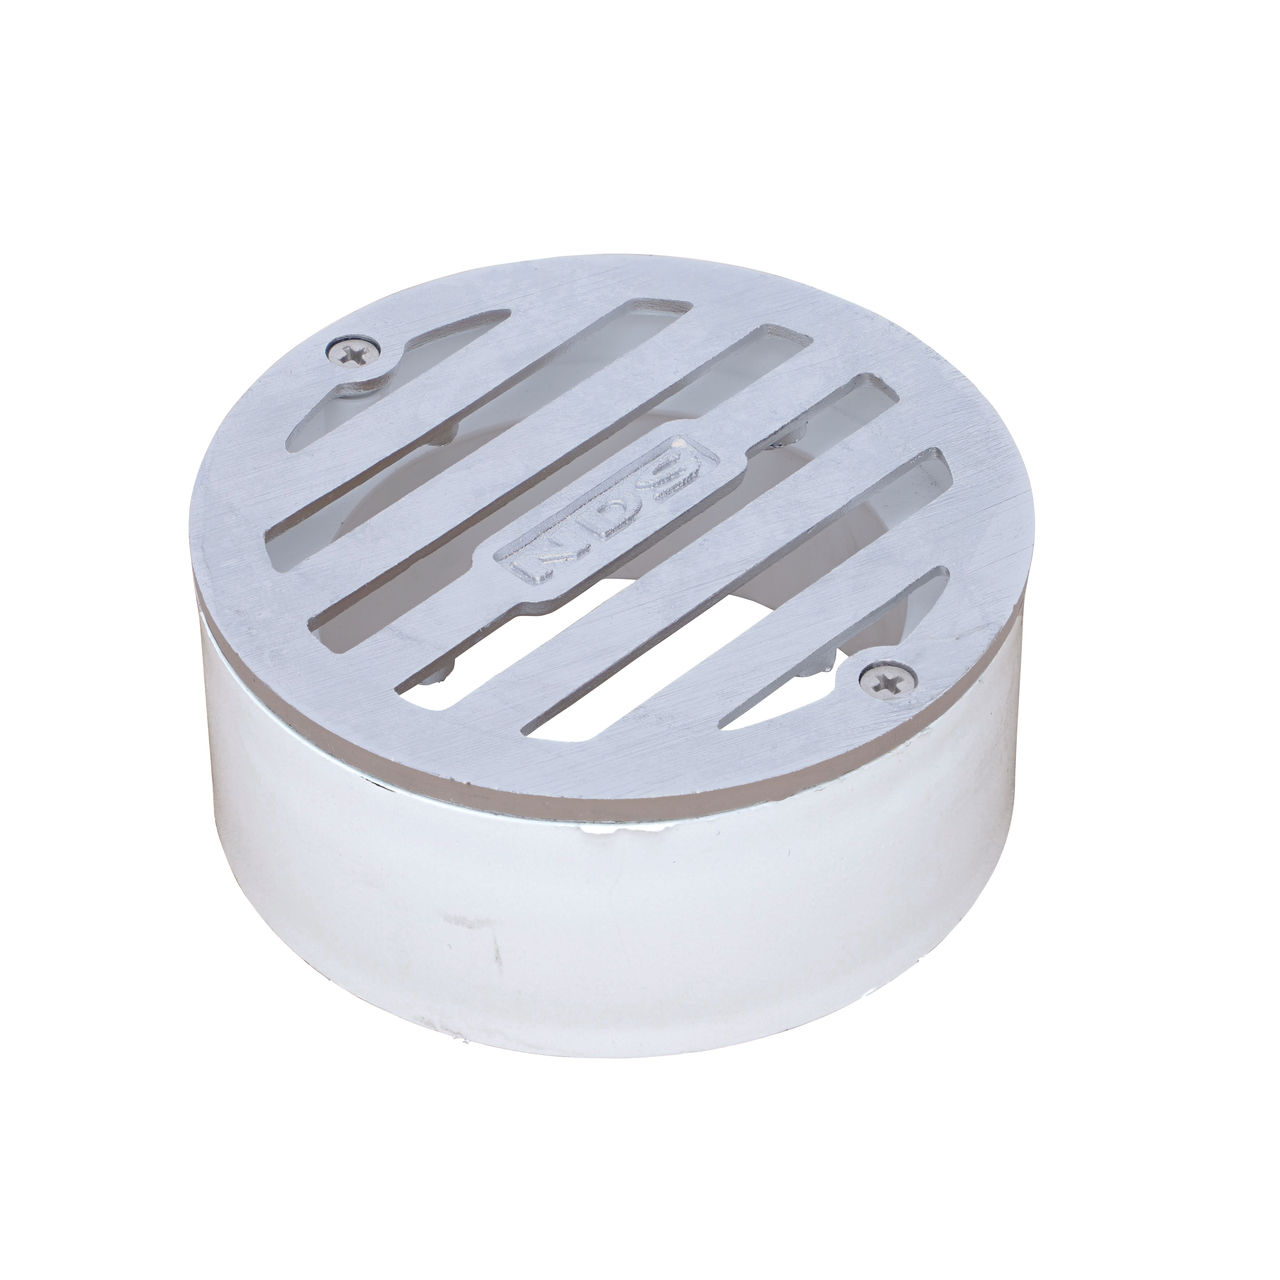
Grate selection plays a crucial role in system performance and, in some cases, a frame is required to achieve specific load class ratings. Ductile iron grates provide maximum strength for heavy-duty applications, while steel and plastic grates offer excellent durability with less weight for easier handling during maintenance.
Integration with existing hardscapes
Successful driveway installations require seamless integration with existing concrete or asphalt surfaces. Plan cuts carefully to minimize disruption to surrounding areas. Consider expansion joints where the new concrete meets existing surfaces.
For asphalt driveways, coordinate installation timing with resurfacing projects when possible. Installing channel drains during new construction or major renovations typically produces superior long-term results compared to retrofit installations.
Outlet connections and system integration
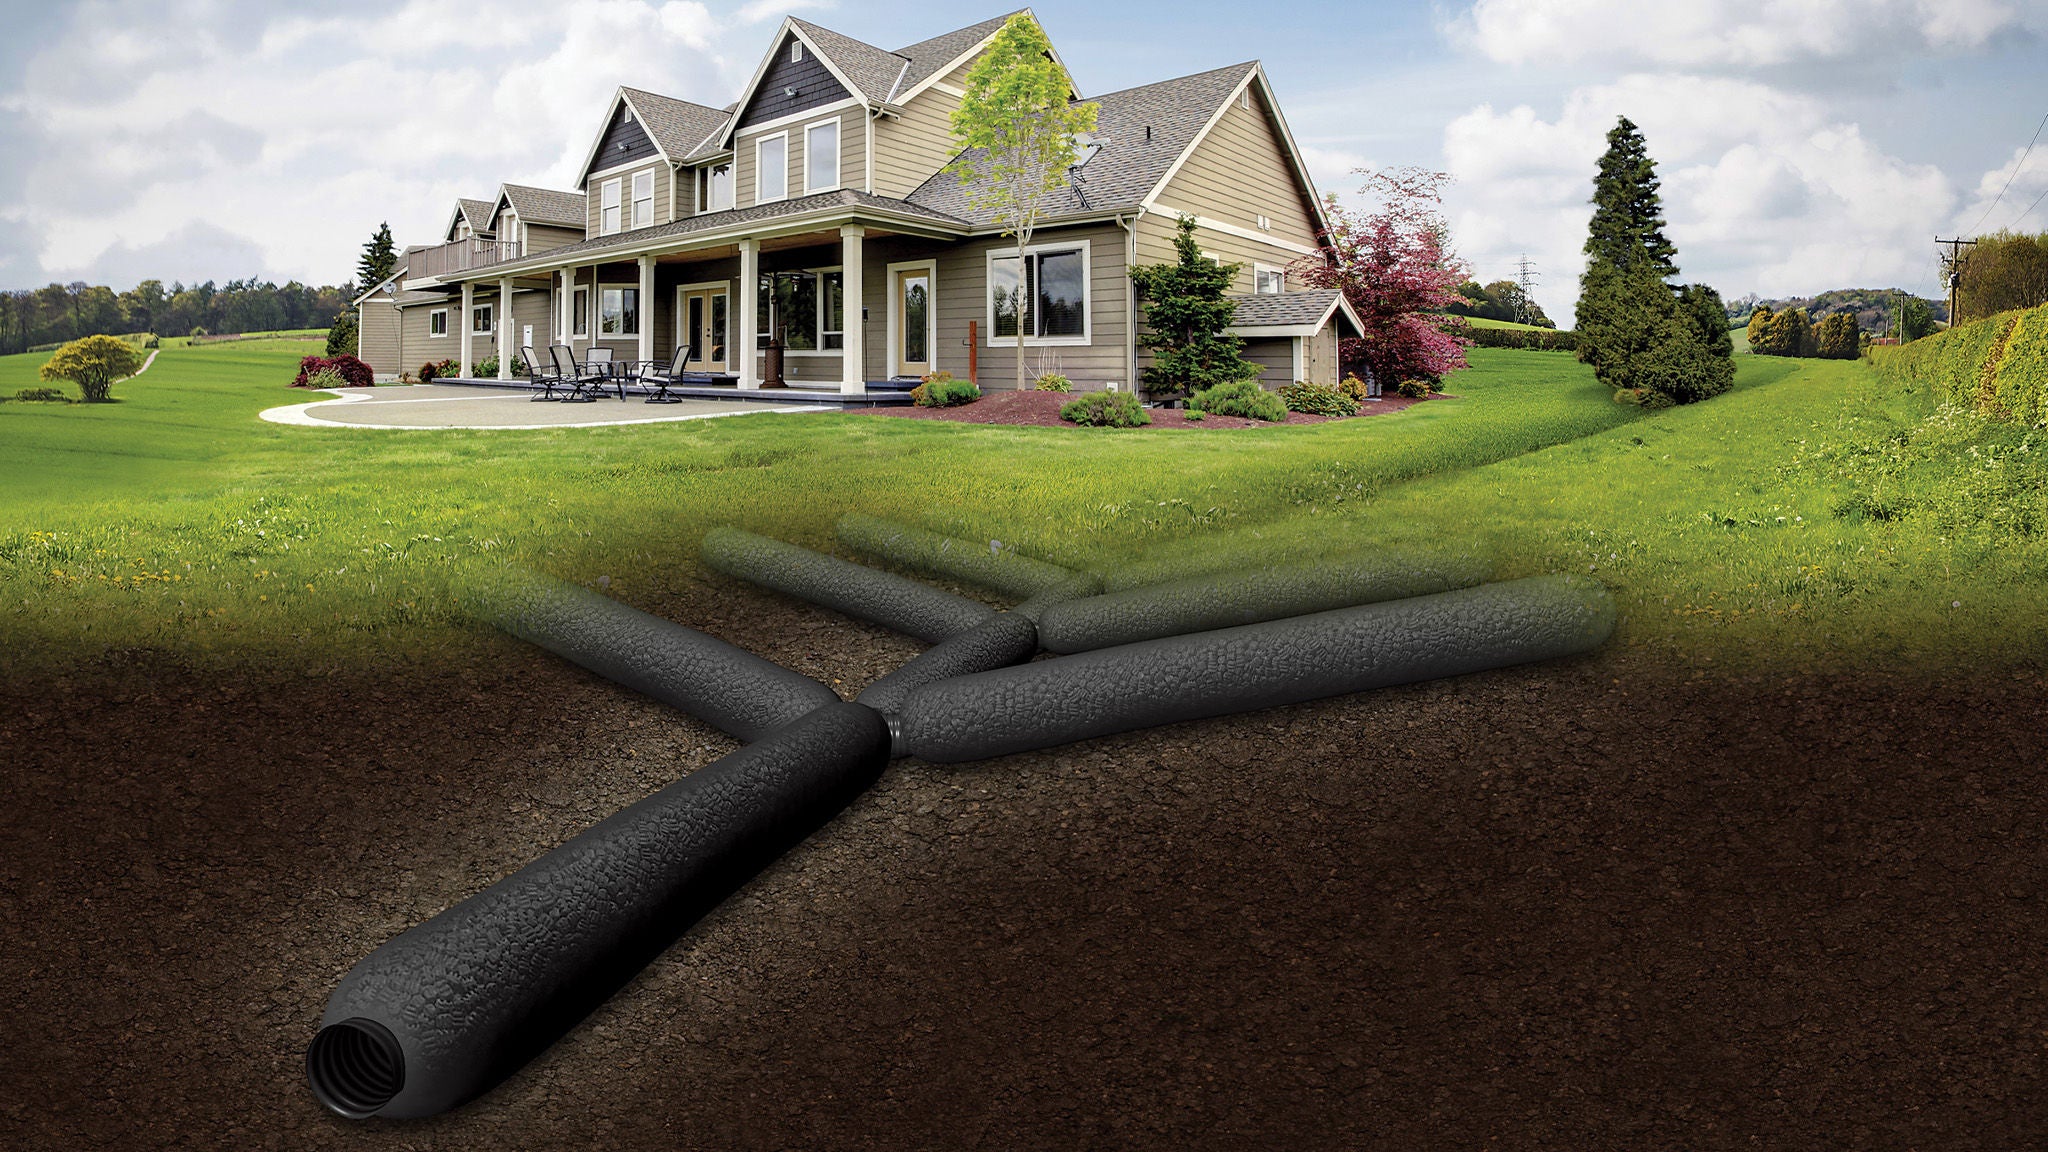
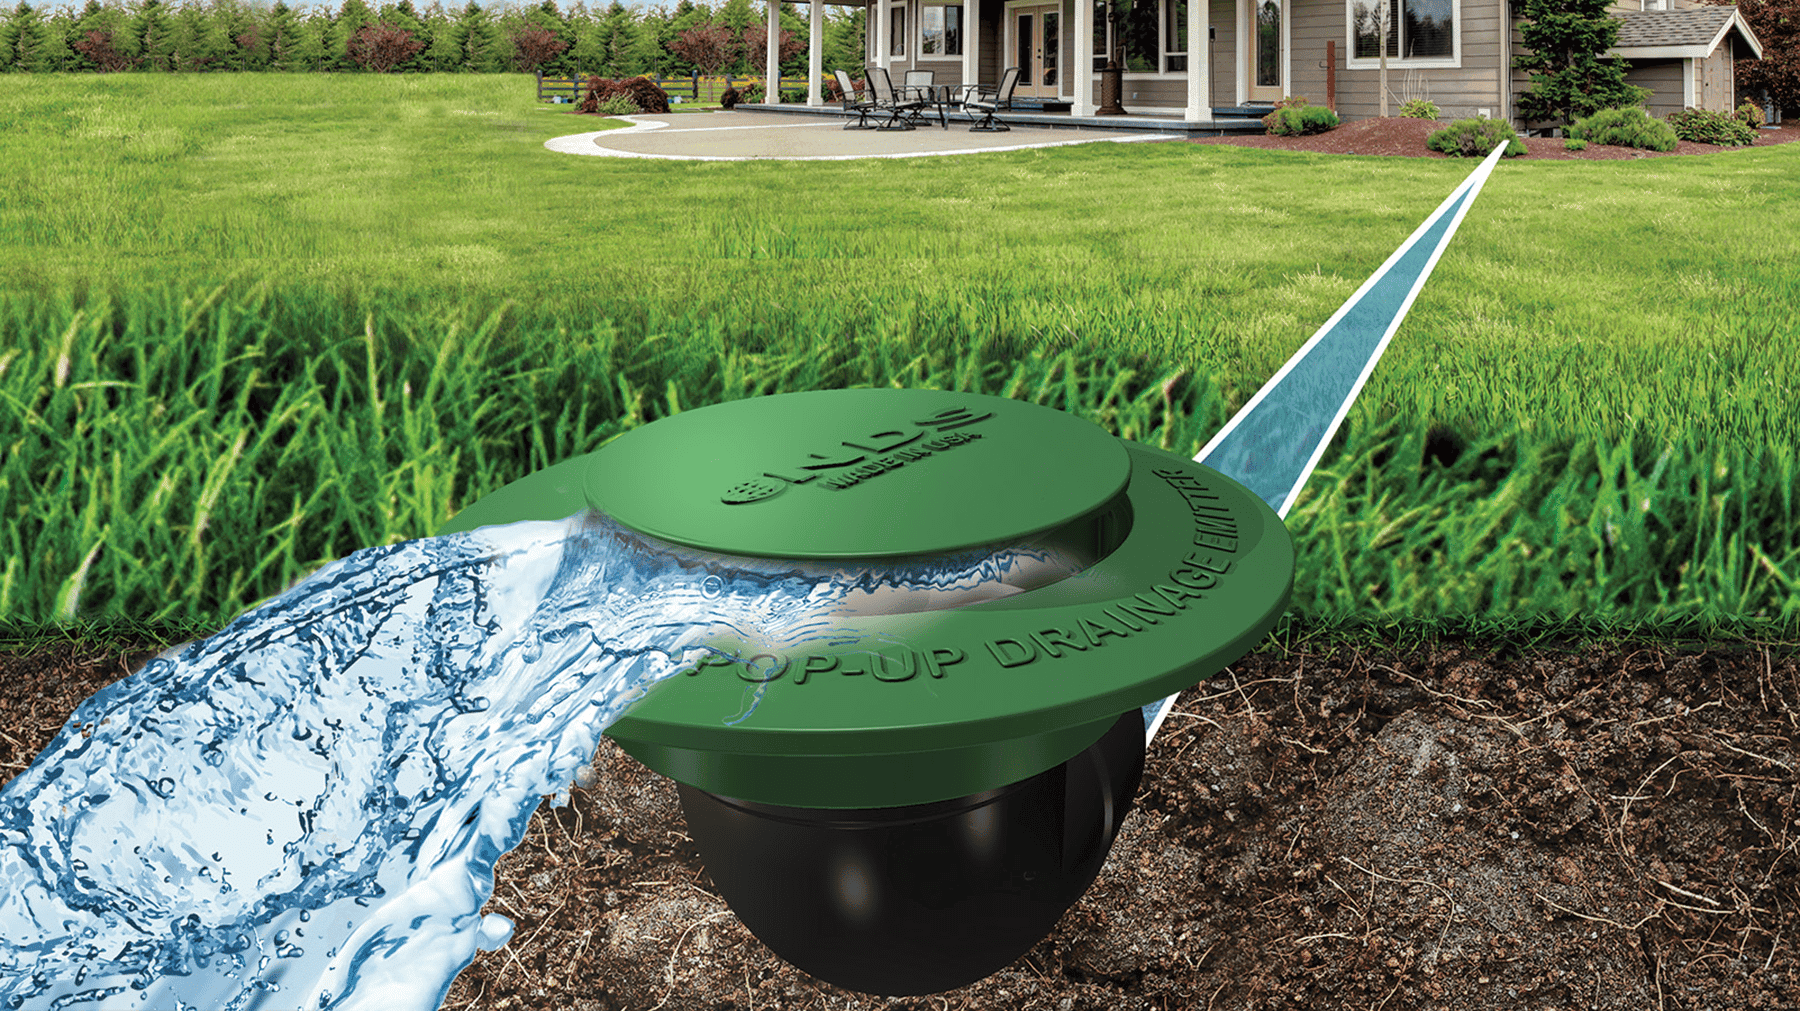
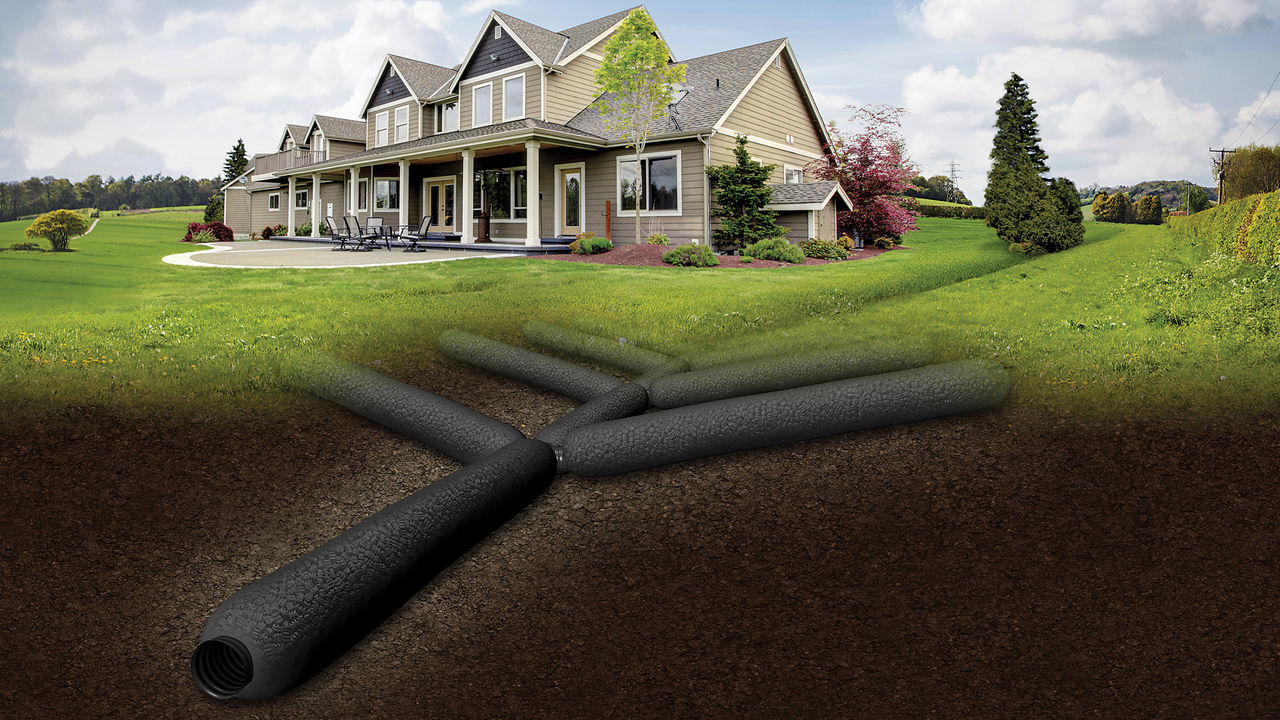
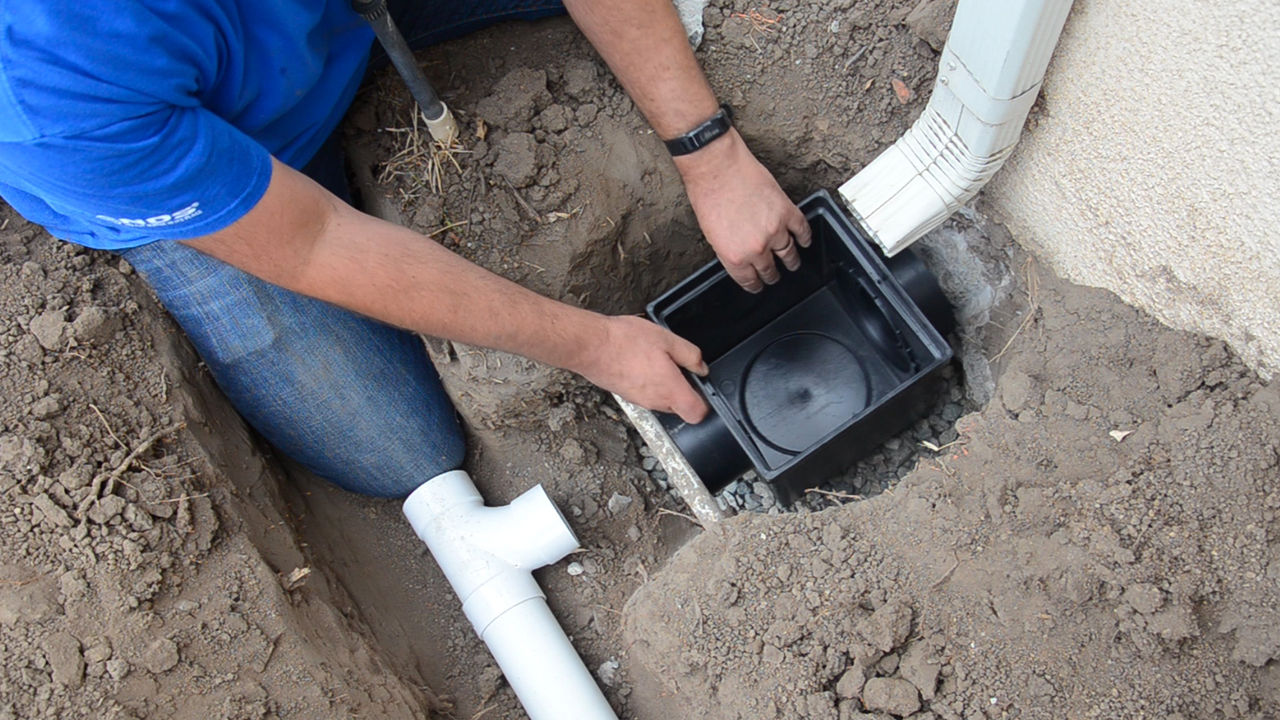
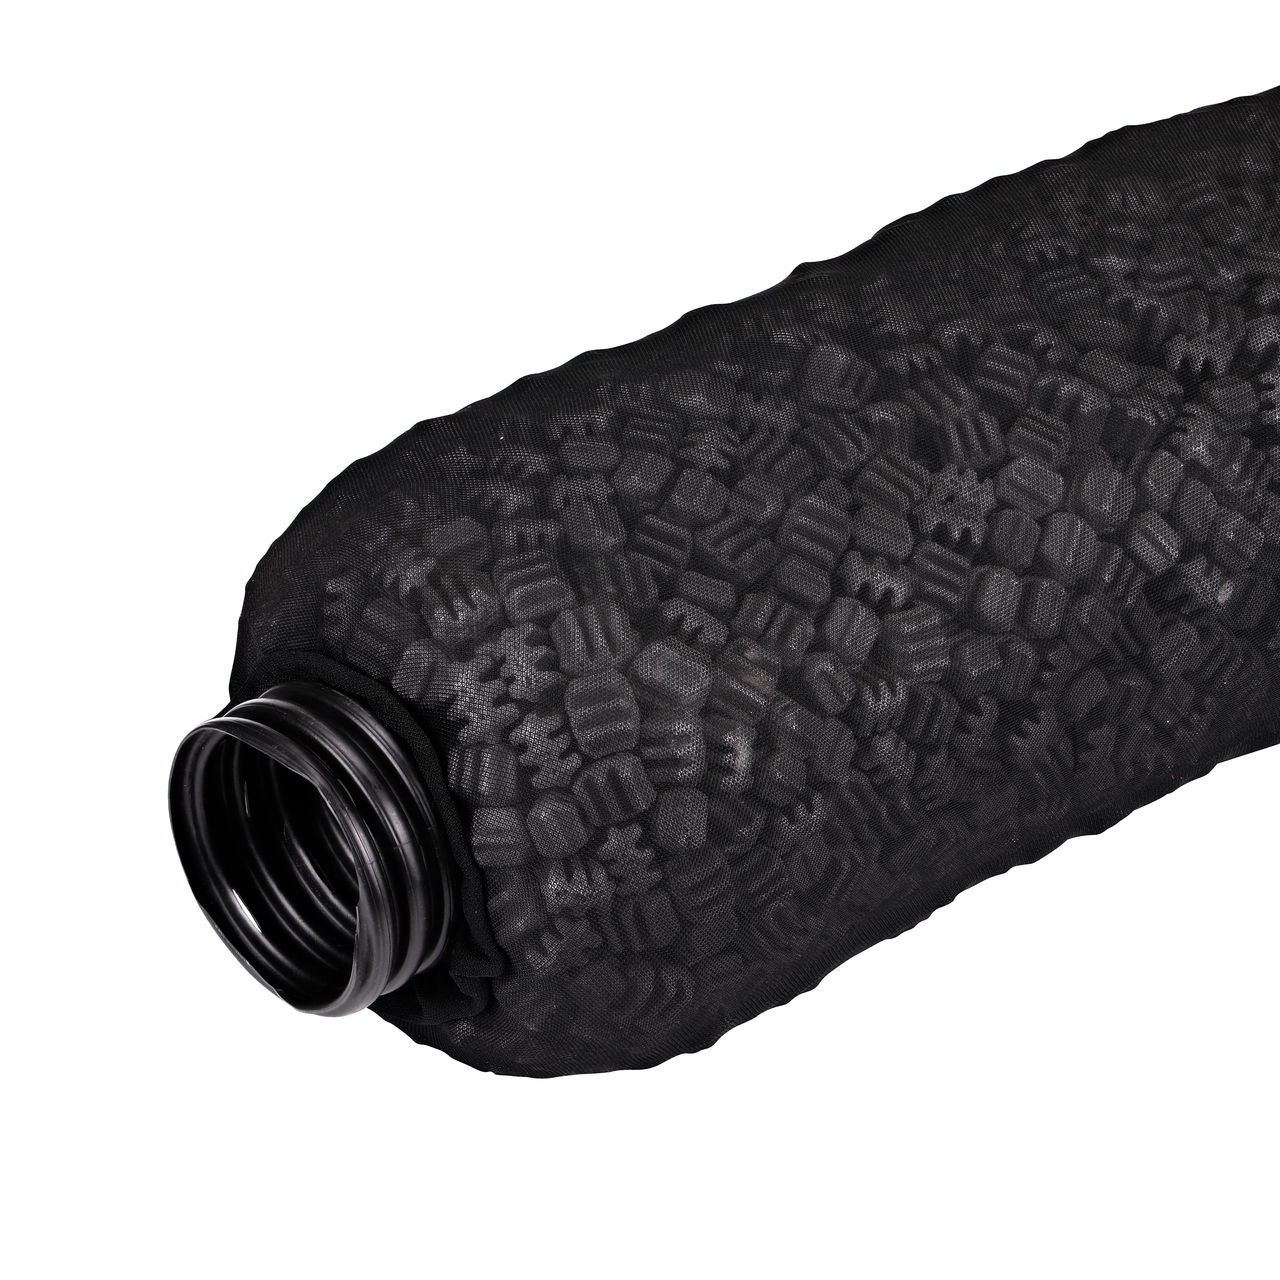
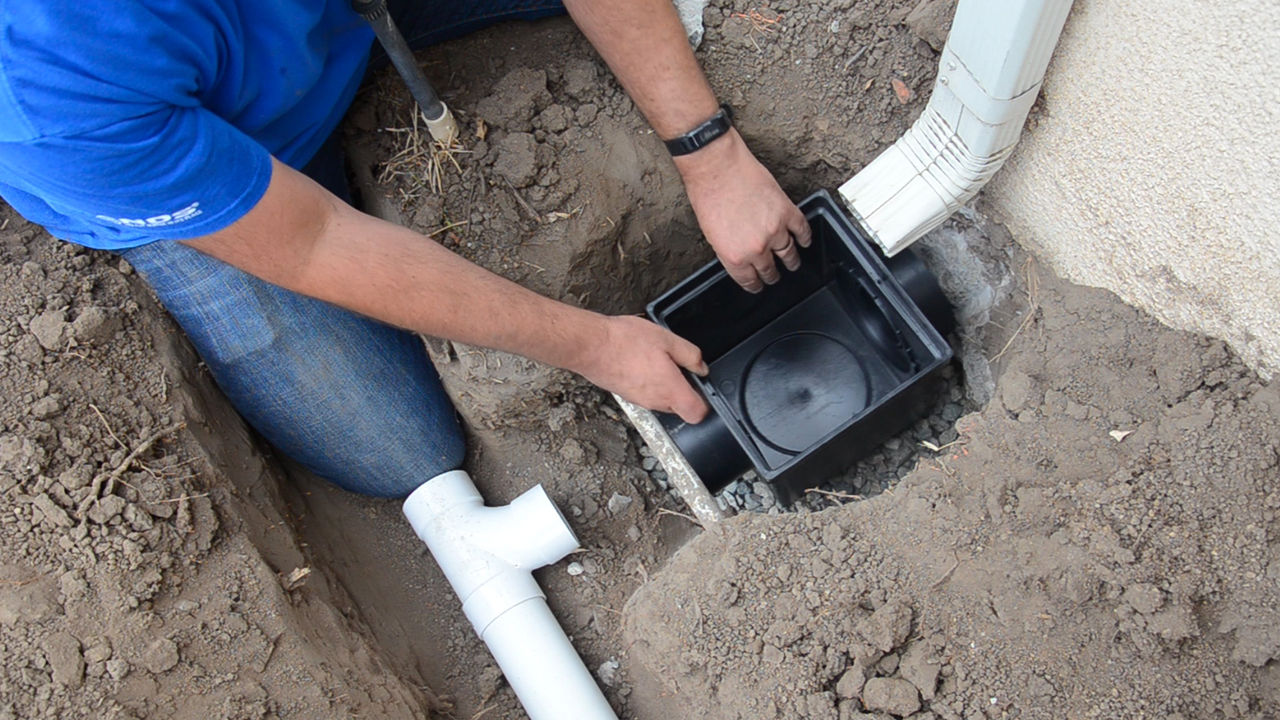
Connect your driveway channel drain to existing drainage infrastructure or create a drainage system if none exists. Options include connection to storm sewers (where permitted), discharge to appropriate drainage areas, or integration with other drainage systems like French drains using EZflow® French drain system components.
Ensure all connections meet local building codes and consider installing cleanout access points along the channel run for future maintenance needs.
Professional installation vs DIY: making the right choice
Channel drain installation cost considerations extend beyond material expenses to include labor, equipment rental, and potential mistakes that could require professional correction.
When professional installation makes sense
Complex installations involving multiple drain runs, integration with existing plumbing systems, or commercial load requirements typically benefit from professional expertise. Trained drainage contractors bring specialized knowledge of local building codes, proper slope calculations, and connection techniques that ensure optimal system performance.
Our NDS PRO drainage training provides education on proper drain installation techniques, system selection, and troubleshooting methods. Contractors completing this course gain access to specialized tools, technical support, and business development resources that enhance their capability to deliver superior results. Additionally, they can be listed in the NDS Find-A-Pro directory.
DIY installation considerations
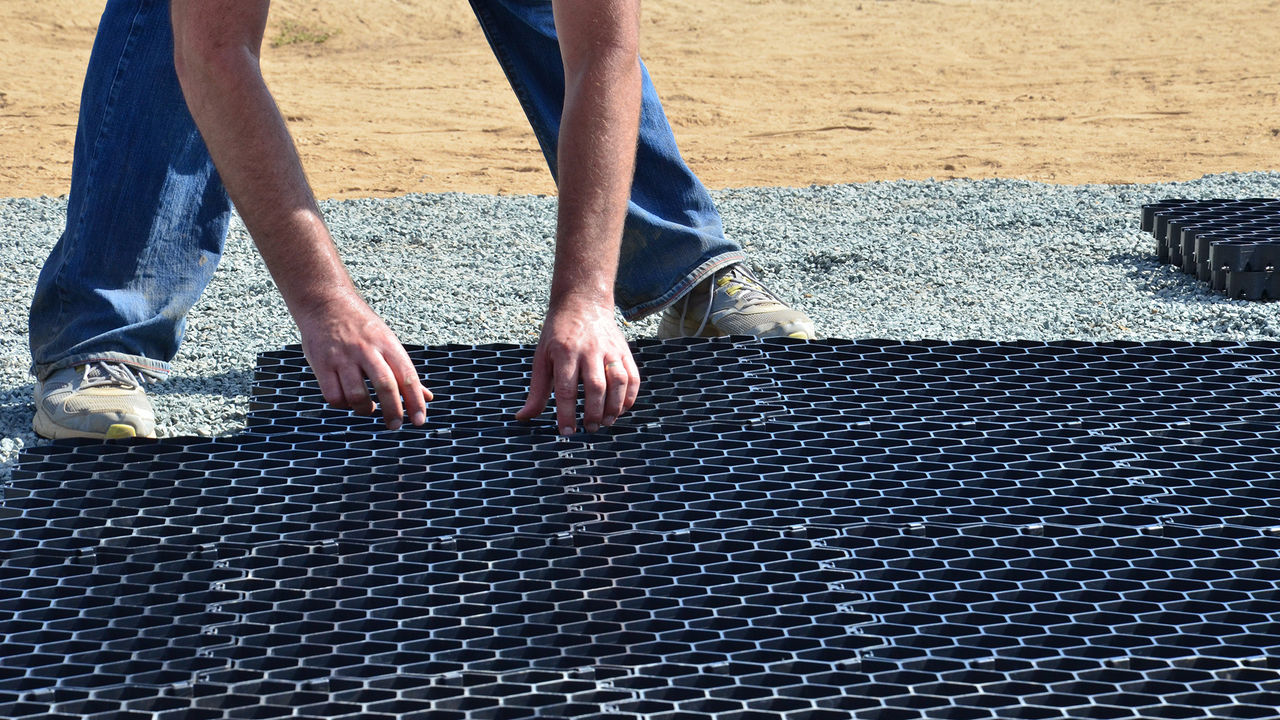
Experienced homeowners can successfully complete straightforward channel drain installations using modern engineered systems. The lightweight, modular components of systems like the Spee-D channel drain simplify installation compared to traditional concrete forming methods.
However, consider professional assistance for excavation in established landscapes, concrete cutting in structural elements, or connections to existing drainage infrastructure where mistakes could prove costly.
Drain maintenance and long-term performance
Proper maintenance ensures your trench drain installation provides decades of reliable service while protecting your investment in a professional outdoor drainage solution.
Regular maintenance tasks
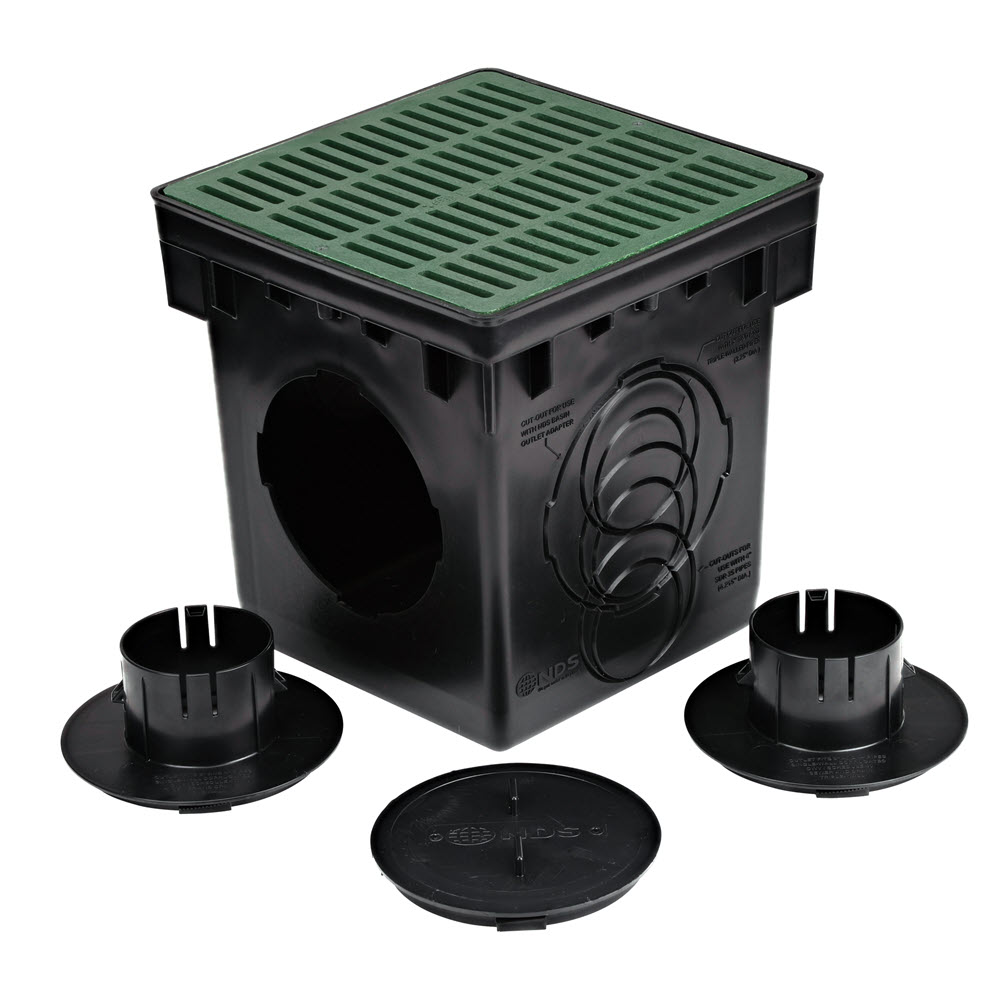
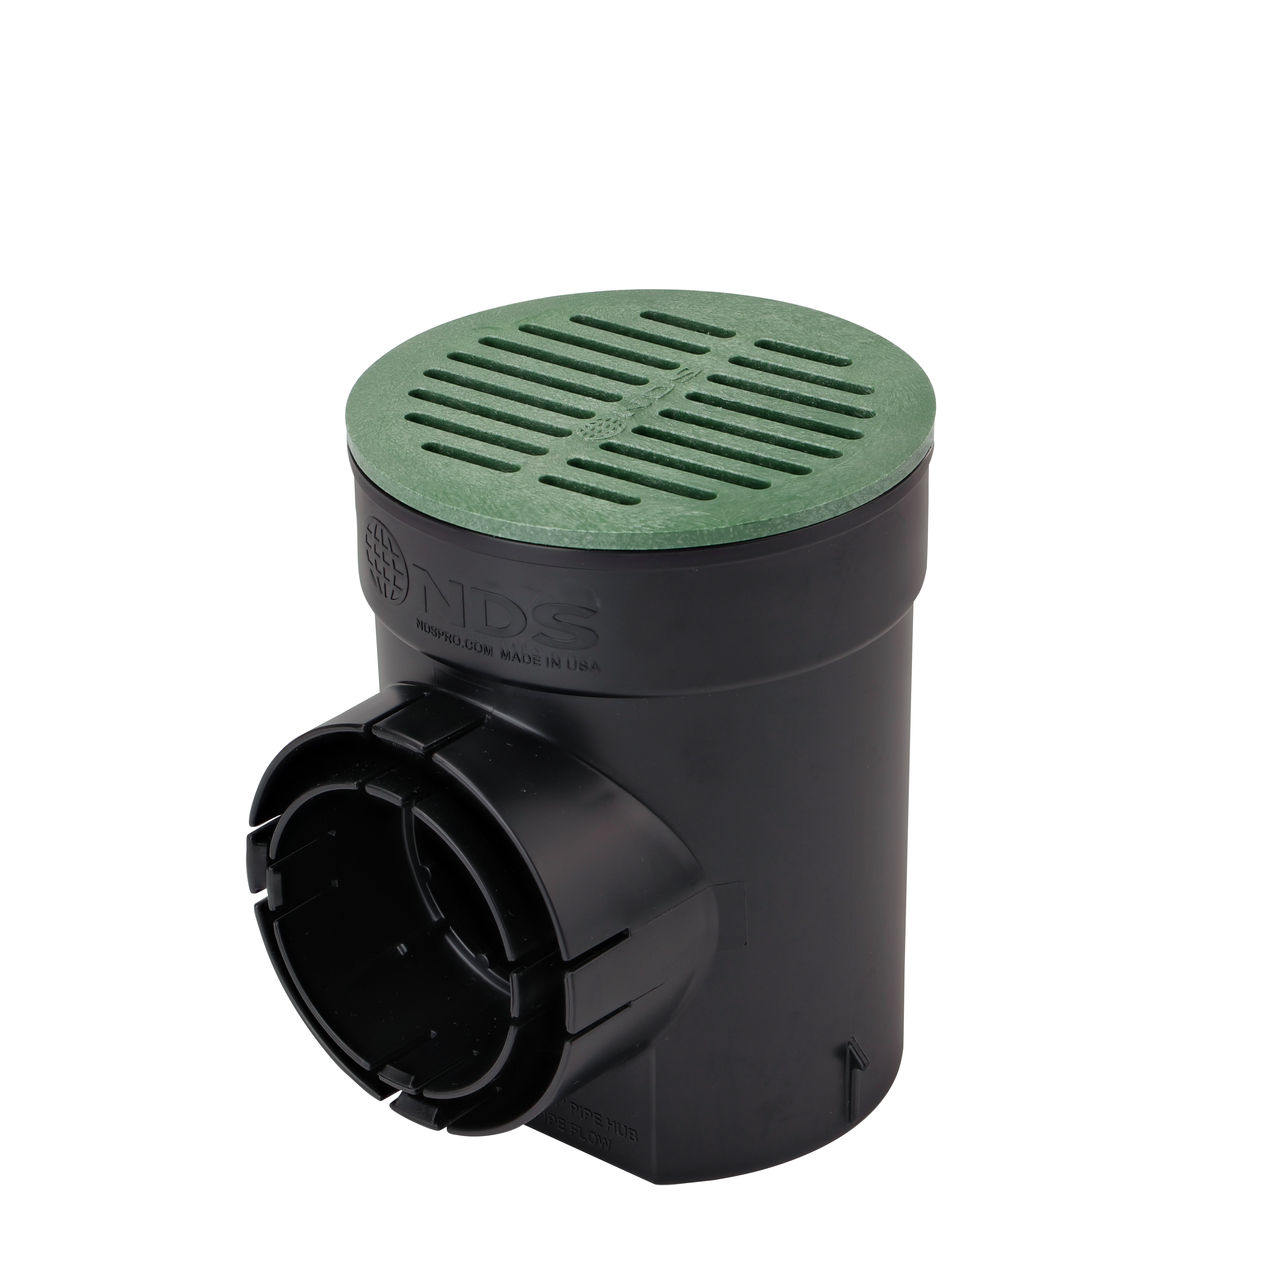
Inspect grates quarterly for debris accumulation, particularly during fall months when leaves and organic matter can create blockages. Remove grates according to manufacturer instructions and clear debris from the channel using appropriate tools. Note, Dura Slope slot top grates can be installed with maintenance boxes at certain points in the channel drain run for easy access to the channel for cleaning.
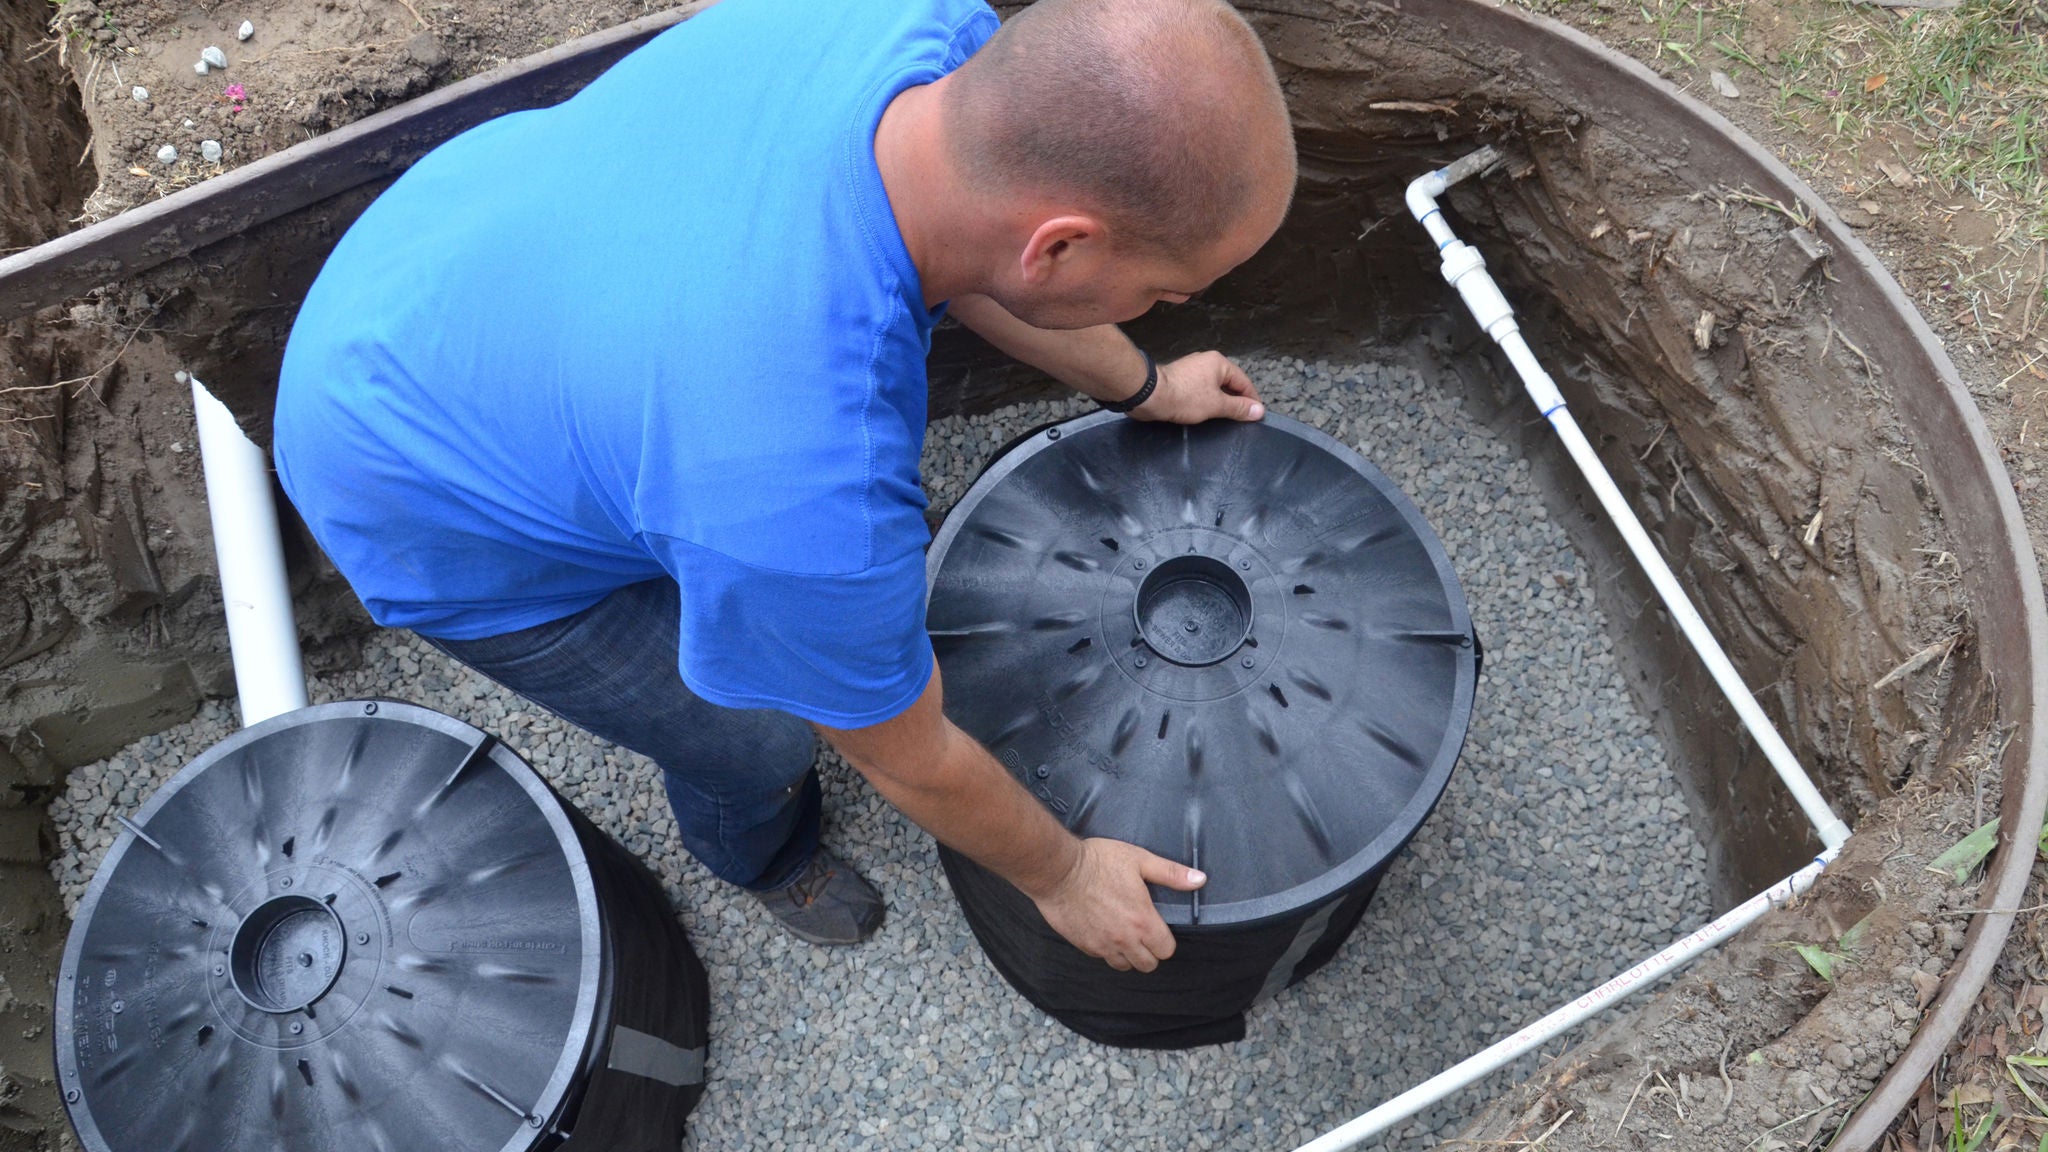
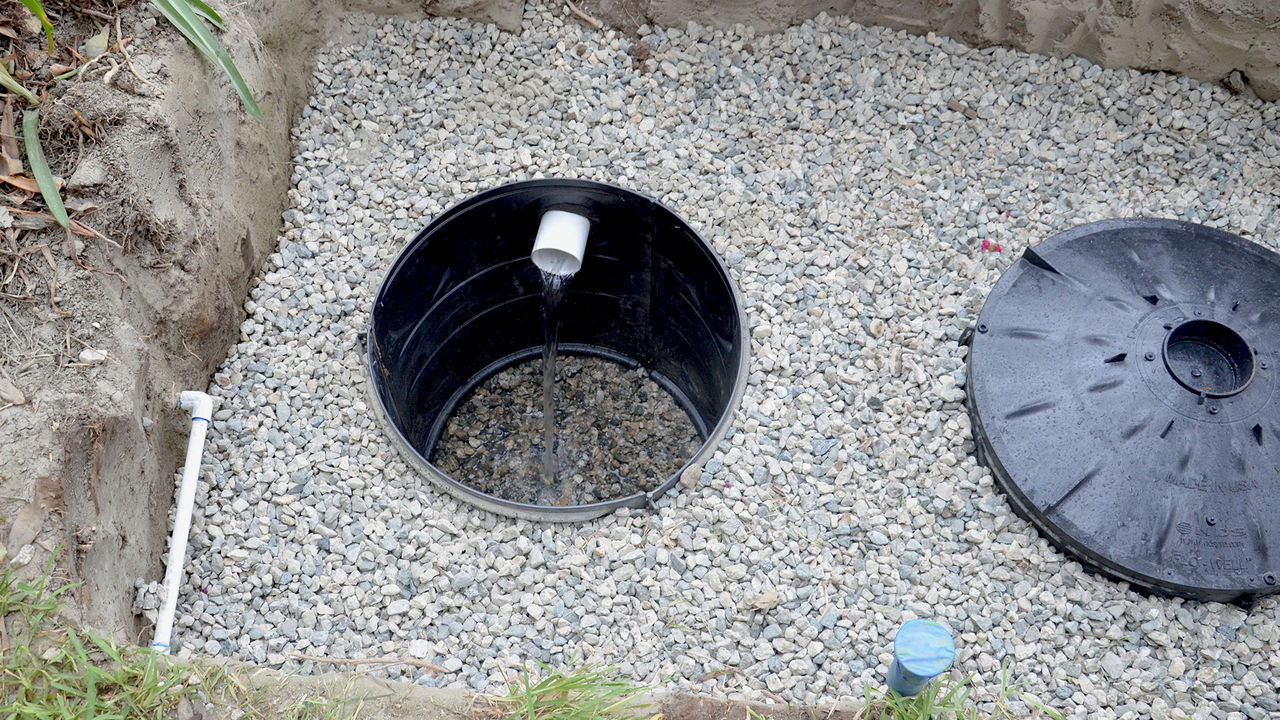
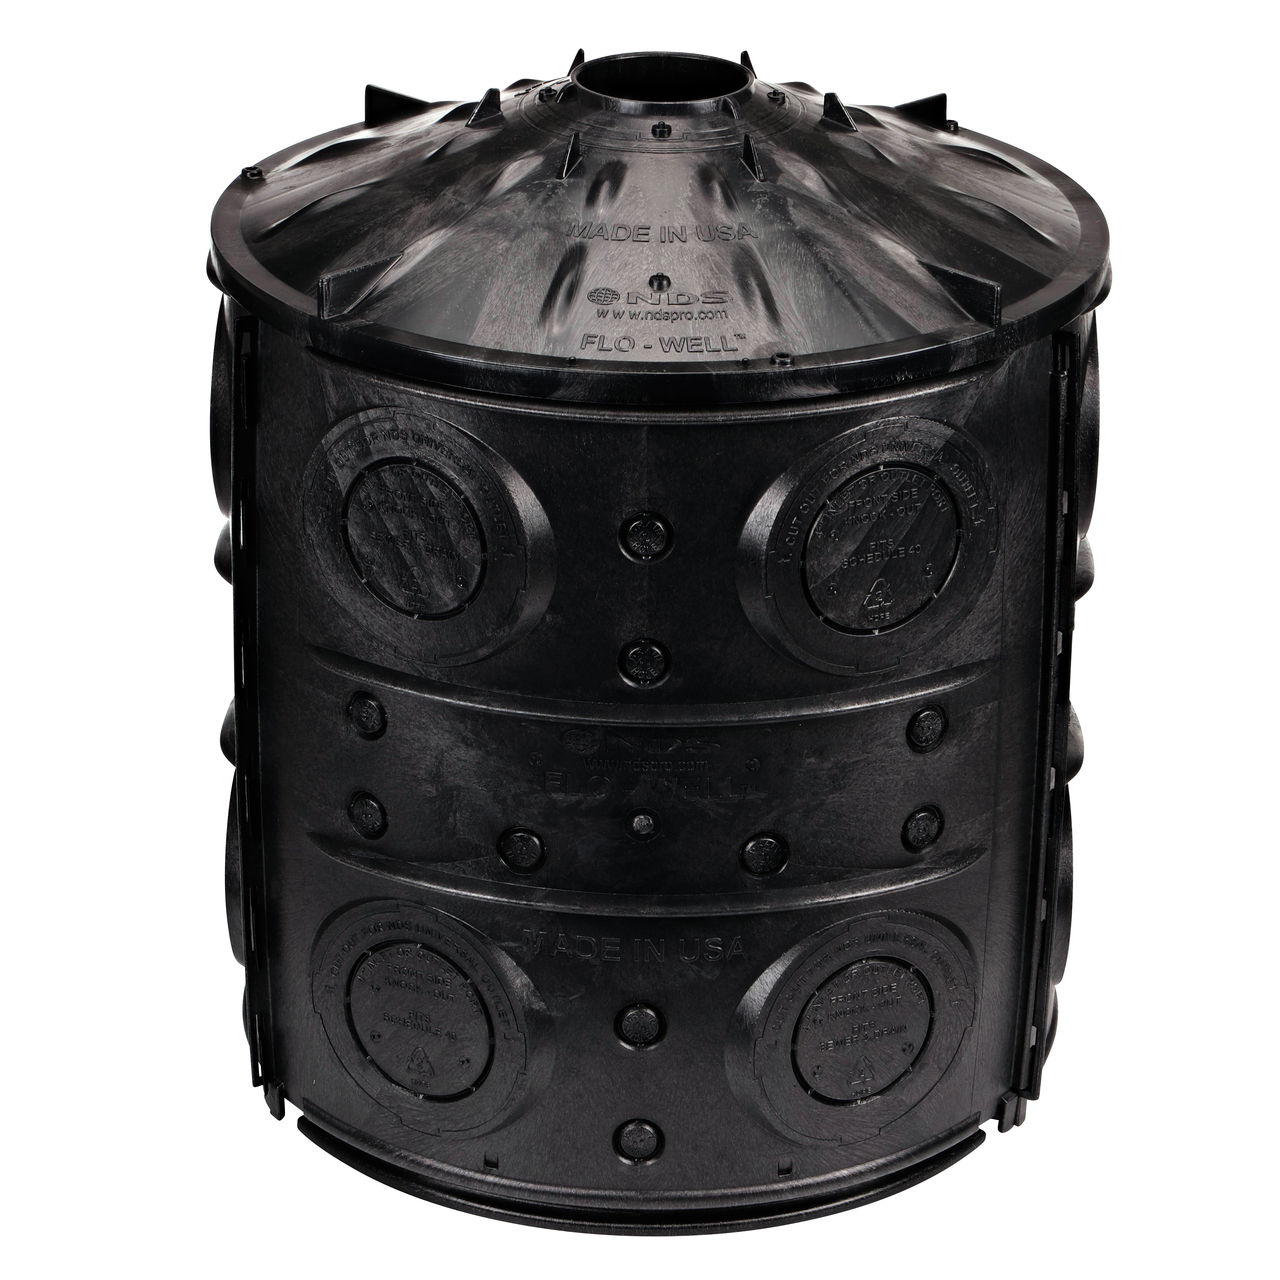
Check outlet connections annually to ensure proper discharge and verify that downstream drainage systems remain functional. Components like the Flo-Well® dry well may require periodic inspection to check for sediment accumulation.
Troubleshooting common issues
Standing water in channel drains typically indicates blockages, inadequate slope, or downstream restrictions. Address blockages immediately to prevent overflow which can lead to potential property damage. Persistent issues may require professional evaluation of system capacity or outlet adequacy.
Grate damage from vehicle traffic or freeze-thaw cycles should be addressed promptly to maintain system integrity and prevent safety hazards. Replacement grates are readily available for NDS systems, ensuring long-term serviceability.
A properly installed channel drain system is a smart investment in your home to help prevent water runoff problems and maintain your property’s functionality. Understanding trench drain installation principles, selecting appropriate engineered solutions, and taking care of routine upkeep ensures optimal return on this investment.
Whether you choose professional installation or tackle the project yourself, our modern channel drain systems provide proven solutions for surface water management challenges like stormwater runoff. The combination of engineered design, quality materials, and proper installation techniques delivers reliable performance that helps to protect your property while enhancing its value.
For additional guidance on water management solutions, system selection, or contractor referrals, visit the NDS website or contact our knowledgeable and friendly support team. Effective outdoor drainage will help ensure your property remains beautiful for years to come.